How to Test a PSU Without Motherboard
Troubleshooting computer power issues can be a challenging task, especially when you’re unsure if the problem lies with the power supply unit (PSU) or the motherboard. To help narrow down the issue, it’s crucial to test each component separately. While PSUs are typically designed to work only when connected to a motherboard, there is a way to bypass this limitation and perform PSU testing without a motherboard.
Let me share a brief story to set the stage for our main content. Meet Mark, an avid gamer and computer enthusiast. One day, Mark turned on his computer, but it wouldn’t power up. Frustrated, he tried various troubleshooting methods but couldn’t pinpoint the problem. He suspected it could be either a faulty PSU or a motherboard issue.
Determined to find the culprit, Mark stumbled upon a method called the “paper clip test.” Curious, he decided to give it a try. With a paper clip and a little guidance, Mark successfully tested his PSU without a motherboard and found out that it was indeed the faulty component!
Are you ready to learn how to perform this simple yet effective test? Read on to discover the step-by-step process and precautions you need to take when testing a PSU without a motherboard.
Key Takeaways:
- Testing a PSU without a motherboard can help identify power supply issues.
- The paper clip test is a popular method to test a PSU without a motherboard.
- By following safety precautions, you can perform the paper clip test safely.
- Consider additional tips and considerations for PSU testing without a motherboard.
- If in doubt, consult a professional or a knowledgeable technician for assistance.
How to Test a PSU Without Motherboard
Using the Paper Clip Test to Test a PSU Without Motherboard
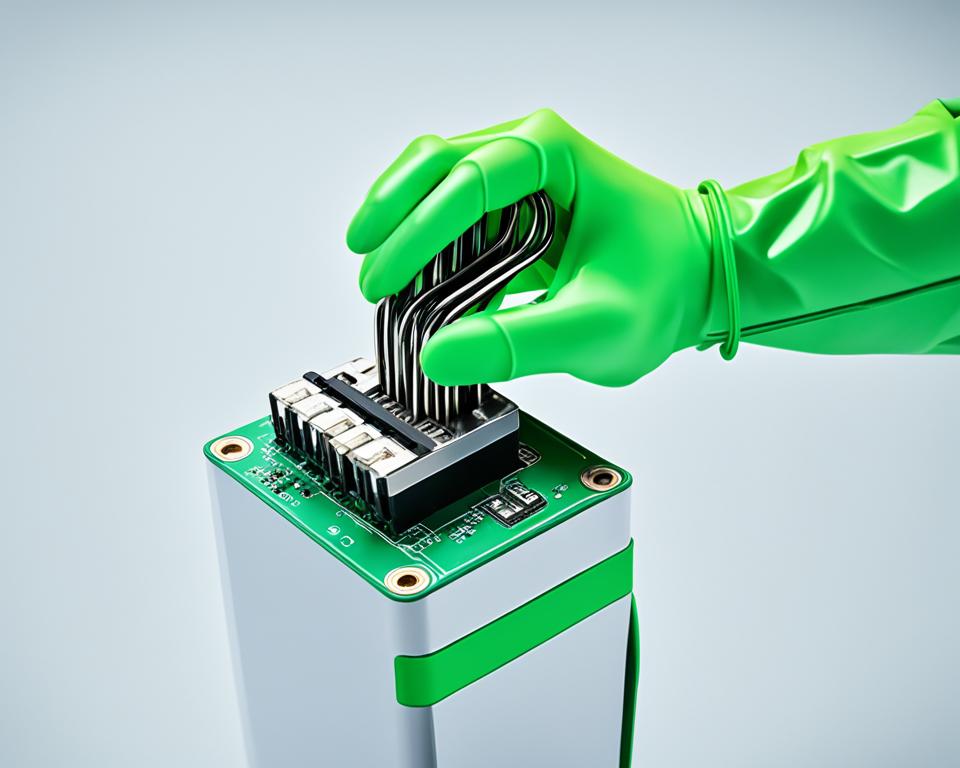
The paper clip test is a simple and effective method to test a power supply unit (PSU) without a motherboard. This test allows you to check if the PSU is receiving power and if it is functioning correctly, helping you troubleshoot power supply issues or test a PSU before connecting it to a motherboard.
To perform the paper clip test, you will need a paper clip or a short length of wire. By bypassing the motherboard connection and completing the circuit with the paper clip or wire, you can simulate the presence of a motherboard and assess the PSU’s performance.
Here’s how to conduct the paper clip test:
- Disconnect the PSU from the motherboard and the wall outlet, and remove it from the computer case.
- Identify the green and black wires on the motherboard connector of the PSU.
- Bend a wire into a “U” shape or use a paper clip with the curved part wrapped in electrical tape to prevent accidental short circuits.
- Insert one end of the wire or paper clip into the green pin connector and the other end into any black pin connector.
- Plug the PSU into a wall outlet and ensure the power switch is turned on.
- Listen for the internal fan to start spinning. If the fan spins, it indicates that the PSU is receiving power and is functioning correctly.
- Before removing the wire or paper clip, turn off the PSU and unplug it from the wall outlet.
By following these steps, you can quickly determine if your PSU is working properly without the need for a motherboard. It is important to note that the paper clip test only confirms if the PSU is receiving power, but it does not provide an assessment of its voltage output or overall health.
Note: The image above showcases the paper clip test, providing a visual representation of the procedure.
Steps to Perform the Paper Clip Test
To perform the paper clip test, follow these steps:
- Disconnect the PSU from the motherboard and the wall outlet, and remove it from the computer case.
- Identify the green and black wires on the motherboard connector of the PSU.
- Shape a wire into a “U” shape or use a paper clip with electrical tape wrapped around the curved part.
- Insert one end of the wire or paper clip into the green pin connector and the other end into a black pin connector.
- Plug the PSU into a wall outlet and flip the power switch to “On.”
- Listen for the internal fan to start spinning. If it doesn’t spin, the PSU may have failed and needs to be replaced.
- Turn off the PSU and unplug it from the wall outlet before removing the wire or paper clip.
Performing the paper clip test is a straightforward process that allows you to verify whether the PSU is receiving power without using the motherboard. By following these steps, you can quickly assess the functionality of the PSU and determine if it may be the source of any power-related issues you are experiencing with your computer.
Precautions to Take When Performing the Paper Clip Test
When performing the paper clip test to check the PSU without a motherboard, it is crucial to prioritize safety. Implementing the following precautions will help prevent accidents and protect both you and your equipment:
Ensure the PSU is unplugged and turned off: Before initiating the paper clip test, disconnect the PSU from the wall outlet and switch it off to avoid potential electric shocks.
Use a non-conductive safety glove: To protect yourself from electric shocks, it is highly recommended to wear a non-conductive safety glove while performing the test. This will add an extra layer of protection and minimize the risk of injury.
Avoid touching the wire or paper clip: The PSU should not be touched or tampered with while it is plugged in or turned on. Keep a safe distance to prevent any accidental contact that could result in electric shocks or damage to the PSU.
Avoid touching PSU components or opening its case: Capacitors inside the PSU can retain a dangerous charge even when the unit is unplugged. Therefore, it is important to refrain from touching any internal components or attempting to open the case. This will prevent potential accidents and ensure your safety.
By following these precautions, you can mitigate the risks associated with testing a PSU without a motherboard using the paper clip method and ensure a safe testing process.
| Precautions | Importance |
|---|---|
| Ensure the PSU is unplugged and turned off | To prevent electric shocks and ensure safety |
| Use a non-conductive safety glove | To protect against potential electric shocks |
| Avoid touching the wire or paper clip | To minimize the risk of electric shocks and damage |
| Avoid touching PSU components or opening its case | To prevent accidents and ensure safety |
Additional Considerations for PSU Testing Without Motherboard
When testing a PSU without a motherboard, there are a few additional considerations to keep in mind to ensure a successful and safe testing process.
If the PSU’s Fan Doesn’t Start Spinning Immediately
If you find that the PSU’s fan doesn’t start spinning immediately during the testing process, you can try connecting a small case fan directly to the PSU to check for power.
Extended Use without a Motherboard
If you plan on using the PSU without a motherboard for an extended period, it’s advisable to consider soldering the wire used for testing into place or using a toggle mechanism to create an on/off switch. This helps provide a more permanent solution and ensures a reliable power supply.
Caution and Safety Guidelines
Always exercise caution and strictly follow safety guidelines when working with electricity. Avoid directly touching the wire or paper clip while the PSU is plugged in or turned on to prevent electric shocks. Additionally, refrain from touching the PSU’s components or opening its case as the capacitors inside can hold a dangerous charge even when the unit is unplugged.
Multimeter Testing for Thorough Analysis
If available, using a multimeter to test the PSU is another method to check its voltage output and overall health. This method provides a more thorough analysis of the PSU’s performance and can be beneficial for diagnosing any potential issues.
By considering these additional aspects during PSU testing without a motherboard, you can ensure a more comprehensive evaluation of the power supply unit’s functionality and reliability.
General Tips for Testing PSUs
When it comes to testing power supply units (PSUs), whether with or without a motherboard, there are some general tips that can help ensure accurate testing and troubleshooting. It is essential to follow these guidelines to minimize risks and obtain reliable results.
1. Secure Connections
Before testing a PSU, ensure that all connections are secure and properly plugged in. Loose or faulty connections can affect the power supply’s performance and lead to inaccurate testing results. Make sure all cables are firmly connected to both the PSU and the device being powered.
2. Reliable Power Source
Use a reliable power source to ensure accurate testing results. Unstable or fluctuating power can interfere with the PSU’s performance and affect the testing process. Avoid using extension cords or power outlets with known power issues.
3. Follow Manufacturer Guidelines
Always refer to the manufacturer’s guidelines and instructions specific to the PSU model you are testing. Each PSU may have different specifications, requirements, and testing procedures. Following the manufacturer’s instructions will help ensure accurate testing and avoid potential damage to the PSU or other components.
4. Consult Professionals
If you are unsure about how to test a PSU or encounter any issues during the testing process, it is recommended to consult a professional or a knowledgeable technician for assistance. They have the expertise and experience to troubleshoot various PSU-related problems and can provide valuable guidance.
By following these general tips, you can significantly improve your PSU testing and troubleshooting process, allowing for efficient diagnosis and resolution of power supply issues.
Common PSU Issues and Troubleshooting Tips
Power supply units (PSUs) are essential components of computer systems, but they can also encounter various issues that can affect their performance. Understanding common PSU issues and having troubleshooting tips at hand can help you resolve problems and ensure reliable power delivery to your system.
Common PSU Issues
Overheating: PSU overheating can occur due to inadequate ventilation or dust buildup. This can lead to decreased efficiency, system instability, and even component damage. Regularly clean your PSU and ensure proper airflow within your computer case.
Fan Failure: PSUs have internal fans that help in cooling. A malfunctioning fan can cause overheating and potential system damage. If you hear unusual noises or notice decreased airflow from the PSU, consider replacing the fan.
Voltage Fluctuations: Fluctuating voltage levels can cause system instability and damage to sensitive components. Use a multimeter to measure the voltage output from different pins of the PSU connector and ensure they are within the specified range.
Power Delivery Problems: Inconsistent power delivery can result in system crashes, random shutdowns, or failure to start. Check for loose connections or damaged cables and consider replacing them if necessary.
Troubleshooting Tips
Here are some troubleshooting tips to help you resolve PSU issues:
Inspect for Visible Signs: Check for any visible signs of damage, such as discolored components, burnt smells, or bulging capacitors. These signs indicate potential PSU issues that may require professional assistance or replacement.
Replace Faulty Fan: If the PSU fan is not functioning properly or making unusual noises, replace it with a compatible fan to ensure proper cooling and prevent overheating.
Measure Voltage Output: Use a multimeter to measure the voltage output from different pins of the PSU connector. Compare the readings with the specified voltage values to identify any abnormalities.
Check Compatibility: Ensure that your PSU is compatible with your specific hardware configuration. Incompatible PSUs can cause power delivery problems and system instability.
By troubleshooting common PSU issues and applying the appropriate solutions, you can ensure the reliability and longevity of your computer system.
Conclusion
Testing a PSU without a motherboard is a valuable technique for diagnosing power supply issues and ensuring proper functionality. The paper clip test offers a quick and simple way to determine if the PSU is receiving power. By following the steps outlined in this guide and taking necessary precautions, you can perform the test safely and efficiently.
However, it is important to remember that the paper clip test only checks if the PSU is receiving power and functioning properly. It does not provide a comprehensive assessment of the PSU’s voltage output or overall health. For a more thorough evaluation, consider using a multimeter to measure the PSU’s voltage levels.
If you encounter any difficulties or are unsure about performing the test, it is recommended to consult a professional or seek assistance from a knowledgeable technician. They can help ensure accurate testing and provide further guidance based on your specific situation.
Remember, safety should always be a top priority when working with electricity. Take precautions, follow manufacturer guidelines, and refer to reliable resources for additional information on PSU testing without a motherboard.
When it comes to testing a PSU without a motherboard, it’s crucial to gather as much information as possible from reliable sources. Consulting these resources will equip you with the knowledge and confidence needed to perform the test safely and accurately.

