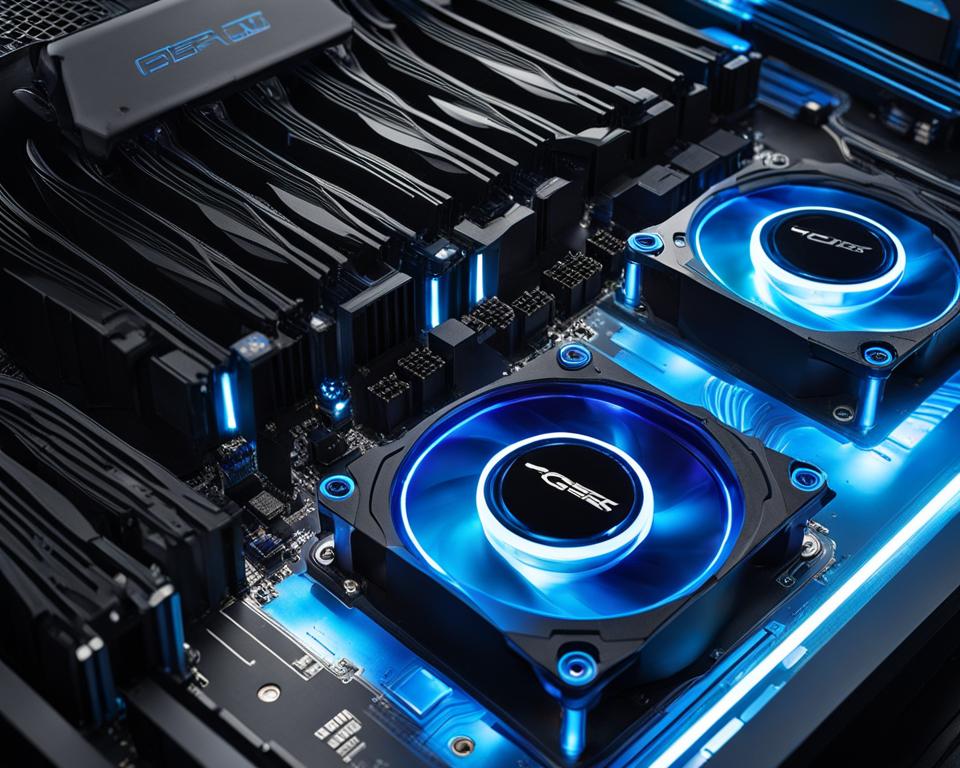
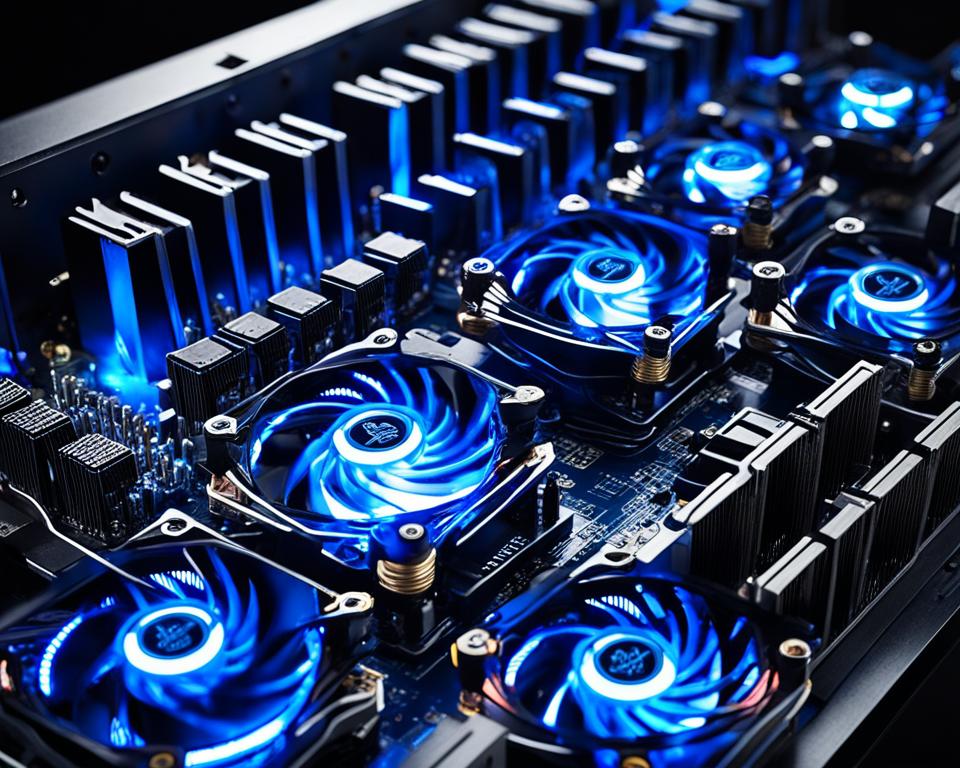
Imagine this: You’re in the middle of an intense gaming session, fully immersed in the virtual world, when suddenly, your computer starts lagging and slows down to a frustrating crawl. You feel the heat radiating from your PC case, and you know that your hardware is struggling to keep up with the demanding task at hand.
This is a common scenario faced by many PC enthusiasts and gamers. Heat buildup can jeopardize the performance and lifespan of your precious components. But fear not! There is a simple solution to keep your system cool and prevent thermal throttling – adding more fans to your motherboard.
By strategically installing additional fans, you can significantly improve heat dissipation and create a well-cooled environment for your PC. But where do you start? How do you connect these extra fans to your motherboard and ensure they work in harmony?
In this comprehensive cooling expansion guide, we will take you through the process step by step. From understanding the importance of proper cooling to exploring the benefits of extra fans, we’ll equip you with the knowledge and know-how to optimize your PC’s cooling efficiency.
Key Takeaways:
- Adding extra fans to your motherboard enhances heat dissipation and prevents performance degradation.
- Proper cooling is vital for optimal PC performance and the longevity of critical hardware components.
- Motherboard fan connectors, such as PWM and DC headers, play a crucial role in connecting fans to the motherboard.
- Strategically placing fans in your PC case and understanding fan direction are key to maximizing airflow.
- By following this guide, you’ll have the knowledge to improve your PC’s cooling performance and extend its lifespan.
Importance of Proper Cooling in a PC

Proper cooling is essential to maintain a PC’s optimal performance and longevity. Excessive heat can cause reduced performance, system instability, and permanent damage to sensitive parts. With effective heat dissipation and lower operating temperatures, a well-cooled system can run smoothly, prevent thermal throttling, and extend the lifespan of critical hardware components. Adequate cooling also leads to a quieter computing experience.
“Proper cooling is crucial for preventing hardware damage and ensuring reliable performance. A well-cooled system operates within safe temperature ranges, preventing thermal throttling and potential hardware failures.” – Mark Johnson, IT Specialist
When a computer’s internal components generate heat during operation, it is essential to have efficient cooling mechanisms in place. High-performance tasks such as gaming, video rendering, or running resource-intensive software can significantly increase the heat generated, making proper cooling even more critical.
Optimal cooling efficiency is achieved when heat is efficiently dissipated and operating temperatures are kept within acceptable ranges.
Preventing Thermal Throttling
One of the main reasons for maintaining proper cooling is to prevent thermal throttling. Thermal throttling occurs when the CPU or GPU, operating at high temperatures, reduces its clock speed to prevent overheating. This reduction in clock speed negatively impacts performance, resulting in slower and less responsive operations. By ensuring effective cooling, the risk of thermal throttling is greatly minimized, allowing for consistent performance levels.
Protection Against Hardware Damage
Heat is a significant factor that contributes to the degradation of computer hardware over time. Excessive heat can cause electronic components to age faster and become more prone to failure. Overheating can also lead to thermal stress, which can cause solder connections to weaken or crack, resulting in hardware malfunctions or complete failure. By maintaining proper cooling, the risk of hardware damage is significantly reduced, ultimately extending the lifespan of components and saving repair or replacement costs.
A properly cooled system not only ensures the longevity of hardware components but also contributes to overall system stability and reliability. By addressing cooling needs, users can create an optimal computing environment that promotes efficient performance and minimizes the risk of hardware failure.
To visually understand the importance of proper cooling in a PC, take a look at the table below that highlights the effects of operating temperatures on CPU performance and potential hardware damage:
| Operating Temperature | CPU Performance | Potential Hardware Damage |
|---|---|---|
| Optimal (40-60°C) | Consistent and peak performance | Minimal risk |
| High (60-75°C) | Slight performance degradation | Increased risk |
| Critical (>75°C) | Significant performance reduction due to thermal throttling | High risk of hardware damage |
Now that we understand the importance of proper cooling, let’s explore the benefits of adding extra fans to the motherboard in the next section.
Benefits of Adding Extra Fans to the Motherboard

Adding extra fans to the motherboard offers numerous benefits for optimal cooling performance. Let’s explore how these additional fans contribute to enhanced heat dissipation, improved airflow, and customized fan control:
Improved Heat Dissipation
Extra fans play a vital role in dissipating heat, particularly around critical components like the CPU and GPU. By increasing the airflow within the case, these fans effectively prevent performance degradation and potential damage caused by excessive heat buildup.
PWM Fan Control
Pulse Width Modulation (PWM) fan control is a key feature that comes with the use of additional fans. PWM technology allows the motherboard to adjust fan speed based on temperature feedback, ensuring optimal cooling under different load conditions. This dynamic fan speed adjustment optimizes overall cooling performance and helps maintain stable temperatures.
Fan Synchronization for Balanced Airflow
By synchronizing the operation of multiple fans, airflow within the case can be evenly distributed. This ensures a balanced cooling environment throughout the system and prevents hotspots. Fan synchronization promotes enhanced cooling efficiency, enabling components to operate at their full potential without the risk of overheating.
Enhanced Airflow
When strategically placed, extra fans facilitate improved airflow within the case. They work in conjunction with existing fans to create an efficient cooling pathway, effectively reducing stagnant pockets of hot air. Enhanced airflow contributes to lower operating temperatures and helps maintain a stable and reliable computing environment.
Custom Fan Curves for Tailored Cooling Performance
With additional fans connected to the motherboard, users gain the flexibility to create custom fan curves. Fan curves allow for precise control over fan speed based on temperature thresholds, enabling users to tailor cooling performance to their specific needs. This level of customization ensures optimal cooling for different system configurations and user preferences.
Adding extra fans to the motherboard not only improves heat dissipation but also enhances overall airflow, offers fan control customization options, and promotes system stability. The combination of these benefits leads to better cooling performance and increased longevity for your PC components.
Understanding Motherboard Fan Connectors

Motherboard fan connectors play a crucial role in connecting cooling fans directly to the motherboard. They provide the necessary power and control signals to ensure optimal fan operation. Let’s explore the two main types of fan connectors: PWM fan headers and DC fan headers.
PWM Fan Headers
PWM stands for Pulse Width Modulation, and PWM fan headers are the most versatile and widely used type of fan connector. They offer precise speed control based on PWM signals, allowing the motherboard to adjust the fan speed according to the temperature sensors’ feedback. This dynamic fan control ensures optimal cooling performance and minimizes noise levels. PWM fan headers have a 4-pin configuration, providing the necessary power and control signals to the fan.
DC Fan Headers
DC fan headers are less common but can still be found in some budget or older motherboard models. Unlike PWM fan headers, DC fan headers run at a constant speed determined by the voltage supplied to them. The motherboard sends a fixed voltage signal to the fan, resulting in a constant fan speed. DC fan headers usually have a 3-pin configuration, providing the necessary power and ground connections to the fan.
When choosing motherboard fan connectors, it’s essential to consider the fan control circuitry and compatibility with the fans you intend to use. Most modern motherboards offer a combination of PWM and DC fan headers, allowing you to connect a variety of fans with different control options.
| Feature | PWM Fan Headers | DC Fan Headers |
|---|---|---|
| Speed Control | Precise speed control based on PWM signals | Fixed speed determined by voltage |
| Configuration | 4-pin | 3-pin |
| Control Options | Dynamic fan speed adjustment | Constant fan speed |
| Widely Used | Yes | Less common |
Now that you understand the differences between PWM fan headers and DC fan headers, you can choose the appropriate fan connectors for your cooling setup. The flexibility and control offered by PWM fan headers make them the preferred choice for most users, especially when it comes to optimizing cooling performance and reducing noise levels.
Where to Install Fans in Case (PC Airflow 101)
To optimize PC airflow and ensure efficient cooling, it’s important to strategically place fans in your case. By understanding how airflow works, you can maximize cooling performance and maintain optimal operating temperatures for your components.
Most cases are designed with specific mounting points for fans, typically located on the back, front, top, and side panels. These mounting points allow for proper placement and alignment, facilitating the flow of air throughout the case.
Airflow within a PC generally follows a front-to-back direction, where cool air is drawn in through intake fans and expelled out through exhaust fans. This creates a steady and efficient flow of air, preventing hot air from stagnating and causing temperature spikes.
Intake fans are typically placed at the front of the case, where they can draw in cool air from the outside. This helps to lower the ambient temperature inside the case and supply fresh air to the components, ensuring optimal cooling performance. The number of intake fans required depends on factors such as PC power consumption and room temperature.
Exhaust fans, on the other hand, are positioned at the back or top of the case. Their primary function is to expel hot air generated by the components. By removing the hot air from the vicinity of the components, exhaust fans contribute to maintaining lower operating temperatures and preventing heat buildup.
Keep in mind that achieving a balanced airflow is crucial for efficient cooling. Aim to have a slightly higher airflow rate for exhaust fans compared to intake fans. This helps to minimize dust buildup and ensures that hot air is effectively expelled from the case.
Optimizing Fan Placement for Different Components
Different components have varying cooling requirements, and optimizing fan placement can help ensure efficient cooling for each one. Here’s a general guideline for fan placement in relation to key components:
| Component | Recommended Fan Placement |
|---|---|
| CPU | Position an intake fan in front of the CPU cooler to supply fresh air for efficient heat dissipation. An exhaust fan near the back can help expel the heated air. |
| GPU | Mount intake fans in front of the GPU to supply cool air directly to its cooling fans. An exhaust fan near the top or back of the case can aid in removing the hot air. |
| Power Supply | If your power supply unit (PSU) has a fan facing downwards, ensure there is sufficient clearance for proper airflow. Additionally, an exhaust fan near the PSU can further assist in removing heat. |
| Storage Drives | While storage drives don’t generate as much heat as other components, they can still benefit from passive airflow. Positioning an intake fan near the front of the drive bays can help ensure adequate cooling. |
By strategically placing fans based on component cooling requirements, you can achieve optimized airflow and maintain optimal operating temperatures throughout your PC.
How to Know Which Way Case Fans Should Face

Proper fan direction is crucial for effective airflow in your PC. To ensure optimal cooling performance, it’s important to understand which way case fans should face when installing them. Fortunately, determining fan direction is relatively simple.
Most case fans have arrows or markings indicating the direction of airflow. These arrows are typically located on the fan’s frame or label. Alternatively, the side with the spokes or the brand sticker usually indicates the exhaust side of the fan.
When installing case fans, it’s essential to align the airflow direction with the desired path of airflow within your PC. This means that intake fans should be positioned to pull in cool air, while exhaust fans should be oriented to expel hot air. The correct fan direction ensures that airflow is optimized and heat is efficiently dissipated.
To give you a visual representation of the fan direction, refer to the image below:
| Fan Orientation | Desired Airflow Path |
|---|---|
| Intake fan | Pulls cool air into the case |
| Exhaust fan | Expels hot air out of the case |
How to Remove Front Panel of PC Case
Installing a front fan in your PC case requires removing the front panel. This process allows for improved intake airflow and efficient cooling. Here’s a step-by-step guide on how to remove the front panel safely:
- Locate the top or bottom edges of the front panel.
- Firmly grip the panel with both hands.
- Apply moderate pressure and pull the panel towards you.
- Continue pulling until the panel detaches from the case.
When removing the front panel, exercise caution to avoid damaging the front panel connectors. These connectors allow various components, such as USB ports and audio jacks, to function properly. Take care not to strain or disconnect any wires connected to the front panel during the removal process.
Once the front panel is successfully removed, you will have access to the front fan mounting points. This allows you to install a front fan for enhanced airflow and cooling performance.
| Step | Description |
|---|---|
| 1 | Locate the top or bottom edges of the front panel. |
| 2 | Firmly grip the panel with both hands. |
| 3 | Apply moderate pressure and pull the panel towards you. |
| 4 | Continue pulling until the panel detaches from the case. |
By removing the front panel, you can easily install a front fan, which is crucial for optimal cooling in your PC case. The improved intake airflow helps dissipate heat effectively, ensuring the smooth operation of critical components and preventing potential damage.
How to Securely Install Case Fans
When it comes to optimizing the cooling performance of your PC, securely installing case fans is crucial. By properly mounting your case fans, you can ensure efficient airflow and maintain optimal temperatures for your components. Follow these steps to securely install case fans:
- Locate the mounting points on your PC case where the fans will be installed. These mounting points are usually located on the front, back, top, and side panels.
- Check if the case fans you purchased come with mounting screws. Most fans include screws specifically designed for installation.
- If the case fans did not come with mounting screws, check the accessory box that came with your PC case. The necessary screws are often included there.
- Position the case fan in the desired mounting location and align the screw holes on the fan with the corresponding holes on the case.
- Insert the screws provided into the aligned holes and tighten them gently using a screwdriver. Be careful not to overtighten the screws, as this may damage the fan or strip the screw holes.
- If you are installing multiple fans, you can optimize airflow by installing more exhaust fans than intake fans. This configuration helps to expel hot air generated by the components and maintain a cool interior environment within the case.
Properly securing your case fans ensures stability, prevents vibrations, and minimizes any potential noise issues. By adhering to these installation steps, you can achieve optimal cooling performance and extend the lifespan of your PC components.
For a visual reference, check out the image below:
Connecting Fans to the Motherboard
Connecting additional fans to your motherboard is a straightforward process that ensures efficient cooling and optimal performance of your PC. By utilizing the appropriate motherboard headers, you can easily integrate your fans into the system. Let’s explore the steps involved in connecting fans to the motherboard and the options available for expanding fan connections.
1. Identifying Motherboard Headers
Modern motherboards are equipped with specific headers designed for fan connections. These headers are typically labeled as SYS_FAN, PWR_FAN, or CHA_FAN. To ensure compatibility, refer to your motherboard’s manual to locate the appropriate headers for fan installation.
2. Determining Fan Connector Availability
The number of fan connectors available on your motherboard depends on the model and brand. It’s important to check the specifications or manual to confirm the exact quantity. This will help you determine if you need to explore alternative options for connecting additional fans.
3. Consider a Fan Extension Card
If there are more fans than available headers on your motherboard, a fan extension card can be a practical solution. A fan extension card allows you to connect multiple fans to a single header, expanding your fan connections and optimizing cooling performance.
4. Avoid CPU-FAN Headers
It’s essential to avoid connecting fans to CPU-FAN headers, as these headers are typically reserved for CPU coolers. Connecting additional fans to the CPU-FAN header may result in improper cooling and potentially affect CPU performance. Always utilize the dedicated SYS_FAN, PWR_FAN, or CHA_FAN headers for fan connections.
By properly connecting fans to the motherboard headers and considering fan extension cards when necessary, you can effectively enhance the cooling capabilities of your PC. This ensures that your components remain at optimal temperatures, preventing overheating and maximizing performance.
Further Fan Optimization and Considerations
To ensure optimal fan performance, it is essential to consider fan speeds and cable management. By adjusting fan speeds through the motherboard’s BIOS or dedicated software, you can fine-tune cooling efficiency and achieve the desired balance between performance and noise levels. Lower fan speeds can result in quieter operation, while higher speeds provide more airflow for intensive tasks.
When it comes to cable management, keeping your PC’s internals organized is crucial for maintaining good airflow and reducing clutter. Neatly routing and securing cables not only improves aesthetics but also prevents obstruction of airflow around fans, ensuring efficient cooling throughout your system.
For advanced cooling options, consider exploring all-in-one water coolers. These systems offer enhanced cooling performance, particularly for overclocking or high-performance builds. By replacing traditional air cooling with liquid cooling technology, all-in-one water coolers can provide superior heat dissipation and allow for more efficient fan operation.
By optimizing fan speeds, managing cables effectively, and exploring advanced cooling options, you can maximize the cooling performance of your PC and create an optimal environment for your components to operate, ensuring their longevity and reliability.
Fan Optimization Tips:
- Adjust fan speeds through the motherboard’s BIOS or software for the desired balance of performance and noise levels.
- Ensure proper cable management to maintain good airflow and prevent cable obstruction.
- Consider all-in-one water coolers for advanced cooling performance.
“Optimizing fan speeds and keeping cables organized are essential for maximizing cooling efficiency and preventing potential issues caused by poor airflow. Additionally, exploring advanced cooling options such as all-in-one water coolers can further enhance the cooling performance of your PC.”
Conclusion
By following this comprehensive fan installation guide, you can significantly improve the cooling performance of your PC. The addition of extra fans to your motherboard allows for better airflow and heat dissipation throughout the system, resulting in lower operating temperatures, optimal performance, and increased longevity of your PC components.
Strategic fan placement, such as intake and exhaust fans in appropriate locations, ensures a balanced airflow that prevents thermal throttling and potential hardware damage. By synchronizing the fans and utilizing PWM fan control, you can create custom fan curves for tailored cooling performance, maximizing the efficiency of your cooling system.
Remember to properly connect the fans to the motherboard using the appropriate headers and consider fan optimization techniques like adjusting fan speeds and practicing good cable management. These additional steps can further enhance cooling performance and create a quieter and more efficient computing environment.
With improved cooling performance, you can enjoy a reliable and long-lasting PC that can handle demanding tasks, gaming sessions, and high-performance activities with ease. So, take advantage of this fan installation guide and ensure your PC remains cool, performant, and optimized for years to come.


