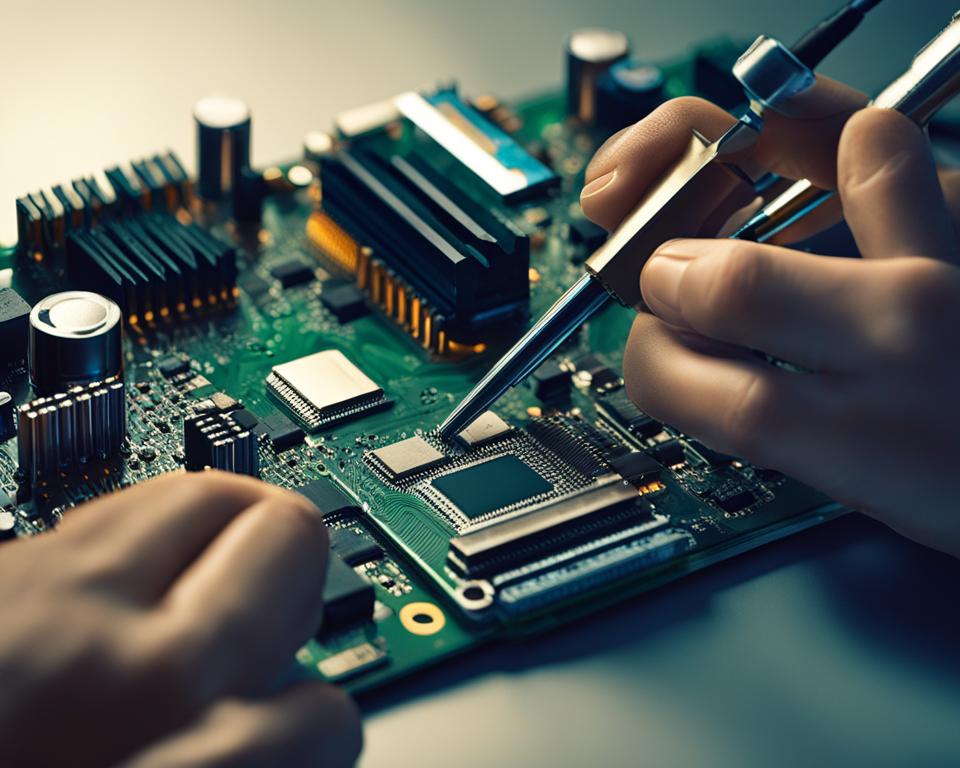
Have you ever felt the thrill of pushing your computer’s performance to its limits? Overclocking, the practice of increasing the clock speed of your CPU or GPU, can deliver impressive results in terms of speed and power. However, with great power comes great responsibility, as they say. Overclocking can also lead to system instability and reduced component lifespan if not done properly.
Let me share a story with you. Meet Mark, an avid gamer who was determined to extract every ounce of performance from his gaming rig. He had spent countless hours researching overclocking techniques and tweaking his hardware settings. Mark reveled in the impressive frame rates and benchmark scores he achieved, feeling like he had unlocked a new level of gaming prowess.
However, as time went on, Mark started experiencing random system crashes and freezes during intense gaming sessions. He noticed his CPU and GPU temperatures were skyrocketing, and he began to worry about the long-term effects of overclocking on his beloved components.
Realizing the potential risks involved, Mark decided it was time to disable overclocking and return his components to their default speeds. He wanted to regain system stability and ensure the longevity of his hardware.
If you find yourself in a similar situation, fret not. In this article, we will explore various methods to disable overclocking on your CPU, GPU, and RAM. By following these steps, you can bid farewell to the instability caused by overclocking and return your system to its default, safe settings.
Key Takeaways
- Overclocking can provide a performance boost but may also lead to system instability and reduced component lifespan.
- Disabling overclocking is crucial to restore system stability and ensure the longevity of your components.
- In this article, we will discuss methods to disable overclocking on your CPU, GPU, and RAM.
- By following the steps outlined, you can confidently return your system to its default, safe settings.
- Regular monitoring of system performance, temperature, and driver updates is essential post-overclocking to maintain optimal performance.
Understanding Overclocking and Related Settings
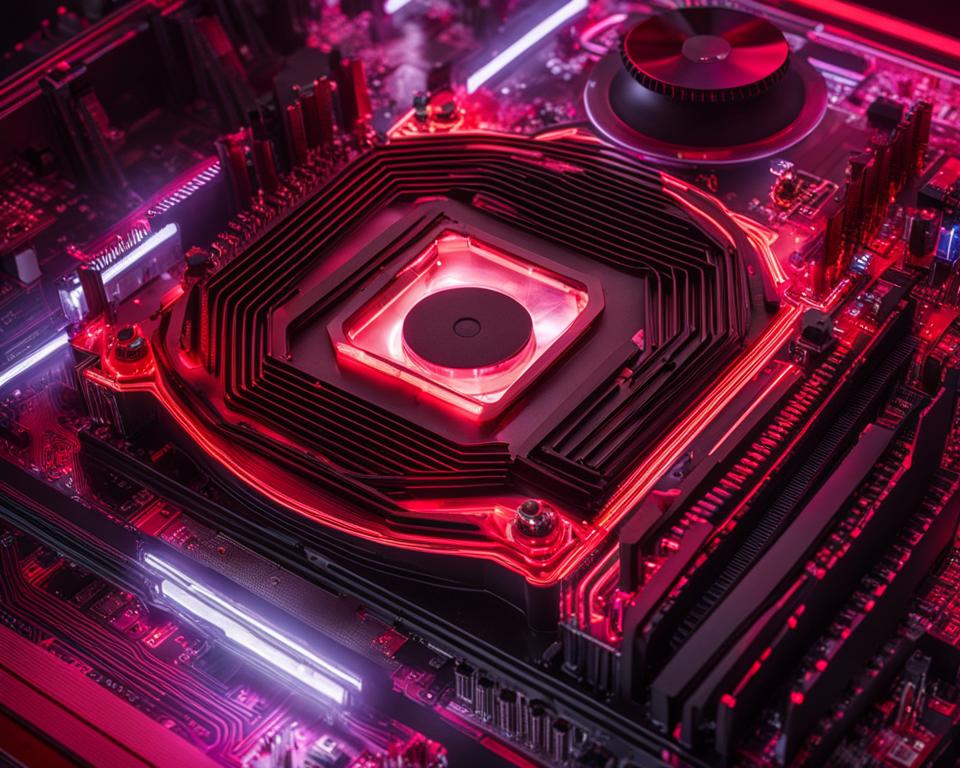
In the world of computer hardware, overclocking plays a significant role in enhancing performance. By increasing the clock speed of your CPU or GPU, you can unlock additional power and optimize your system for demanding tasks. Let’s explore the key concepts related to overclocking and understand how to harness its potential effectively.
What is Overclocking?
Overclocking is the practice of pushing your computer’s components, such as the CPU or GPU, beyond their factory-defined clock speeds to achieve higher performance levels. By increasing the clock speed, you can boost the overall speed and responsiveness of your system.
However, it is important to note that overclocking comes with potential risks. It can generate additional heat and put more stress on your hardware, potentially reducing its lifespan. Therefore, understanding the concept of overclocking and its related settings is crucial before proceeding.
Boost Clocks: Automatic Performance Enhancement
In modern CPUs and GPUs, you might come across the term “boost clock.” Boost clocks are a built-in feature that allows processors to automatically increase their clock speeds under certain conditions, such as when demanding applications or games are running.
This automatic boosting can provide a significant performance boost without the need for manual overclocking. While boost clocks are advantageous and can get you that extra performance when needed, they also need to be considered when assessing your system’s overall clock speed.
Manual Overclocking: Fine-Tuning for Maximum Performance
If you want to take control of your system’s clock speeds and push the boundaries of performance further, manual overclocking is the way to go. Manual overclocking involves adjusting various settings, such as voltage and clock speeds, in the BIOS or using specialized software like MSI Afterburner for GPU overclocking.
By tweaking these settings, you can optimize your CPU or GPU, potentially achieving higher clock speeds and better overall performance. However, manual overclocking requires careful consideration and monitoring of temperatures and stability to avoid any negative consequences.
Unlocking Performance Potential with Clock Speeds
When it comes to achieving the maximum performance from your CPU or GPU, clock speed is a crucial factor. Clock speed refers to the number of cycles a processor can execute per unit of time, usually measured in gigahertz (GHz). The higher the clock speed, the faster the processor can perform computations.
By understanding the relationship between clock speed and performance, you can identify the potential impact of overclocking and make informed decisions to optimize your system for specific tasks.
Now that we have a better understanding of overclocking, boost clocks, manual overclocking, and the significance of clock speed, we can delve into the methods of disabling overclocking and returning your components to their default speeds.
Uninstalling GPU Overclocking Software
When it comes to disabling GPU overclocking, the most common method is to uninstall the GPU overclocking software that you have been using, such as MSI Afterburner. This software allows users to manually adjust GPU clock speeds, but if you no longer wish to continue overclocking your GPU, uninstalling the software is a straightforward solution.
By uninstalling the GPU overclocking software, your GPU should automatically revert to its stock settings, ensuring that it operates at its default clock speeds and configurations. Returning to these default settings is important to maintain stability and prevent any potential issues that may arise from excessive overclocking.
If, after uninstalling the GPU overclocking software, your GPU does not return to its stock settings, it may be necessary to take additional steps to reset the GPU driver. This can help ensure that any residual overclocking settings are completely removed, allowing your GPU to operate as if it were freshly installed.
Uninstalling the GPU overclocking software, like MSI Afterburner, is typically a safe and effective method for disabling GPU overclocking. However, it is important to note that this process may vary depending on the specific software you are using. Consult the software’s documentation or online resources for detailed instructions on how to properly uninstall and revert to stock settings.
Reverting CPU Overclocking Software Settings
If you have overclocked your CPU using popular CPU overclocking software like Intel XTU or AMD Ryzen Master Utility, you have the option to revert the CPU back to its original stock settings within the same software. This allows you to easily return your CPU to its default configuration, eliminating any potential issues that may arise from overclocking.
To revert to stock settings, follow these simple steps:
- Launch the CPU overclocking software (Intel XTU or AMD Ryzen Master Utility) on your computer.
- Navigate to the settings or configuration menu within the software.
- Look for an option to “Reset” or “Revert to Stock Settings.”
- Select this option to undo the changes made by the overclocking software.
By following these steps, you can easily revert your CPU back to its default clock speeds and voltage settings, restoring its stability and ensuring optimal performance. It is important to note that you should always use the same software to revert the settings to avoid any potential conflicts or compatibility issues.
Reverting to stock settings is especially recommended before uninstalling the CPU overclocking software. It ensures that your CPU operates within its intended specifications and minimizes the risk of any instability or component damage.
If you are unsure about how to navigate the CPU overclocking software or cannot find the option to revert to stock settings, consult the software’s documentation or visit the manufacturer’s website for detailed instructions.
Benefits of Reverting to Stock Settings
Returning your CPU to its stock settings offers several benefits:
- Improved System Stability: Overclocking can sometimes result in system instability, causing crashes and unpredictable behavior. Reverting to stock settings helps restore the stability of your system, ensuring smooth and reliable operation.
- Longevity of Components: Overclocking puts additional strain on the CPU, which can potentially reduce its lifespan. By returning to the stock settings, you can help preserve the longevity of your CPU and other components.
- Ease of Troubleshooting: Should you encounter any issues with your system, reverting to stock settings eliminates overclocking as a potential cause, making troubleshooting and identifying the root cause easier.
| Software | Key Features |
|---|---|
| Intel XTU |
|
| AMD Ryzen Master Utility |
|
Whether you are experimenting with overclocking or have decided it’s not for you, the ability to easily revert back to stock settings provides peace of mind and the reassurance that your CPU is operating within its recommended specifications.
Disabling BIOS Settings Relating to Overclocking
When it comes to overclocking, many CPU adjustments are made within the BIOS settings. Even if you haven’t manually tweaked your overclock, there are certain BIOS settings that can impact your system’s performance. It’s important to understand and disable these settings to remove any automatic overclocking or performance boosts.
XMP/EXPO Profiles
One of the BIOS settings to look out for is XMP/EXPO profiles for RAM. XMP, or eXtreme Memory Profile, allows your RAM to operate at a higher frequency than the default settings. Disabling the XMP/EXPO profile will return your RAM to its stock speeds, reducing the chances of instability caused by overclocked memory.
Turbo Boost/Precision Boost
Another crucial setting to consider is Turbo Boost (for Intel CPUs) or Precision Boost (for AMD CPUs). These features automatically increase the clock speed of your CPU to deliver better performance. While Turbo Boost/Precision Boost can be beneficial, disabling them will prevent the CPU from running at higher frequencies, ensuring a return to default and stable speeds.
Enhanced Multi-Core Performance
Some BIOS settings provide an option to enhance the multi-core performance of your CPU. This feature allows the CPU to operate at higher frequencies across all cores simultaneously. However, disabling this setting will prevent any potential overclocking or performance boosts, providing stability at the default clock speeds.
Turbo Ratio
Turbo Ratio is another setting to be aware of in the BIOS. It determines the maximum multiplier that can be applied to the CPU clock speed. Disabling Turbo Ratio will restrict the CPU from reaching higher clock speeds, ensuring it operates at the base frequency, which can help eliminate any concerns related to overclocking.
Disabling these BIOS settings is essential for users who want to return their system to the default speeds and eliminate any potential risks associated with overclocking. By carefully navigating through the BIOS and disabling the appropriate settings, you can ensure that your CPU operates within its intended parameters and maintain system stability.
Tweak Windows CPU Clock Settings
If you want to optimize your CPU’s performance, reduce power consumption, manage temperatures, and minimize noise levels, tweaking the power plans in Windows can be an effective solution. By adjusting the maximum CPU state in the advanced power plan settings, you can limit the CPU’s frequencies, resulting in lower power consumption and reduced heat exhaust. While this method won’t disable an overclock entirely, it can help you maintain control over your CPU’s performance and temperature.
Modifying the power plans in Windows allows you to customize how your system manages power and performance. Windows offers several power plans, including Balanced, Power Saver, and High Performance. Each power plan has different configurations for the CPU clock settings, defining how the CPU operates and how its frequencies are managed.
To access the power plans in Windows, follow these steps:
- Navigate to the Windows Control Panel.
- Click on the Hardware and Sound option.
- Under the Power Options section, click on Change power-saving settings.
Once you have accessed the power options, you can make adjustments to the CPU clock settings:
- Select the power plan you wish to modify, such as Balanced or Power Saver.
- Click on Change plan settings.
- Click on Change advanced power settings.
In the advanced power settings, you will find various options related to CPU clock settings, including the maximum and minimum CPU state. Adjusting the maximum CPU state to a lower percentage can help limit the CPU’s frequencies and subsequently reduce power consumption and heat generation. It is important to strike a balance between performance and power efficiency based on your specific needs and usage patterns.
Keep in mind that modifying the CPU clock settings may impact overall system performance. Lowering the CPU state too much may result in reduced performance, especially during resource-intensive tasks. It is recommended to monitor system performance and adjust the CPU clock settings accordingly to find the optimal balance for your needs.
Benefits of Tweak Windows CPU Clock Settings:
Reduced power consumption: By limiting the CPU’s frequencies, you can lower power draw and improve energy efficiency.
Improved temperature management: Lower CPU clock speeds result in reduced heat generation and can help manage CPU temperatures more effectively.
Noise reduction: By lowering the CPU’s frequencies, you can reduce fan speeds and minimize noise levels.
It is important to note that tweaking Windows CPU clock settings may vary depending on your specific operating system version and hardware configuration. Always refer to the official documentation or support resources provided by Microsoft or your hardware manufacturer for detailed instructions and recommendations.
Resetting GPU Driver
If you have tried other methods to disable GPU overclocking and nothing has worked, you can reset the GPU driver using a utility like Display Driver Uninstaller (DDU). DDU removes all traces of the GPU driver from your system, effectively stopping any overclocking settings. After using DDU, it is important to reinstall the latest GPU driver to ensure proper functionality.
“Resetting the GPU driver is a crucial step in disabling overclocking. Using tools like Display Driver Uninstaller (DDU) allows you to remove all traces of the GPU driver, wiping out any overclocking settings that may be lingering in your system.”
When overclocking your GPU, it’s important to remember that these settings can persist even after disabling them through other methods. By utilizing DDU, you can completely eliminate any traces of the previous GPU driver, including overclocking profiles and settings that may not have been entirely removed by conventional methods. This ensures a clean slate for a fresh driver installation.
To reset the GPU driver, follow these steps:
- Download Display Driver Uninstaller (DDU) from the official website.
- Restart your computer in Safe Mode to prevent any conflicts.
- Launch DDU and select the GPU manufacturer (NVIDIA or AMD).
- Click on “Clean and Restart” to remove all GPU driver traces.
- After your computer restarts, download and install the latest GPU driver from the manufacturer’s website.
- Follow the installation prompts to complete the process.
By performing a clean driver installation, you ensure that any remnants of GPU overclocking are completely removed and that your system is running on fresh, default settings. This promotes stability and prevents any potential issues caused by lingering overclocking settings.
Resetting BIOS
If all other methods have failed to disable your overclock, you can reset the BIOS settings. This can be done by clearing the CMOS battery on older motherboards or using the dedicated CMOS reset button/jumper on newer boards. Resetting the BIOS will revert all settings, including any overclocking, to default values. It is important to consult your motherboard manual or online guides for the specific steps to reset the BIOS.
Resetting the BIOS is a powerful method to disable overclocking and return your system to its default settings. This process eliminates any customized configurations and ensures that your components run at their intended speeds. Whether you have experienced instability issues or simply want to remove any overclocking, resetting the BIOS can provide a clean slate for your hardware.
Maintaining Your System Post-Overclocking
After disabling overclocking, it is crucial to prioritize system maintenance to ensure optimal performance and longevity. By following these essential steps, you can proactively safeguard your system from potential issues that may arise from overclocking.
1. Monitor System Performance
Regularly monitoring your system’s performance is key to identifying any abnormalities or signs of stress. Keep an eye on system temperatures, CPU speed, and overall performance metrics. This can be achieved through various software tools or BIOS monitoring features. If you notice significant drops in performance or unusual spikes in temperature, it may indicate the need for further adjustments.
2. Implement Temperature Monitoring
To prevent overheating and potential damage, it is important to implement effective temperature monitoring. Invest in reliable temperature monitoring software or hardware to accurately monitor your CPU and GPU temperature levels. By keeping temperatures within safe ranges, you can prolong the lifespan of your hardware components and maintain system stability.
3. Optimize Cooling Solutions
Efficient cooling solutions are crucial for maintaining system stability, especially after overclocking. Consider upgrading your CPU and GPU cooling systems to ensure effective heat dissipation. Options such as high-performance air coolers, liquid cooling systems, or additional case fans can help keep temperatures at optimal levels, reducing the risk of thermal throttling and potential performance degradation.
4. Perform Regular Driver Updates
Keeping your system’s drivers up to date is vital for optimal performance and compatibility. Regularly check for driver updates from your hardware manufacturer’s official website or utilize driver update software. Updated drivers often include bug fixes, performance enhancements, and compatibility improvements, ensuring your system operates efficiently and effectively.
Remember, maintaining your system requires proactive monitoring, optimization, and timely updates to maximize system performance and stability.
**
| Maintenance Tasks | Frequency |
|---|---|
| Monitor system performance and temperature | Weekly |
| Perform cooling system maintenance | Monthly |
| Check for driver updates | Monthly |
| Review overclocking settings and adjust if necessary | Quarterly |
By following these maintenance practices, you can ensure the long-term stability and performance of your system even after disabling overclocking. Remember, system performance, temperature monitoring, cooling, and driver updates are essential pillars of maintaining a healthy and optimized system.
The Importance of Disabling Overclocking
Disabling overclocking is of utmost importance when it comes to maintaining system stability and preventing potential damage to your valuable components. While overclocking can provide a performance boost, it also comes with certain risks that can compromise the reliability and longevity of your system.
By pushing your hardware beyond its default speeds, overclocking increases power consumption and generates more heat. This higher power draw and increased temperature can put excessive stress on your components, potentially leading to system instability and premature component failure.
Returning your components to their default speeds and disabling overclocking eliminates these risks. By operating within the specified limits designed by the manufacturer, you ensure optimal system performance and longevity. It allows your hardware to function as intended, without pushing it to its limits and risking component damage.

