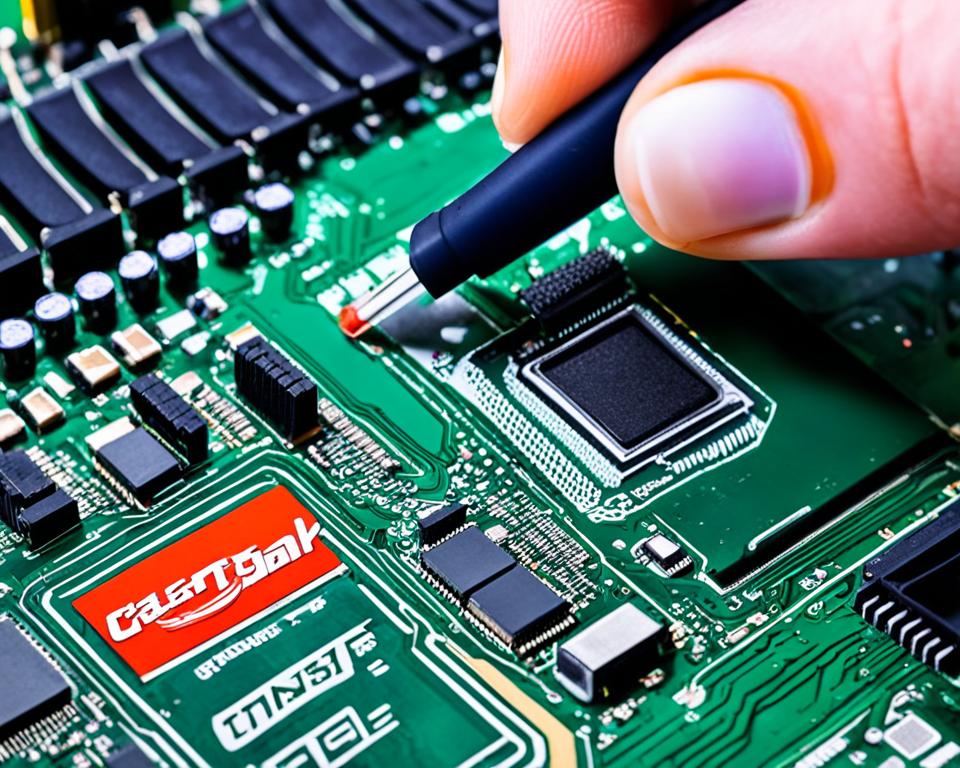
Imagine you’ve just finished building your dream gaming rig. The anticipation builds as you power it on for the first time, only to be met with a terrifying sight – thermal paste smeared all over your precious motherboard. Panic sets in as you realize the potential damage this sticky mess could cause. But fear not, for we have the solution to your thermal paste woes.
In this article, we will guide you through the best techniques to safely and effectively remove thermal paste from your motherboard. Whether you’re a seasoned DIY enthusiast or a first-time builder, these cleaning tips will ensure your motherboard stays in pristine condition and your computer performs at its best.
Key Takeaways:
- Knowing how to remove thermal paste from a motherboard is essential for maintaining optimal performance and preventing potential damage.
- There are different types of thermal paste, some of which can cause electrical damage if spilled onto the motherboard.
- Using a dedicated thermal paste cleaner, such as Kooling Monster’s KLEAN-01, ensures effective and safe removal.
- Regularly cleaning off old thermal paste from the motherboard and CPU is recommended to prevent any complications.
- Proper handling of CPUs and thermal paste is crucial to avoid damage and ensure longevity.
What happens if thermal paste is dripped on the motherboard?
Accidentally dripping thermal paste onto the motherboard can have serious consequences, potentially leading to electrical damage or short circuits. The level of risk depends on the type of thermal paste used. Silicone-based thermal paste, which is non-conductive, poses no threat to electrical components on the motherboard. However, if silver-based or liquid metal thermal paste, which is conductive, spills onto the motherboard, it can cause catastrophic damage.
To prevent any electrical damage, it is crucial to identify the type of thermal paste used. If the paste is non-conductive, there is no immediate need for concern. However, if it is conductive, immediate action must be taken to clean it off the motherboard and prevent any potential harm.
How to clean thermal paste off the motherboard
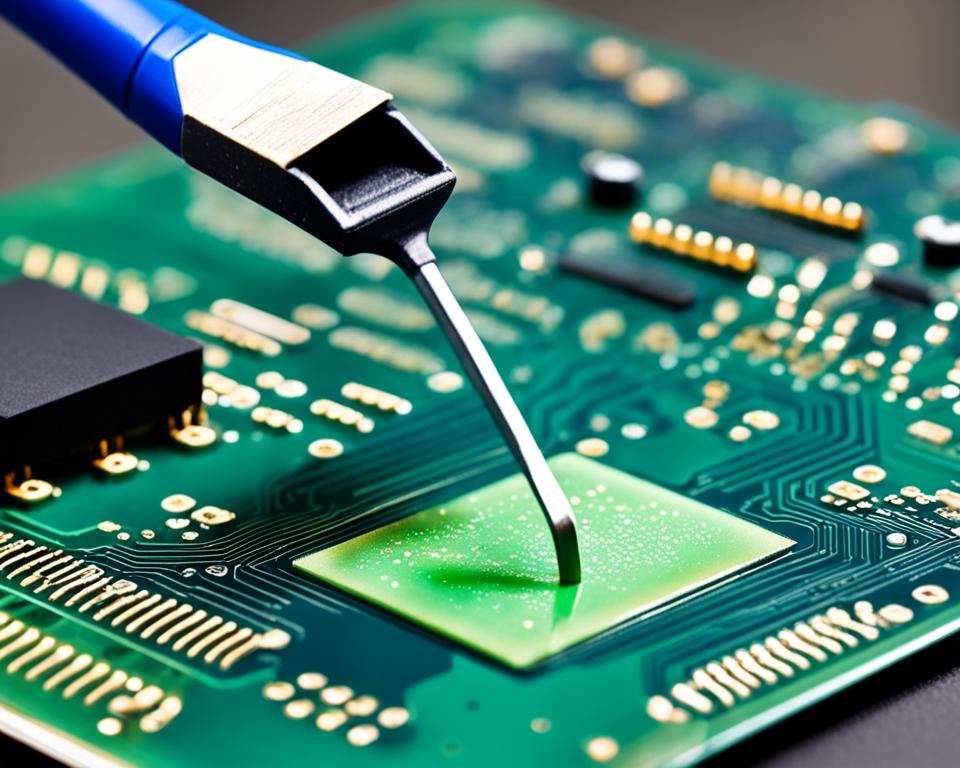
When it comes to removing thermal paste from a motherboard, regardless of whether it is conductive or not, it is strongly recommended to clean it off thoroughly. While isopropyl alcohol or ethyl alcohol can be used for cleaning, utilizing a dedicated thermal paste cleaner offers several advantages. Not only does it eliminate the hassle of finding the right concentration of alcohol, but it also ensures that no unwanted fibers are left behind on the motherboard.
Kooling Monster’s KLEAN-01 Thermal Paste Cleaner is an excellent choice for effectively cleaning thermal paste off the motherboard. This dedicated cleaner comes in the form of pre-applied chemicals on wipes, making the cleaning process easy and convenient.
This high-quality thermal paste cleaner is specifically formulated to tackle tough thermal paste residues without causing any damage to the motherboard or other components. The pre-applied chemicals ensure accurate dosing, eliminating any guesswork and promoting efficient cleaning.
Key Features of KLEAN-01 Thermal Paste Cleaner:
- Pre-applied chemicals on wipes for hassle-free cleaning
- Specially formulated to remove thermal paste residue effectively
- Gentle on motherboard and other components
- Ensures thorough cleaning without leaving unwanted fibers
- Convenient and easy-to-use
In the process of removing thermal paste from the motherboard, it is essential to use a cleaner that is designed specifically for this purpose. The KLEAN-01 Thermal Paste Cleaner provides a safe and efficient solution for effectively cleaning thermal paste residues, ensuring optimal performance and longevity of your computer components.
By choosing a dedicated thermal paste cleaner like KLEAN-01, you can have peace of mind knowing that your motherboard is being cleaned with a product specifically formulated for this task. This not only simplifies the cleaning process but also ensures that all thermal paste residue is effectively removed, leaving your motherboard clean and ready for new thermal paste application.
What happens if thermal paste is not removed from the motherboard?
If thermal paste is not removed from the motherboard, it can potentially lead to various risks and complications, depending on the type of thermal paste used. While silicone-based thermal paste generally poses minimal risk and can be left on the motherboard without immediate removal, it is still recommended to clean the motherboard thoroughly to ensure optimum performance and longevity of your computer components.
However, if the thermal paste is conductive or has the potential to cause damage, it is strongly advised not to use the computer until the thermal paste is cleaned off. Leaving conductive thermal paste on the motherboard can result in short circuits or electrical damage, which can be detrimental to the overall functionality of your computer.
Therefore, it is crucial to identify the type of thermal paste used and take necessary action accordingly:
- If the thermal paste is silicone-based and non-conductive: While immediate removal may not be necessary, it is still recommended to clean the motherboard thoroughly to remove any leftover residue. This ensures a clean and efficient environment for the motherboard and prevents any potential risks in the long run.
- If the thermal paste is conductive or potentially damaging: It is highly advised to clean the thermal paste off the motherboard as soon as possible. This will help avoid any further complications, such as short circuits or electrical damage, that can affect the performance and lifespan of your computer.
Cleaning off the thermal paste from the motherboard is essential for maintaining a safe and optimal computing experience. By taking the necessary steps to remove thermal paste, you can prevent potential damage and ensure the integrity of your computer’s components.
The Risks of Leaving Thermal Paste on the Motherboard:
Leaving thermal paste on the motherboard can lead to:
- Potential short circuits
- Electrical damage
- Compromised performance
- Reduced lifespan of computer components
How to clean thermal paste off CPU
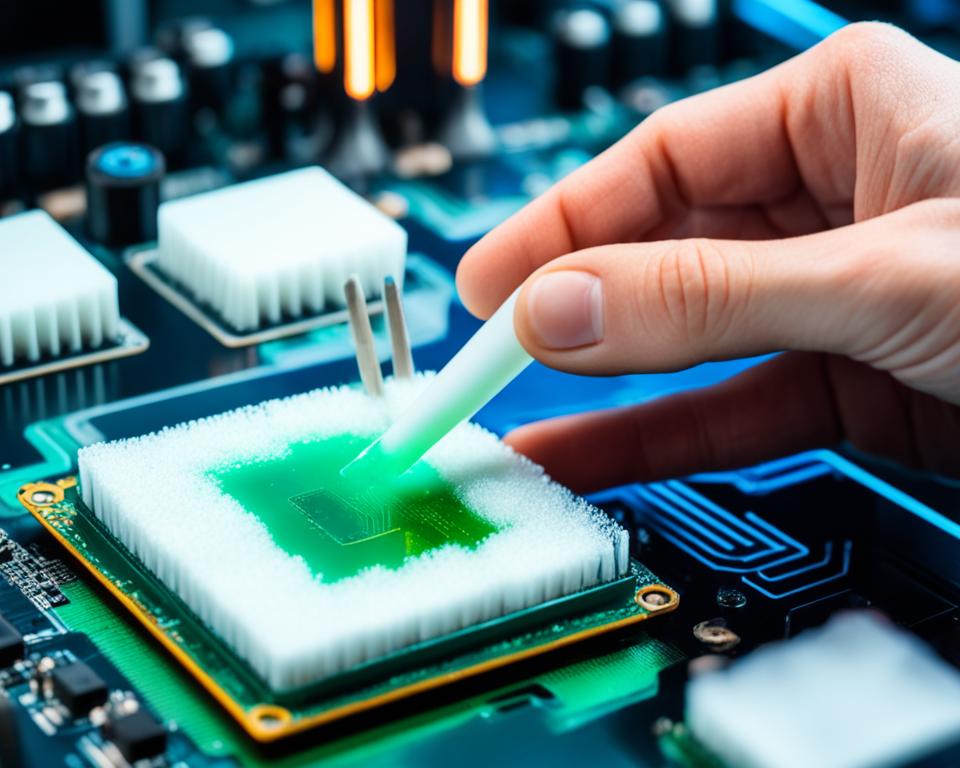
If excess thermal paste spills onto your CPU, it is crucial to clean it off properly to ensure optimal performance. Follow these steps to remove the thermal paste from both the CPU and the heatsink:
- Prepare the necessary tools: a dedicated thermal paste cleaner, such as the KLEAN-01 Thermal Paste Cleaner, lint-free wipes, and a microfiber cloth.
- Apply a small amount of the thermal paste cleaner onto a lint-free wipe.
- Gently and carefully wipe the thermal paste off the CPU and heatsink surface.
- Ensure that all traces of the old thermal paste are completely removed.
- Inspect the CPU and heatsink for any remaining residue.
- If needed, repeat the cleaning process until the surface is clean.
Using a dedicated thermal paste cleaner simplifies the cleaning process, as it eliminates the need for separate cleaning compounds and fabrics. The KLEAN-01 Thermal Paste Cleaner effectively removes the thermal paste without leaving any unwanted fibers or residue.
Reapplying Thermal Paste
After cleaning the CPU and heatsink, you may need to reapply thermal paste before reinstalling the heatsink. Follow the manufacturer’s guidelines for the recommended application method.
Remember to use only a pea-sized amount of thermal paste, placed in the center of the CPU. The pressure from the CPU cooler will evenly distribute the paste, ensuring proper heat transfer.
Properly cleaning the CPU and reapplying thermal paste when necessary is essential for maintaining optimal temperature regulation and maximizing the performance of your computer.
How to apply thermal paste
When it comes to applying thermal paste, precision and moderation are key. To achieve optimal heat transfer and prevent excess mess, follow these proper application techniques:
- Use a pea-sized amount: The amount of thermal paste needed for your CPU is minimal. A pea-sized amount is usually sufficient to create a thin, even layer.
- Place it in the center: Once you have prepared your CPU for thermal paste application, gently squeeze the paste directly onto the center of the CPU. This placement ensures that the paste will spread evenly when the CPU cooler is installed.
- Allow the pressure to distribute: Instead of manually spreading the paste across the CPU surface, allow the pressure from the CPU cooler to evenly distribute the paste. This method ensures that the paste covers the entire CPU surface area effectively.
By following these recommendations, you can achieve proper thermal paste application, facilitating efficient heat dissipation and ensuring the optimal performance of your CPU.
| Application Method | Advantages | Disadvantages |
|---|---|---|
| Pea-sized amount |
|
|
| Spreading manually |
|
|
Note: It is essential to choose the application method that works best for your specific CPU and cooling system. Consider factors such as paste consistency and your comfort level with the application technique.
How to clean off old thermal paste
To ensure optimal performance of your computer’s CPU, it’s essential to clean off old thermal paste before applying a fresh layer. Cleaning off old thermal paste is a straightforward process that requires a few basic tools and materials. Here’s a step-by-step guide on how to clean off old thermal paste efficiently.
1. Using a Paper Towel: Start by gently wiping the old thermal paste with a paper towel. The absorbent nature of the paper towel will help remove most of the paste without causing any damage or leaving residues. Make sure to wipe in a smooth motion, paying attention to the entire contact area.
2. Microfiber Cloth for Thorough Cleaning: For a more thorough cleaning, switch to a microfiber cloth. Microfiber cloths are ideal for precision cleaning as they are soft, lint-free, and non-abrasive. Gently rub the cloth on the surface, ensuring that all the residue is removed.
3. CPU Cleaning Solution: If you desire a more extensive cleaning process, consider using a dedicated CPU cleaning solution or wipe. One example is ArctiClean, a popular choice known for its effectiveness in removing old thermal paste. Follow the manufacturer’s instructions and guidelines for proper usage.
Remember, when cleaning off old thermal paste, it’s essential to handle the CPU with care. Only hold the CPU by its edges to avoid any contact with sensitive areas, such as the pins or contact pads. Taking this precaution will help prevent accidental damage to the CPU during the cleaning process.
With the old thermal paste effectively removed, you can proceed with applying a fresh layer of thermal paste to ensure optimal heat transfer and CPU cooling.
Pros and Cons of Different Cleaning Tools and Methods
| Cleaning Tool/Method | Pros | Cons |
|---|---|---|
| Paper Towel | – Easily accessible and affordable – Removes most thermal paste efficiently | – May leave small residues – Less effective for stubborn paste |
| Microfiber Cloth | – Soft and non-abrasive – Ideal for precision cleaning | – May require multiple passes if paste is stubborn – Slightly more expensive than paper towels |
| CPU Cleaning Solution | – Provides thorough cleaning – Removes stubborn residue effectively | – Can be more expensive than other methods – Requires following manufacturer’s guidelines |
As seen in the table above, each cleaning tool and method has its advantages and disadvantages. It’s important to assess your specific needs and choose the method that best suits your preferences and requirements.
By following these cleaning instructions and using the appropriate cleaning tools, you can safely and effectively remove old thermal paste, creating a clean surface for the proper application of fresh thermal paste. This will help maintain the optimal cooling performance of your CPU and ensure the longevity of your computer’s components.
How often should thermal paste be replaced?
The frequency of replacing thermal paste depends on individual preferences and circumstances. Intel recommends reapplying thermal paste every few years or when removing the cooler. However, some users may choose to replace it more frequently as a preventive measure.
Monitoring CPU temperatures is also crucial in determining when to replace thermal paste. As thermal paste ages, it can dry up, lose its effectiveness, and lead to increased CPU temperatures. Regularly monitoring temperatures can help identify any significant increases, indicating the need for thermal paste replacement.
It is important to note that external factors such as high ambient temperatures, overclocking, and heavy usage can contribute to thermal paste degradation. These factors may require more frequent replacement of thermal paste to ensure optimal thermal performance and CPU cooling.
In summary:
- Intel recommends reapplying thermal paste every few years or when removing the cooler.
- Some users may choose to replace it more frequently as a preventive measure.
- Regularly monitor CPU temperatures for any significant increases.
- Consider external factors like high ambient temperatures, overclocking, and heavy usage that may require more frequent replacement.
Recommended Frequency of Thermal Paste Replacement
| Scenario | Recommended Frequency |
|---|---|
| Normal usage, standard thermal paste | Every 2-3 years |
| Heavy usage, high ambient temperatures, overclocking, or liquid metal thermal paste | Every 1-2 years or as needed |
Do you have to use thermal paste?
Thermal paste is the go-to solution for filling the gaps between the cooler and the processor, ensuring efficient heat transfer and reducing the risk of overheating. However, there are alternatives available for those who prefer not to constantly reapply thermal paste.
One popular alternative to thermal paste is the use of thermal pads. These malleable pads offer strong thermal conductivity and eliminate the need for regular replacement. While they may not provide as high performance as the best thermal pastes, they offer peace of mind and ease of use. Thermal pads are particularly beneficial for individuals who value convenience and want a hassle-free cooling solution.
Table: Comparison between Thermal Paste and Thermal Pads
| Criteria | Thermal Paste | Thermal Pads |
|---|---|---|
| Heat Conductivity | High | Good |
| Application Process | Require careful application and reapplication | Easy installation, no need for reapplication |
| Performance | High-performance thermal pastes offer excellent heat dissipation | Good thermal conductivity, but not as effective as top-tier thermal pastes |
| Maintenance | May require regular replacement or reapplication | No maintenance, eliminates the need for constant replacement |
While thermal pads may not provide the highest level of performance, they offer a practical alternative to thermal paste, especially for individuals who prefer a set-it-and-forget-it approach. It’s essential to consider your specific needs and preferences when choosing between thermal paste and thermal pads to ensure optimal cooling for your computer system.
Tips for handling CPUs and thermal paste
When it comes to handling CPUs and thermal paste, taking proper precautions is crucial to avoid potential damage. By following these tips, you can minimize the risk of mishaps and ensure the longevity and proper functioning of your CPU.
- Hold the CPU by its edges: When handling the CPU, always hold it by the edges to avoid any contact with the delicate contact pads or pins on the underside of the chip. This helps prevent damage to the sensitive components of the CPU.
- Use an antistatic wrist strap: To further protect your CPU from static electricity, which can cause damage, consider using an antistatic wrist strap. This helps dissipate any static charge and keeps your CPU safe during handling.
- Keep the CPU and workspace clean: Before handling the CPU or applying thermal paste, make sure your hands and the workspace are clean and free from any dust or debris. This helps prevent any particles from affecting the contact between the CPU and the cooler.
- Apply the right amount of pressure: When installing or removing a CPU cooler, apply gentle and even pressure to prevent any excessive force that could damage the CPU or motherboard. Be cautious not to overtighten the cooler, as it can lead to uneven pressure distribution and potential damage.
- Store thermal paste properly: Thermal paste should be stored in a cool and dry place, away from extreme temperatures or direct sunlight. This helps maintain its consistency and performance, ensuring it is ready for use when needed.
Remember, taking proper precautions while handling CPUs and thermal paste is essential to avoid any potential damage. By following these tips, you can safely work with these components and maintain the optimal performance of your computer.
For a visual representation of the precautions to take when handling CPUs and thermal paste, refer to the table below:
| Precautions for Handling CPUs and Thermal Paste |
|---|
Conclusion
In conclusion, cleaning thermal paste from motherboards and CPUs is an essential task for computer maintenance. By following the proper techniques and precautions, users can safely remove thermal paste and prevent potential damage or short circuits. It is important to select the appropriate cleaning method based on the type of thermal paste used. Whether it is a non-conductive silicone-based paste or a conductive liquid metal paste, taking the necessary steps will help maintain the optimal performance of computer components.
Choosing a dedicated thermal paste cleaner, such as Kooling Monster’s KLEAN-01, can simplify the cleaning process and ensure effective results. It eliminates the worry of finding the right concentration and minimizes the risk of leaving unwanted fibers on the motherboard. Additionally, regular monitoring of CPU temperatures and replacing thermal paste as needed can prevent the paste from drying up and compromising heat transfer.
While thermal paste is the most common solution, thermal pads offer an alternative for those who prefer not to reapply thermal paste regularly. These pads provide strong thermal conductivity and eliminate the need for frequent replacement. However, it is important to handle CPUs and thermal paste with care to avoid any damage. By following these guidelines, users can confidently clean thermal paste and maintain the longevity and proper functioning of their computer components.

