Imagine this: you power on your computer, eagerly waiting for it to come to life. But nothing happens. No lights, no sounds, just a lifeless screen staring back at you. Panic sets in. Is your beloved motherboard dead?
Before you start imagining the worst-case scenario and shelling out for a new motherboard, it’s important to troubleshoot and diagnose the issue. Modern motherboards are quite resilient, but they can still encounter problems that render them unresponsive.
In this article, we will guide you through some diagnostic tips to help you determine whether your motherboard is truly dead or if there’s another culprit behind your computer’s lack of life. By understanding the signs of a dead motherboard and how to test its functionality, you’ll be able to make an informed decision about the next steps for your system.
Key Takeaways:
- Learn to recognize the signs of a dead motherboard
- Troubleshoot power issues and check cable connections
- Remove RAM and GPU to eliminate potential problems
- Test the power supply and motherboard standoffs
- Understand beep codes and perform a visual inspection
Check Power Cables
One of the crucial initial steps in troubleshooting a dead motherboard is to ensure that all power cables are properly connected. Neglecting to check the power cables can lead to the false assumption that the motherboard is dead when, in fact, it may simply not be receiving power from the power supply.
Start by examining the 24-pin connector that connects the power supply to the motherboard. Make sure it is securely inserted into its socket and that no pins are bent or damaged. Additionally, ensure that the CPU power cable is firmly connected to both the motherboard and the power supply. This cable typically has an 8-pin or 4-pin connector.
Some motherboards may require additional power cables, such as a 6-pin or 8-pin PCIe connector for graphics cards or a 4-pin Molex connector for peripherals. Double-check if your motherboard requires any of these additional power cables and ensure they are properly connected.
It’s important to note that some motherboards may not display any visible lights or LED readouts even when powered on. In these cases, verifying the power supply’s connection to the CPU becomes even more crucial, as it serves as an indirect indicator of power supply to the motherboard.
Checking and confirming the proper connection of power cables is a fundamental step in troubleshooting power issues with the motherboard. Let’s move on to the next section and explore further diagnostic steps to determine if your motherboard is indeed dead.
Remove RAM and Discrete GPU
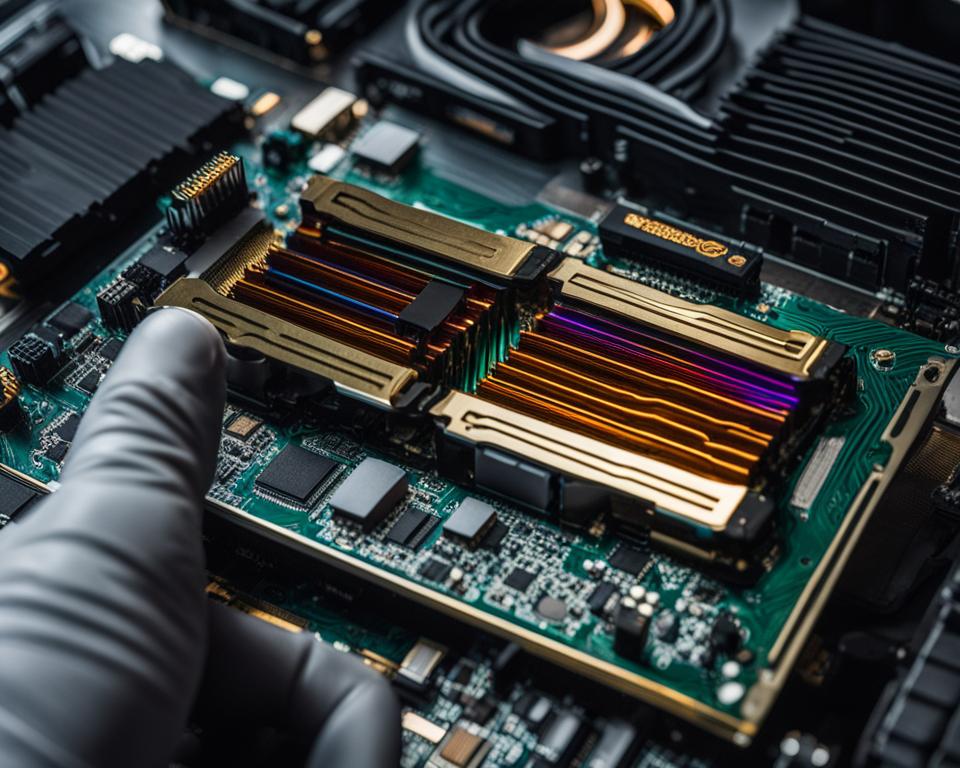
When troubleshooting a motherboard that is not powering on, it’s important to eliminate potential issues. One method to troubleshoot the problem is by removing the RAM and discrete GPU from the motherboard. Removing these components can help identify if they are causing the issue.
If your motherboard has working power indicators, start by removing the RAM and GPU. Improperly seated GPUs can interfere with the motherboard’s ability to power on properly. By removing these components, you can determine if the motherboard will power on without them. However, for motherboards without power indicators, additional troubleshooting steps may be necessary. These steps could include reseating the GPU and trying different slots for the RAM.
Eliminating the RAM and GPU from the equation can help pinpoint the problem. If the motherboard powers on without these components, it’s an indication that either the RAM or GPU is at fault. To further narrow down the issue, you can try using different RAM modules or testing the GPU on another system to determine which component is causing the problem.
| Steps to Remove RAM and GPU |
|---|
| 1. Turn off the computer and unplug it from the power source. |
| 2. Open the computer case to access the motherboard. |
| 3. Locate the RAM modules and press down on the latches on each side to release them. |
| 4. Carefully remove the RAM modules from their slots. |
| 5. Locate the discrete GPU and gently unplug it from the motherboard slot. |
| 6. Set aside the removed RAM and GPU components in a safe place. |
| 7. Plug the power cable back into the computer and turn it on. |
| 8. Observe if the motherboard powers on without the RAM and GPU. |
By removing the RAM and GPU, you can troubleshoot potential issues and determine if the motherboard is the root cause of the problem. If the motherboard still does not power on after removing these components, it is likely that there is a different underlying issue. In such cases, further diagnostics may be required to identify the problem and resolve it effectively.
Check the Power Supply
When troubleshooting a dead motherboard, one of the essential steps is to check the power supply. A faulty power supply can prevent the motherboard from receiving the necessary electricity to power on. To determine if the power supply is the cause of the issue, you can perform the following checks:
- Use a PSU tester: A PSU (power supply unit) tester is a device that helps you check if the power supply is functioning correctly. It provides a quick and convenient way to determine if the power supply is delivering power to the motherboard. Simply connect the PSU tester to the power supply connectors and observe the readings or LED indicators.
- Use a multimeter: If you don’t have a PSU tester, you can use a multimeter to measure the voltage output of the power supply. Set the multimeter to the DC voltage setting and carefully insert the probes into the appropriate connectors. Refer to the motherboard’s user manual for the expected voltage readings and compare them to the measurements you obtain.
- Swap with a spare power supply: If you have access to a spare power supply, you can try swapping it in to see if the issue persists. This step can help determine if the problem lies with the power supply or with other components.
- Check the outlet: It’s also important to verify that the outlet you are using is functioning properly. Plug in a different device or use a circuit tester to ensure that the outlet is supplying electricity.
By performing these checks, you can determine if the power supply is the culprit behind your motherboard not receiving electricity. Remember to handle electronic components with care and take necessary safety precautions when working with power supplies.
Power Supply Troubleshooting Tips:
“If you’re experiencing motherboard failure symptoms such as no power, intermittent power, or sudden shutdowns, checking the power supply is an important step in diagnosing the issue. Don’t overlook the power supply as a potential cause, as even a faulty power supply cable can disrupt the flow of electricity to the motherboard.”
Check the Motherboard Standoffs
One potential cause of a dead motherboard is improperly placed standoffs in the case. Standoffs are small spacers that elevate the motherboard and prevent it from coming into contact with the metal case, which can cause a short circuit. If you suspect that your motherboard is dead, it’s important to check the standoffs for proper placement.
To begin, remove the motherboard from the case following the manufacturer’s instructions. Take a close look at the standoff locations and ensure that they align with the mounting holes on the motherboard. If any standoffs are misplaced or missing, gently adjust or insert them into the correct holes.
After adjusting the standoffs, it’s crucial to test the motherboard outside of the case to determine if the standoffs were indeed the issue. Find a non-conductive surface, such as a wooden table or an anti-static mat, and place the motherboard on it. Connect the necessary components, including the CPU, RAM, and power supply, and power on the system.
By testing the motherboard outside of the case, you can eliminate the possibility of a short circuit caused by improperly placed standoffs. If the motherboard powers on successfully and functions normally, it indicates that the standoffs were the source of the problem. In this case, you may need to reposition or replace the standoffs in the case before reinstalling the motherboard.
It’s important to note that while improperly placed standoffs can cause a temporarily dead motherboard, they may not be the sole reason for motherboard failure. If the motherboard still doesn’t power on after adjusting the standoffs, it’s recommended to further diagnose the issue using other methods outlined in this article.
Motherboard Beep Codes
Motherboards often use beep codes as a diagnostic indicator for hardware issues. These beep codes serve as a way for the motherboard to communicate specific problems or failures during power-on self-test (POST). Different manufacturers have their own unique beep codes, so it’s important to consult your motherboard’s user manual to understand the specific codes for your particular model.
Beep codes can provide valuable insight into the source of the problem, whether it’s a dying motherboard or other related issues. They can be instrumental in troubleshooting and identifying hardware failures, saving you time and effort in diagnosing motherboard problems.
“One short beep, two long beeps”…
If your computer fails to power on, doesn’t display anything on the screen, or emits specific beep codes, it’s highly likely that your motherboard is the culprit. These beep codes are essentially the motherboard’s way of alerting you to potential issues that need to be addressed.
However, it’s important to note that different beep codes can represent different issues. For example, continuous short beeps typically indicate a RAM or graphics card problem, while a combination of long and short beeps could point to a motherboard or CPU failure. Consult your motherboard’s manual to decipher the specific codes and identify the root cause of the issue.
Common Motherboard Failure Symptoms
- No power or no POST
- System freezing or crashing
- Unexpected reboots
- Blue screen of death (BSOD) errors
- USB ports or other peripherals not working
- Failure to detect or recognize hardware components
Understanding motherboard beep codes and being aware of common motherboard failure symptoms can help you troubleshoot and identify issues with your computer more effectively. If you encounter any of these symptoms along with beep codes, it’s essential to consider the possibility of a malfunctioning motherboard.
| Beep Code Pattern | Possible Cause |
|---|---|
| 1 short beep | Normal startup |
| 1 long, 3 short beeps | Video card not detected or connected |
| Continuous short beeps | RAM problem or graphics card issue |
| Continuously repeating short beeps | Power supply issue or overheating |
| 3 long beeps | Keyboard or keyboard controller failure |
Understanding beep codes and being able to interpret them correctly can provide valuable insight into the health and functionality of your motherboard. However, it’s important to remember that beep codes are just one part of the diagnostic process and should be considered in conjunction with other symptoms and troubleshooting steps.
Visual Inspection and Physical Damage
https://www.youtube.com/watch?v=dWCxVor279c
Performing a visual inspection can provide valuable insights into the condition of your motherboard. By carefully examining its physical appearance, you can identify signs of damage or failure that may indicate a dead motherboard.
Here are some key indicators to look for during your visual inspection:
- Chipped Circuits: Inspect the motherboard for any visible cracks or chips in the circuits. These can disrupt the flow of electricity and impair the functionality of the motherboard.
- Bends and Dents: Check for any visible bends or dents on the motherboard. Physical deformation can result in faulty connections or dislodged components.
- Breakages: Look for any broken parts or connectors on the motherboard, such as damaged pins or solder joints. These can interfere with the proper functioning of the motherboard.
- Bulging Capacitors: Examine the capacitors on the motherboard for any signs of bulging, leaking, or corrosion. Damaged capacitors can cause a variety of issues, including instability and failure.
- Burn Marks and Smell: Carefully inspect the motherboard for any burn marks or a burning smell. These can indicate that the motherboard has experienced overheating or electrical damage.
Keep in mind that water damage and short circuits may not be easily visible. However, they can leave behind discoloration, rust, or burn marks. If you suspect any water damage, it’s important to inspect the motherboard closely for these telltale signs.
Performing a visual inspection allows you to assess the physical health of your motherboard and gather clues about its overall condition. If you notice any significant visual abnormalities during your inspection, there is a higher likelihood that your motherboard may be dead or experiencing serious issues.
“A thorough visual inspection can unveil physical damage and offer valuable insights into the condition of your motherboard.” – [Author Name]
| Signs of Physical Damage | Possible Causes |
|---|---|
| Chipped circuits | Impact, mishandling, or manufacturing defects |
| Bends and dents | Excessive force, improper installation, or transport damage |
| Breakages | Physical stress, accidental damage, or age-related deterioration |
| Bulging capacitors | Prolonged heat exposure, manufacturing defects, or aging |
| Burn marks and smell | Overheating, electrical short circuits, or power surges |
CMOS Battery and RAM/GPU Tests
When faced with a motherboard that is not booting, it is crucial to explore potential issues before concluding that the motherboard is dead. Two tests that can help in the troubleshooting process are replacing the CMOS battery and testing the RAM and GPU.
Replacing the CMOS Battery
The CMOS battery, also known as the motherboard battery, provides power to the motherboard’s BIOS chip, which retains important system information even when the computer is powered off. A dead CMOS battery can present symptoms similar to those of a dead motherboard. To rule out this possibility, follow these steps:
- Locate the CMOS battery on the motherboard. It is typically a small, round silver battery.
- Gently remove the battery using a flat-head screwdriver or your fingers.
- Take note of the battery type (usually CR2032) and purchase a replacement from a reputable retailer.
- Insert the new battery in the same orientation as the old one.
- Reassemble your computer and power it on to see if the motherboard boots successfully.
By replacing the CMOS battery, you can eliminate this potential cause of the problem and determine if the motherboard is indeed dead.
Testing RAM and GPU
The next step is to test the RAM and GPU, as issues with these components can also lead to a motherboard not booting. Follow these steps to troubleshoot the RAM and GPU:
- Power off your computer and disconnect the power cable.
- Remove the GPU from its slot on the motherboard.
- With the GPU removed, use only a single stick of RAM and insert it into the appropriate slot.
- Reconnect the power cable and power on your computer.
If the motherboard successfully boots with the GPU and RAM removed, it indicates that one of these components may be causing the problem. Try testing each RAM stick individually and test the GPU in a different slot, if available. If the motherboard still fails to boot even with the GPU and RAM removed, it is likely that the motherboard itself is the source of the issue.
By replacing the CMOS battery and troubleshooting the RAM and GPU, you can effectively diagnose whether the motherboard is dead or if the problem lies elsewhere. This knowledge can guide you in seeking the appropriate repair options or exploring warranty coverage for your motherboard.
Testing with a Different Motherboard
If you suspect that your motherboard is the culprit behind your system’s issues, testing it with another motherboard can be a valuable diagnostic step. By installing a different motherboard and observing the system’s behavior, you can determine if the original motherboard is indeed the source of the problem. This test helps differentiate between a motherboard failure and potential component failures, such as a faulty power supply unit (PSU).
In some cases, a motherboard failure can lead to additional component failures, making it crucial to identify the root cause accurately. Testing with another motherboard can help rule out component failures and focus on the motherboard as the primary issue.
When conducting this test, it’s essential to choose a compatible replacement motherboard that supports your existing components, including the CPU, RAM, and GPU. Installing the new motherboard and connecting all necessary cables allows you to assess if the system functions properly again with the new hardware.
If the system operates without any issues with the replacement motherboard, it strongly indicates that your original motherboard has failed or is experiencing significant malfunctions. On the other hand, if the system continues to exhibit problems or fails to power on even with the replacement motherboard, it suggests that the issue lies with a different component, such as the PSU.
Keep in mind that accurately diagnosing component failures can be a complex process. It’s recommended to consult with a professional technician or utilize diagnostic software to further evaluate and identify the specific issue.
Key Takeaways:
- Testing your system with another motherboard helps determine if your original motherboard is faulty or if the issue lies elsewhere.
- Choose a compatible replacement motherboard and connect all necessary cables to properly assess the system’s functionality.
- If the system works flawlessly with the replacement motherboard, it suggests that your original motherboard is the likely culprit.
- If the system continues to exhibit issues with the replacement motherboard, further diagnostics are necessary to identify the specific component failure.
| Component | Possible Issue |
|---|---|
| Motherboard | Possible failure or significant malfunction |
| Power Supply Unit (PSU) | Possible failure or insufficient power delivery |
| CPU | Possible failure or compatibility issues with the motherboard |
| RAM | Possible failure or compatibility issues with the motherboard |
| GPU | Possible failure or compatibility issues with the motherboard |
Repair Options and Warranty Coverage
When faced with a dead motherboard, it’s important to consider repair options and warranty coverage. If your motherboard is still under warranty, it’s highly recommended to take it to a repair shop authorized by the manufacturer for professional diagnosis and potential replacement. Authorized repair shops have the expertise to accurately identify the issue and offer appropriate solutions.
Even if your motherboard is not under warranty, a reputable repair shop can still assist you with ordering and replacing the faulty parts. They have access to genuine manufacturer-approved components, ensuring compatibility with your motherboard and other system components. By entrusting the repair to professionals, you can have peace of mind that the repair process will be handled correctly.
If you choose to replace the motherboard yourself, it’s crucial to carefully follow the manufacturer’s instructions. Make sure to select a compatible replacement motherboard that meets your system’s specifications. DIY replacement requires careful handling and installation to avoid further damage to the components.
It’s worth noting that a dead motherboard may indicate multiple component failures. Professional repair shops have the expertise to diagnose and address these issues effectively. By opting for professional diagnosis and repair, you can ensure that all underlying problems are identified and resolved, preventing future complications.
Repair options and warranty coverage can save you time and money while providing a reliable solution for your dead motherboard. Whether you decide to take advantage of warranty coverage or seek assistance from a repair shop, you can trust the experts to get your system up and running again.
If you’re considering the repair or replacement of your motherboard, it’s important to weigh the costs and benefits. Take into account the age of your system, the availability of compatible replacement components, and the expertise required for the repair. If a reputable repair shop determines that the cost of repair outweighs the value of your system, it may be more cost-effective to invest in a new computer altogether.
Prevention and Maintenance Tips
To prevent motherboard failure and maintain the overall health of your PC, it’s essential to implement some proactive measures. Taking these steps can significantly extend the lifespan of your motherboard and ensure the smooth functioning of your system.
First and foremost, regularly cleaning the dust from your PC’s ventilation system is crucial. Dust accumulation can restrict airflow, leading to overheating of components, including the motherboard. Use compressed air or a soft brush to remove dust from fans, heatsinks, and vents.
Furthermore, ensure proper cable connections within your PC. Loose or improperly connected cables can cause intermittent power issues and result in motherboard failure. Take the time to check and secure all power and data cables to minimize the chances of any connection-related problems.
Another preventive measure is using quality surge protectors. Electrical spikes and power surges can occur unexpectedly and damage your motherboard. Investing in surge protectors with built-in circuit breakers can safeguard your PC from these potentially harmful electrical events.
Lastly, when using your PC abroad or in regions with different voltage standards, it is crucial to use a voltage converter. Incompatible voltages can be hazardous to your motherboard and other components, potentially causing irreparable damage. Always consult the documentation or the manufacturer for guidance on voltage requirements and use a converter if necessary.
By following these prevention and maintenance tips, you can significantly reduce the risk of motherboard failure, extend the lifespan of your PC, and ensure its optimal performance for years to come.

