Imagine this scenario: You’ve just purchased a brand new motherboard for your computer. You’re excited to install it and start enjoying the improved performance. But before you dive into the installation process, you want to ensure that the motherboard is in perfect working condition. After all, there’s nothing worse than finding out that your new component is faulty after you’ve gone through the trouble of installing it.
Testing a motherboard without a CPU might seem impossible at first, since the CPU is a vital component for the computer to function. However, there are certain pre-installation checks you can perform to assess the motherboard’s functionality before installing the CPU and other components.
In this article, we will guide you through the process of testing a motherboard without a CPU. We’ll discuss the necessary precautions, tools, and steps you need to take to effectively diagnose any potential issues. By the end of this article, you’ll have the knowledge and confidence to ensure that your new motherboard is in optimal condition and ready for installation.
Key Takeaways:
- Testing a motherboard without a CPU is possible by utilizing features like Power-on Self Test (POST) for diagnosis.
- Testing without a CPU should only be done temporarily and is not a substitute for proper CPU installation.
- There are several reasons why someone might want to test a motherboard without a CPU, including troubleshooting and compatibility checking.
- Precautions should be taken to avoid potential damage, such as disconnecting the power cord and using an anti-static wrist strap.
- Tools and equipment required for testing include a screwdriver, anti-static wrist strap, and optionally, thermal paste and a diagnostic card.
Can You Test a Motherboard Without a CPU?
Testing a motherboard without a CPU is a common question for those troubleshooting or verifying the functionality of their computer components. While it is possible to perform some basic testing without a CPU, it’s important to understand the limitations and the purpose of such tests.
Without a CPU, the motherboard’s functionality will be limited. However, certain features like POST (Power-on Self Test) can allow for basic testing using LED lights to diagnose issues. POST codes, also known as beep codes, can provide helpful indications of any problems during the testing process.
“POST codes can be a valuable tool in diagnosing motherboard issues and pinpointing specific areas of concern. LED lights can help identify errors and guide in troubleshooting.”
It’s crucial to note that a CPU is an essential component for a computer’s proper functioning. The CPU acts as the brain of your system, performing crucial calculations and executing instructions. Testing a motherboard without a CPU should only be done for diagnostic purposes and not as a permanent solution.
The primary purpose of testing a motherboard without a CPU is to verify its functionality before installing other crucial components, such as cooling systems, RAM modules, and storage devices. It ensures that the motherboard is in good working condition and helps troubleshoot any potential compatibility issues.
Why Would You Want to Test a Motherboard Without a CPU?
There are several reasons why someone might want to test a motherboard without a CPU. It could be for troubleshooting purposes to determine if the motherboard is the source of the issue, checking compatibility before purchasing a new CPU, or verifying the functionality of other components before CPU installation. However, it is important to note that a CPU is essential for the proper functioning of a computer, and testing without a CPU should only be done temporarily.
Precautions for Testing a Motherboard Without a CPU
While testing a motherboard without a CPU is possible, it is essential to take certain precautions to ensure the safety of the components and avoid potential damage. Here are some important safety measures to consider:
- Disconnect the power cord: Before starting the testing process, always ensure that the power cord is disconnected from the wall socket. This helps prevent any accidental power surges or electrical shocks.
- Use an anti-static wrist strap: Static electricity can be fatal to sensitive computer components like the motherboard. To prevent static discharge, wear an anti-static wrist strap while handling the motherboard. This strap helps dissipate any static buildup and protects the components.
- Ensure compatibility between components: Before testing the motherboard, ensure that all the components you plan to connect are compatible with each other. Check the motherboard’s documentation or website for the list of compatible CPUs, RAM, and other peripherals.
- Handle the motherboard with care: Motherboards are delicate and can be easily damaged if mishandled. When removing or installing the motherboard, hold it by the edges and avoid touching the sensitive components. Place the motherboard on a clean and non-conductive surface to avoid any accidental short circuits.
- Follow manufacturer guidelines: Each motherboard may have specific instructions for testing without a CPU. Refer to the manufacturer’s guidelines and follow them carefully to ensure a smooth and safe testing process.
It is crucial to note that testing a motherboard without a CPU should only be done for diagnostic purposes and not as a permanent solution. Without a CPU, the motherboard cannot function at its full capacity, and testing without a CPU should not replace the proper installation of a compatible CPU.
Necessary Tools and Equipment for Testing a Motherboard Without a CPU
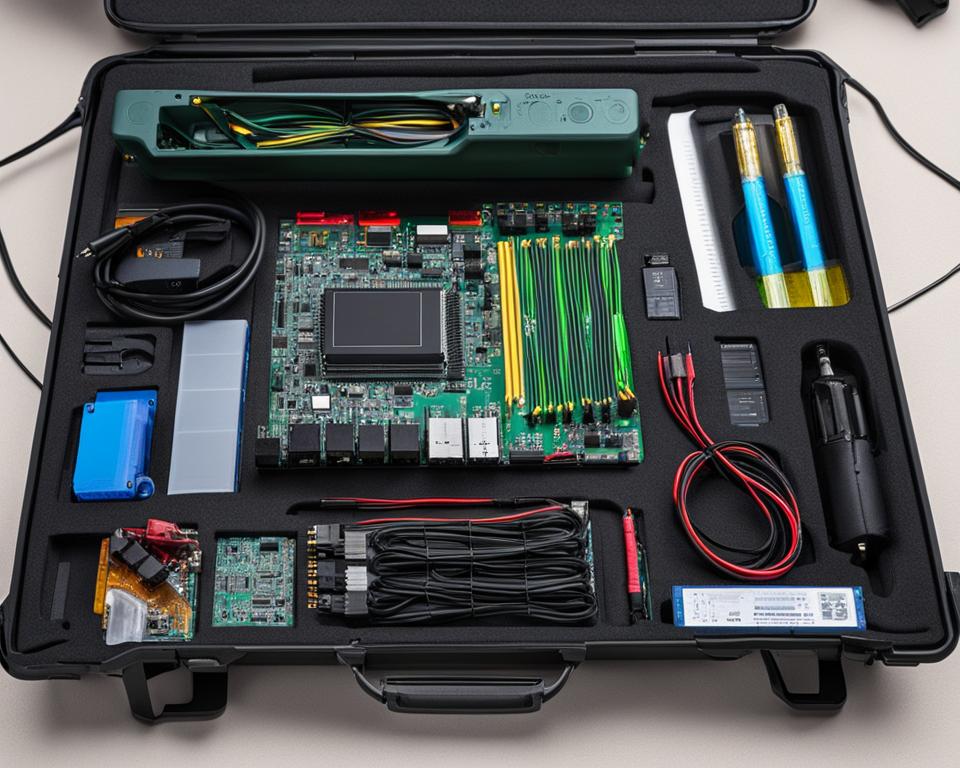
When it comes to testing a motherboard without a CPU, having the right tools and equipment is essential for a smooth and effective diagnostic process. Here are the necessary items you’ll need to conduct a thorough test:
Screwdriver: A screwdriver is necessary for removing and securing the necessary components during the testing process. Make sure to choose a screwdriver that is compatible with the screws used in your motherboard.
Anti-Static Wrist Strap: An anti-static wrist strap is crucial for protecting your motherboard and other components from static electricity. This strap helps to prevent any potential damage caused by static discharge.
Thermal Paste (Optional): Thermal paste helps in maximizing heat transfer between the CPU and the heatsink. If you plan to test the motherboard with a CPU cooler, applying a small amount of thermal paste can help ensure proper conductivity and prevent overheating issues.
Diagnostic Card (Optional): A diagnostic card, also known as a POST card or motherboard analyzer, can be a useful tool for troubleshooting and identifying potential issues with your motherboard. This card provides valuable information that can help in diagnosing problems during the testing process.
External Display Monitor: An external display monitor is necessary for visual feedback during the testing process. Connect the monitor to the motherboard’s display port or VGA, DVI, HDMI, or DisplayPort connectors to observe any activity or error messages.
Power Supply Unit: A power supply unit (PSU) is essential for providing power to the motherboard during testing. Make sure to use a compatible PSU with the necessary power connectors for the motherboard and other components.
RAM Modules: Installing compatible RAM modules is crucial for proper testing. Make sure to use RAM modules that are compatible with your motherboard’s specifications and slots for accurate results.
Storage Drive: A storage drive, such as a hard disk drive (HDD) or solid-state drive (SSD), is necessary for testing the storage-related functionality of the motherboard and verifying compatibility with different storage devices.
Having these tools and equipment on hand will ensure that you can thoroughly and effectively test a motherboard without a CPU. Keep in mind that testing without a CPU should only be done for diagnostic purposes and not as a permanent solution.
Step-by-Step Guide to Testing a Motherboard Without a CPU
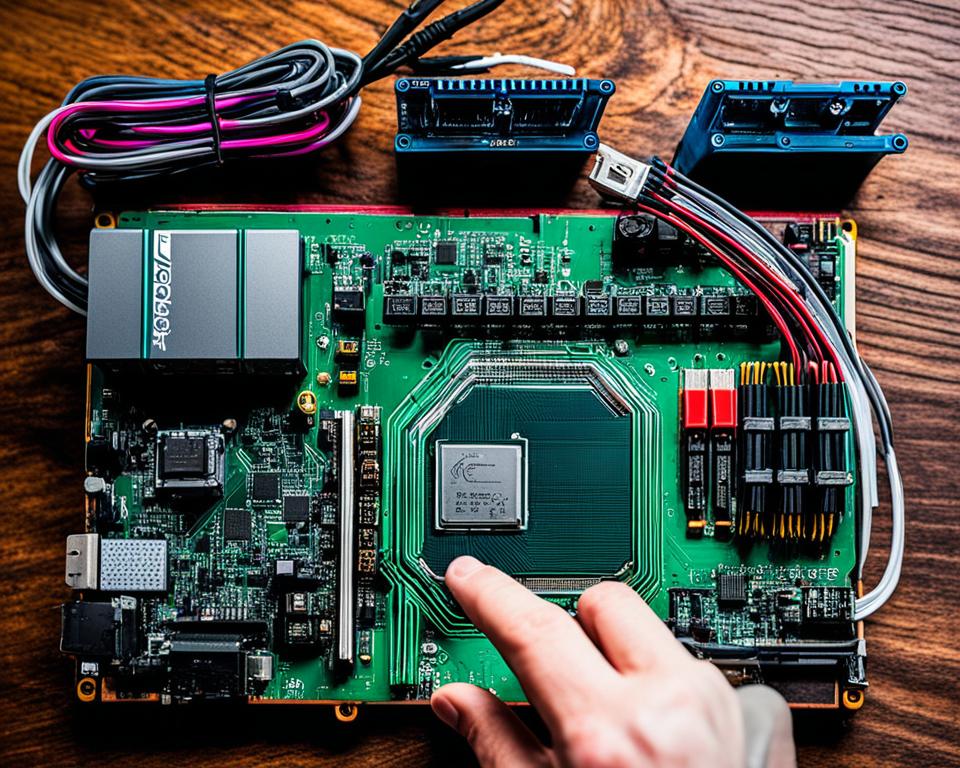
Testing a motherboard without a CPU can be a helpful diagnostic method to ensure its functionality. Follow this step-by-step guide to effectively test your motherboard without a CPU:
1. Prepare your workspace
Before starting the testing process, ensure that your workspace is clean, well-lit, and free from any static or electrical hazards. Place the necessary tools and equipment within reach.
2. Remove the motherboard from the case
Carefully remove the motherboard from the computer case to access its components. Refer to the manufacturer’s instructions or consult a professional if you are unsure about the correct removal process.
3. Connect the power supply
Attach the power supply unit to the motherboard, ensuring that all necessary power connectors are securely connected. Double-check the connections to avoid any power supply issues during testing.
4. Install RAM modules
Insert the RAM modules into the appropriate slots on the motherboard. Make sure to follow the recommended installation order and firmly press the modules into place until they click and lock in position.
5. Connect an external display
Connect an external display monitor to the motherboard’s video output port. This will allow you to observe any signs of activity or error codes during the testing process.
6. Power on the motherboard
Connect the power cord to the power supply unit and plug it into a power source. Turn on the power supply, which will provide power to the motherboard. Check for any LED lights or diagnostic indicators that indicate the motherboard is receiving power.
7. Observe for signs of activity or error codes
Observe the external display for any signs of activity, such as the motherboard logo appearing or error codes being displayed. These indicators can provide valuable insight into the motherboard’s functionality and potential issues.
Remember to refer to your motherboard’s user manual for specific instructions and troubleshooting options during the testing process.
The step-by-step guide provided above gives you a comprehensive understanding of how to test a motherboard without a CPU. By following these instructions carefully, you can accurately diagnose any potential issues with your motherboard before installing additional components. Remember to exercise caution and seek professional assistance if you are unsure or uncomfortable with the testing process.
Safety Measures for Testing a Motherboard Without a CPU
When testing a motherboard without a CPU, it is crucial to prioritize safety measures and precautions to avoid any potential damage or harm. By following these safety guidelines, you can ensure a smooth and secure testing process:
- Disconnect the power cord: Before starting the testing process, it is important to disconnect the power cord from the motherboard. This helps to eliminate any risk of electric shock and prevents accidental powering on of the motherboard.
- Wear an anti-static wrist strap: To prevent damaging sensitive electronic components, wear an anti-static wrist strap while handling the motherboard. This strap helps to discharge static electricity from your body, reducing the chances of static discharge damage.
- Properly ground yourself: Before handling the motherboard, ensure that you are properly grounded. This can be done by touching a grounded metal surface to discharge any built-up static electricity.
- Handle the motherboard with care: When manipulating the motherboard, avoid applying excessive force or bending it. Delicate components and circuits can easily be damaged if mishandled.
- Follow manufacturer guidelines: Always refer to the manufacturer’s guidelines, user manual, or documentation for specific safety instructions, proper installation procedures, and testing protocols.
By adhering to these safety measures and precautions, you can minimize the risk of accidental damage and ensure a safe testing environment.
Limitations of Testing a Motherboard Without a CPU
Testing a motherboard without a CPU can be a valuable diagnostic tool, but it does have its limitations. Without a CPU, the motherboard cannot function at its full capacity, and certain features may not be available. The testing process primarily focuses on diagnosing the motherboard and verifying the functionality of other components.
While testing without a CPU can help identify potential issues with the motherboard, it should not be seen as a permanent solution or replacement for proper CPU installation. The CPU is an essential component for the proper functioning of a computer, and without it, the system will not work as intended.
Here are some key limitations of testing a motherboard without a CPU:
- Limited functionality: Without a CPU, the motherboard cannot perform tasks that are CPU-dependent, such as processing data, executing instructions, and running applications. This means that certain features and functionalities of the motherboard may not be accessible during the testing process.
- No BIOS access: The BIOS (Basic Input/Output System) is a firmware that initializes and controls hardware during the boot process. Without a CPU, you won’t be able to access the BIOS settings, update the firmware, or make any changes that require CPU interaction.
- No operating system support: Without a CPU, you cannot install or run an operating system on the motherboard. This limits the ability to test the compatibility and performance of the motherboard with different operating systems.
- Limited diagnostic capabilities: While testing a motherboard without a CPU can help identify issues with the motherboard itself, it cannot provide a comprehensive assessment of the entire system. The CPU is a crucial component that interacts with other hardware components, and its absence can limit the diagnostic capabilities of the testing process.
It is important to keep in mind these limitations when testing a motherboard without a CPU. This method should only be used temporarily for diagnostic purposes and should not replace the proper installation of a compatible CPU for optimal performance and functionality.
When to Seek Professional Assistance
If you find yourself unsure or uncomfortable with the idea of testing a motherboard without a CPU, it is strongly advised to seek professional assistance. Professionals possess the experience and expertise required to handle the testing process competently, ensuring that all components are accurately tested and diagnosed. Not only can they provide guidance and advice, but they can also address any concerns or issues that may arise during the testing process.
Conclusion
Testing a motherboard without a CPU can be a valuable diagnostic technique for identifying potential issues and verifying the functionality of other components. However, it is crucial to recognize that this method should only be used temporarily and for specific purposes. The absence of a CPU limits the motherboard’s full capacity and certain features may not be available for testing.
While conducting the test, it is essential to follow safety measures and precautions to prevent any accidental damage or electrical shock. Disconnecting the power cord, utilizing an anti-static wrist strap, and carefully handling the motherboard are crucial steps to ensure a safe testing environment. Additionally, referring to the manufacturer’s guidelines for proper installation and testing procedures is highly recommended.
If you are uncertain or uncomfortable with testing a motherboard without a CPU, seeking professional assistance is advised. Professionals possess the expertise and experience required to conduct thorough testing, diagnose issues accurately, and provide guidance throughout the process. They can also offer valuable advice regarding any concerns or problems that may arise during testing.
In the end, it is important to remember that installing a compatible CPU and conducting a comprehensive system test is vital for optimal performance and functionality. While testing a motherboard without a CPU can be informative, it should be viewed as a temporary solution rather than a permanent one.

