Are you experiencing slow load times and lagging graphics on your computer? It might be time to remove your old graphics card and upgrade to a new one. But how do you go about removing a graphics card without causing damage to your computer? In this article, we will provide you with step-by-step instructions on how to safely remove a graphics card from your computer, ensuring a smooth transition to better performance.
Imagine this: It’s a Saturday afternoon, and you’ve finally decided to upgrade your old graphics card to play the latest AAA game. You’ve done your research and carefully chosen the perfect new GPU that will take your gaming experience to the next level. You’re excited and ready to start the installation process. But first, you need to remove the old graphics card.
You gather the necessary tools – a screwdriver, an antistatic wrist strap, and a steady hand. Remembering the importance of following the proper steps, you take a deep breath and begin the removal process.
You carefully open up your computer case, revealing the intricate web of cables and components inside. As you locate the old graphics card, you can’t help but feel a sense of nostalgia. It has served you well over the years, but it’s time for an upgrade, a fresh start.
You brace yourself for the task ahead, knowing that a misstep could damage not only the graphics card but also the delicate internal components of your computer. With the step-by-step instructions in this article, you gain the confidence to proceed, ensuring a smooth and successful removal process.
Key Takeaways:
- Removing a graphics card is an essential step in upgrading or replacing it with a new one.
- Follow the step-by-step instructions to safely remove the graphics card without causing damage to your computer.
- Preparation, safety, and careful handling are key to a successful graphics card removal process.
- Disconnect power cables, unscrew and unlock the graphics card, and handle it with care to avoid any mishaps.
- Proper cleaning and maintenance after removal help keep your computer running smoothly.
Steps to Follow Before Removing the Graphics Card
Before removing the graphics card, it is crucial to perform some preparatory steps to ensure a smooth and successful removal process. By following these steps, you can minimize the risk of potential conflicts and damage to your computer. Take the following actions before proceeding with the removal:
- Start the Computer: Begin by turning on your computer and allowing it to fully boot up. This ensures that all necessary system processes are running.
- Remove Graphics Drivers or Software: Before uninstalling the graphics card, it is important to remove any associated graphics drivers or software. This can help prevent conflicts and ensure a clean removal. Follow the manufacturer’s instructions to uninstall these drivers or software from your computer.
- Turn Off the Computer: Once you have removed the graphics drivers or software, properly shut down your computer. This is an essential step to ensure the safety and integrity of the removal process.
- Disconnect All Cables: Before accessing the graphics card, disconnect all cables from the computer. This includes the power cable, monitor cable, and any other peripheral connections.
- Remove the Case Cover: To access the graphics card, you will need to remove the case cover of your computer. Carefully unscrew or unclip the cover and set it aside in a safe location.
Following these preparatory steps will help ensure a smooth and hassle-free removal of your graphics card.
Removing the Graphics Card
To remove the graphics card from your computer, follow these step-by-step instructions:
- Discharge static electricity by wearing an antistatic wrist strap.
- Disconnect all internal cables connected to the graphics card.
- Locate and unscrew/unclip the graphics card from the case’s mounting bracket.
- Gently pull on the expansion slot lever to unlock the card from the slot.
- Slide the card out of the graphics slot.
- Place the graphics card in an antistatic bag.
By following these steps, you can safely and properly remove the graphics card from your computer.
Removing the graphics card involves discharging static electricity, disconnecting internal cables, unscrewing or unclipping the card from the mounting bracket, unlocking the card from the slot, sliding it out, and storing it in an antistatic bag.
Ensuring Safety during Removal
When it comes to removing a graphics card, safety should be your top priority. Following proper safety measures helps protect both the components of the computer and yourself from any potential damage. Here are some essential safety tips and precautions to keep in mind:
- Discharge static electricity: Before handling any system components, it is crucial to discharge any static electricity. This can be done by wearing an antistatic wrist strap connected to a grounded object. Static electricity can potentially damage sensitive computer parts, including the graphics card.
- Disconnect internal cables: Before removing the graphics card, make sure to properly disconnect all internal cables connected to it. This includes power cables, display cables, and any other cables that may be connected to the graphics card. Gently detach them and ensure they are securely unplugged to avoid any accidental damage.
- Handle with care: The graphics card is a delicate component, and it is important to handle it with utmost care. Avoid touching any sensitive areas, including the connectors and the electronic components. Always hold the graphics card by its edges to minimize the risk of static discharge or damage.
“Remember, a simple static shock can severely damage your graphics card, leading to costly repairs or replacements.”
By following these safety tips and precautions, you can ensure a smooth and secure removal process for your graphics card.
Safety Tips for Removing a Graphics Card
| Safety Tips | Precautions |
|---|---|
| Discharge static electricity | Wear an antistatic wrist strap connected to a grounded object |
| Disconnect internal cables | Properly detach all cables connected to the graphics card |
| Handle with care | Hold the graphics card by its edges and avoid touching sensitive areas |
Ensuring safety during the removal process is crucial to avoid any potential damage to your graphics card and other system components.
Dealing with Power Connections
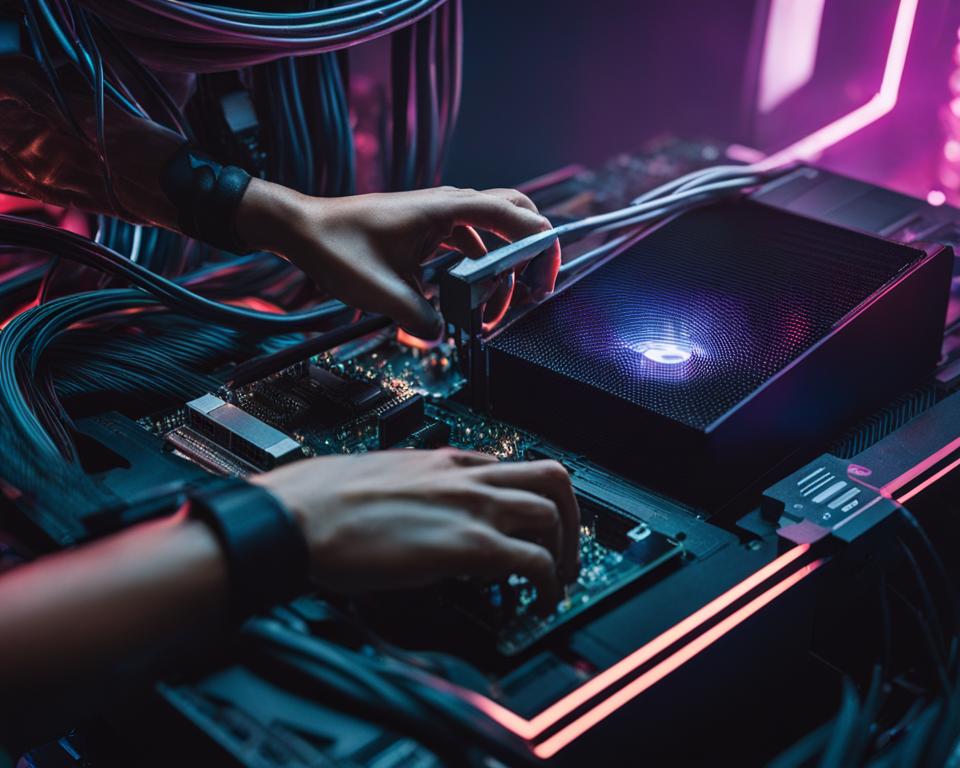
When removing a graphics card, it is essential to disconnect any power connections. Depending on the type of graphics card you have, there may be different power requirements. Low-end graphics cards typically draw power solely from the PCIe slot, while higher-end ones often require additional power from the power supply.
To disconnect power cables from the graphics card, locate the clip that secures the cables to the card. Squeeze the clip and gently pull it to release the cables. This ensures that the graphics card is safely powered down and ready for removal.
Disconnecting Power Cables: Step-by-Step Guide
- Locate the power cables connected to the graphics card.
- Identify the clip securing the cables to the graphics card.
- Use your fingers or a tool to squeeze the clip.
- Gently pull the clip to release the power cables from the graphics card.
By following these steps, you can disconnect the power cables from your graphics card without any issues. Remember, it is crucial to handle the power cables with care to prevent any damage or accidental disconnection of other components in your computer.
Unscrewing and Unlocking the Graphics Card
When it comes to removing a graphics card, unscrewing and unlocking it properly is crucial. Let’s walk through the steps to ensure a safe and easy removal process.
1. Unscrewing the Graphics Card
Most graphics cards are secured to the case’s mounting bracket with screws. To begin, you’ll need an appropriate screwdriver to unscrew these screws. Make sure to choose the right size and apply gentle pressure while turning the screwdriver counterclockwise to loosen and remove the screws.
2. Unlocking the Graphics Card from the Slot
In addition to screws, some graphics cards have a retention clip in the PCIe slot that needs to be pressed down to unlock the card. Locate the retention clip and gently press and hold it down to release the graphics card from the slot. Take your time and ensure a gentle and steady release to avoid any damage to the card or the slot.
With the screws removed and the graphics card unlocked from the slot, you are now ready to safely remove it from your computer.
Handling and Storing the Graphics Card
Removing a graphics card requires careful handling to ensure its safety and longevity. By following proper handling techniques, you can prevent damage to the card and its delicate components.
Gently pull the graphics card out of the slot while supporting it to avoid any mishaps. It’s essential to exert a gentle but firm force, ensuring that the card doesn’t fall or sustain any damage during the removal process.
Once the graphics card is successfully removed, it’s crucial to store it in a safe and protective environment. Storing the graphics card in an antistatic bag is highly recommended as it shields the card from static electricity.
The antistatic bag is specifically designed to prevent electrostatic discharge (ESD), which can be detrimental to sensitive electronic components like the graphics card. Placing the card in an antistatic bag provides an additional layer of protection against potential static damage.
Remember, static electricity can build up easily and can cause irreparable harm to your graphics card if not properly handled. By using an antistatic bag, you reduce the risk of damaging sensitive circuitry and ensure the card’s continued functionality.
Proper handling and storage of the graphics card are essential to preserve its performance and extend its lifespan. By implementing these precautions, you can safeguard your investment and maintain optimal performance for your graphics card.
Cleaning and Maintenance after Removal
After removing the graphics card, it is essential to clean your computer and perform routine maintenance to ensure optimal performance. By following these maintenance tips, you can prevent any potential issues and keep your system running smoothly.
Cleaning Dust and Debris
One of the first steps in post-removal maintenance is to clean any accumulated dust and debris. Over time, dust can build up inside the computer case, leading to overheating and reduced performance. Use compressed air or a soft brush to gently remove dust from the case, fans, and other components.
Checking Cables and Connections
During the graphics card removal process, cables may have been disconnected or loosened. Take the time to check all cables and connections to ensure they are secure and properly connected. This includes power cables, data cables, and any other connections within the computer.
Securing Components
As you reinstall the computer case cover, make sure that all components are properly secured. This includes ensuring that any expansion slots, drive bays, and other hardware are tightly in place. Loose components can lead to vibrations, noise, and potential damage in the long run.
Performing System Updates
After removing the graphics card, it is also a good idea to update your system drivers and software. Graphics card removal may require uninstalling specific drivers, so make sure to reinstall the latest version for your new or existing graphics card. This will help ensure compatibility and maximize performance.
Regular Maintenance Schedule
To maintain the longevity and efficiency of your computer, it is recommended to establish a regular maintenance schedule. This can include cleaning the computer, checking for updates, and performing disk cleanup and defragmentation. By staying proactive and consistent with maintenance, you can extend the lifespan of your computer and avoid potential issues.
| Maintenance Tips | Frequency |
|---|---|
| Remove dust and debris from the case, fans, and components | Every 3-6 months |
| Check cable connections and ensure proper tightening | Every 3-6 months |
| Update system drivers and software | As needed or during major updates |
| Perform disk cleanup and defragmentation | Every 6-12 months |
By following these cleaning and maintenance tips after removing your graphics card, you can optimize the performance and longevity of your computer. Regular maintenance ensures that your system remains in top condition, allowing you to enjoy a seamless computing experience.
Upgrading or Replacing the Graphics Card
Upgrading or replacing the graphics card is a common practice to enhance gaming or graphics capabilities. Once the old graphics card has been successfully removed, the installation of a new one is relatively straightforward. Following the manufacturer’s instructions, the installation process involves connecting any necessary power cables, sliding the new card into the slot, and securing it with screws or a retention clip.
By upgrading or replacing the graphics card, users can significantly improve their computer’s performance and experience enhanced graphics and gaming capabilities.
| Advantages | Disadvantages |
|---|---|
| – Enhanced gaming performance – Improved graphics rendering – Support for advanced features and technologies | – Cost of purchasing a new graphics card – Compatibility issues with other hardware – Potential need for a power supply upgrade |
“Upgrading the graphics card was one of the best decisions I made for my gaming setup. The improvement in performance and graphics quality was instantly noticeable. It’s like playing games on a whole new level!” – John Smith, avid gamer
New GPU Installation Tips
- Read and follow the manufacturer’s instructions carefully.
- Ensure the new graphics card is compatible with your computer’s hardware and power supply.
- Disconnect all power cables before removing the old graphics card and installing the new one.
- Handle the new graphics card with care to avoid static electricity damage.
- Securely connect any necessary power cables to the new graphics card.
- Verify that the new graphics card is properly seated in the slot and firmly secured with screws or a retention clip.
- Power on the computer and install the latest drivers for the new graphics card.
Following these installation tips will help ensure a successful upgrade or replacement of the graphics card, resulting in an improved gaming and graphics experience.
Conclusion
Removing a graphics card can be a straightforward process when following the right instructions and taking necessary precautions. By carefully following the step-by-step instructions provided in this guide, you can safely remove a graphics card from your computer. Whether you’re upgrading or replacing the graphics card, this removal process enables a smooth transition and improved hardware performance.
Throughout the process, it is important to prioritize safety. Discharging static electricity, disconnecting cables properly, and handling the graphics card with care are essential measures to prevent damage to the components. By implementing these safety practices, you can ensure a successful graphics card removal.
Summary of the Graphics Card Removal Process:
- Preparation: Begin by preparing the computer, disconnecting cables, and removing the case cover.
- Discharge Power Connections: Safely disconnect any power cables connected to the graphics card.
- Unscrew and Unlock: Unscrew the graphics card and gently press the retention clip to unlock it from the slot.
- Handle with Care: Remove the graphics card from the slot with caution and store it in an antistatic bag.
- Cleaning and Maintenance: After removal, clean the computer and perform regular maintenance for optimal performance.
- Upgrade or Replace: If desired, upgrade or replace the graphics card with a new one following the manufacturer’s instructions.
With these guidelines and precautions, you can confidently remove a graphics card from your computer and proceed with any necessary upgrades or replacements.

