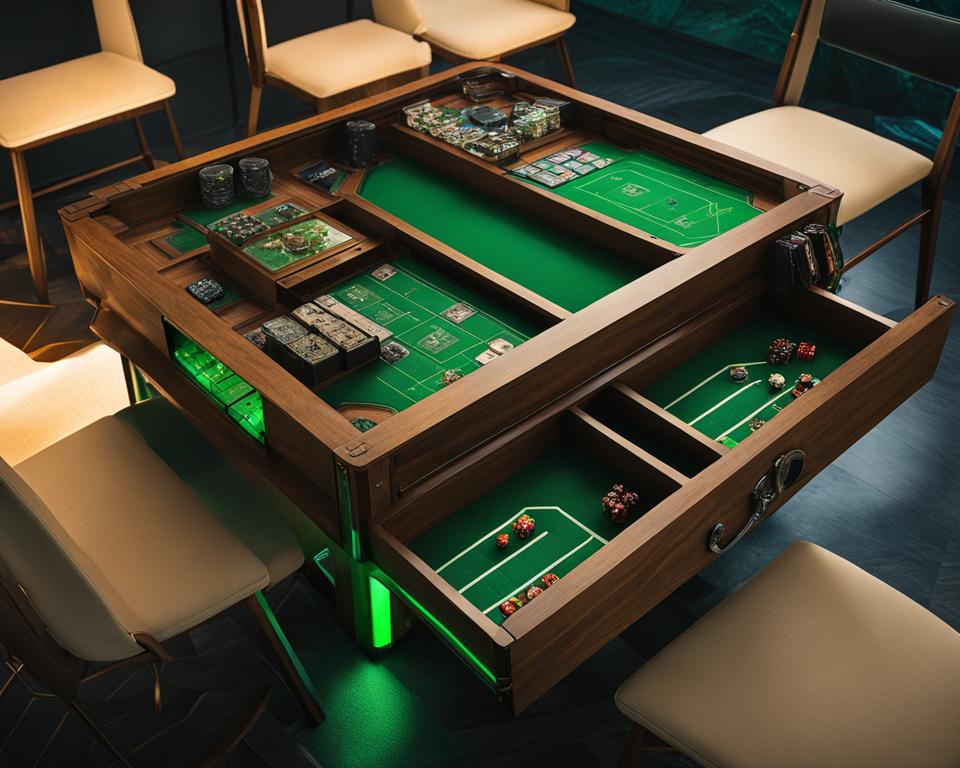
Are you a passionate gamer looking to take your tabletop gaming experience to the next level? Imagine having a custom gaming table that perfectly suits your needs, enhances immersion, and captures the essence of your favorite games. With a little creativity and some DIY craftsmanship, you can bring your dream gaming table to life.
Whether you’re a fan of Dungeons & Dragons, Warhammer 40,000, or Settlers of Catan, a purpose-built gaming table can elevate your gaming sessions to new heights. It provides a dedicated space for your games, incorporates useful features, and adds a touch of personalization to your gaming setup.
In this comprehensive guide, we’ll take you through the step-by-step process of building your own gaming table. From determining the ideal size to assembling the table top and building the base, we’ll cover everything you need to know to create a gaming table that will be the envy of your fellow gamers.
Key Takeaways:
- Building a gaming table is a rewarding DIY project for passionate gamers.
- A custom gaming table enhances immersion and improves gameplay.
- Follow our step-by-step guide to create a gaming table tailored to your needs.
- The process includes determining the table size, assembling the table top, and building the base.
- Gather the necessary supplies and tools to bring your gaming table to life.
Step 1: Determine Your Table Size

Before starting your DIY gaming table project, the first step is to determine the size of your table. This will ensure that it fits perfectly in your gaming room or space and accommodates the number of players you typically have. You should also consider any specific game requirements that may affect the dimensions of the table.
When determining the size of your gaming table, keep in mind the following dimensions:
- The playing surface, which should provide enough space for gameplay and comfortably fit all the necessary components.
- The recessed area, which allows for easy access to the playing surface and provides a comfortable playing experience.
- The armrests, which add comfort and support for players during extended gaming sessions.
While you can base your table size on standard dimensions, don’t hesitate to customize it according to your preferences and requirements. Remember that the table should fit seamlessly into your gaming setup and enhance your overall gaming experience.
Once you have determined the size of your gaming table, you can proceed to the next step, where we will discuss the assembly considerations and design options for your table.
Step 2: Assembly Considerations

When it comes to assembling your gaming table, there are several important considerations to keep in mind. The materials you choose, the overall design, and the dimensions of different components all play a crucial role in creating a functional and visually appealing gaming table.
For the table’s materials, consider using a combination of solid oak and plywood. Solid oak provides durability and a classic look, while plywood is more budget-friendly and easy to work with. By combining these materials, you can create a gaming table that is both sturdy and aesthetically pleasing.
When selecting the dimensions for your gaming table, consider the table frame, playing surface, riser walls, and armrests. The table frame should be designed to provide stability and support for the entire structure. The playing surface should be spacious enough to accommodate different games, while the riser walls create a recessed area that enhances gameplay immersion. Additionally, the armrests should be comfortable and well-positioned for extended gaming sessions.
Adding oak trim to exposed areas of the gaming table can further enhance its appearance. This small detail can give your table a polished and finished look that will impress your friends and fellow gamers.
Take a moment to visualize your ideal gaming table design and consider how each component will fit together. Planning ahead and carefully measuring each element will ensure that your gaming table is both functional and visually appealing.
Gaming Table Assembly Considerations:
| Consideration | Description |
|---|---|
| Materials | Combination of solid oak and plywood for durability and affordability |
| Design | Choose the right dimensions for the table frame, playing surface, riser walls, and armrests |
| Oak Trim | Add oak trim to exposed areas to enhance the table’s appearance |
By considering these assembly factors, you can ensure that your gaming table is both functional and visually appealing. The next step in the process is to assemble the table top, which we will cover in the next section.
Step 3: Assembling the Table Top

To create a sturdy and functional gaming table, the assembly of the table top is of utmost importance. Follow these steps to ensure a seamless construction:
1. Build the Table Frame
Start by assembling the table frame using 2x4s. Consider the orientation of the 2x4s, whether laid down or stood up, based on stability and desired table height. Secure the joints with screws and glue to ensure durability.
2. Attach the Playing Surface
Next, attach the playing surface to the table frame using screws and glue. A 1/2″ plywood board is suitable for the playing surface. Make sure it is securely fastened to provide a level and sturdy playing area.
3. Construct the Riser Walls
Construct the riser walls using red oak lumber, creating a recessed area that surrounds the playing surface. This will help contain dice and game pieces, ensuring they do not roll off the table. Take accurate measurements and secure the riser walls firmly to the table frame.
4. Add Armrests
Enhance the comfort of your gaming table by adding armrests. Use red oak and attach them securely to the table top. The armrests should provide a smooth and comfortable surface for players to rest their arms while gaming.
Your assembled table top should have a sturdy frame, a secure playing surface, riser walls, and comfortable armrests. It serves as the foundation for creating a high-quality gaming experience.
| Materials | Tools |
|---|---|
|
|
Step 4: Building the Base
Now that you have assembled the table top, it’s time to focus on building the base. The base of your gaming table plays a crucial role in providing overall support and stability. Additionally, it can offer valuable storage space for your gaming accessories. To create a sturdy and efficient base, we recommend using a pedestal-style shelving unit made from high-quality plywood.
When building the base, it’s important to consider the dimensions that will balance leg room and storage needs. You want to ensure that players can comfortably sit around the table while still having enough space to store their gaming equipment. To maximize the storage capacity, we suggest adding a central divider, creating four shelf cubby holes where you can neatly organize your gaming essentials.
By carefully designing and constructing the base, you can ensure that it can withstand the weight of the table top and provide the necessary support for long gaming sessions. The pedestal-style shelving unit offers both functionality and aesthetic appeal, making it a versatile choice for your gaming table base.
Supplies and Tools
Building your own gaming table requires a variety of supplies and tools. Here is a list of the essential items you will need:
– Lumber: 2x4s, 2x6s, and plywood sheets for the frame, playing surface, and riser walls.
– Screws and corner brackets for sturdy assembly.
– Sandpaper to smooth out the surfaces and edges.
– Stain to enhance the natural beauty of the wood.
– Polyacrylic sealer for protection against spills and wear.
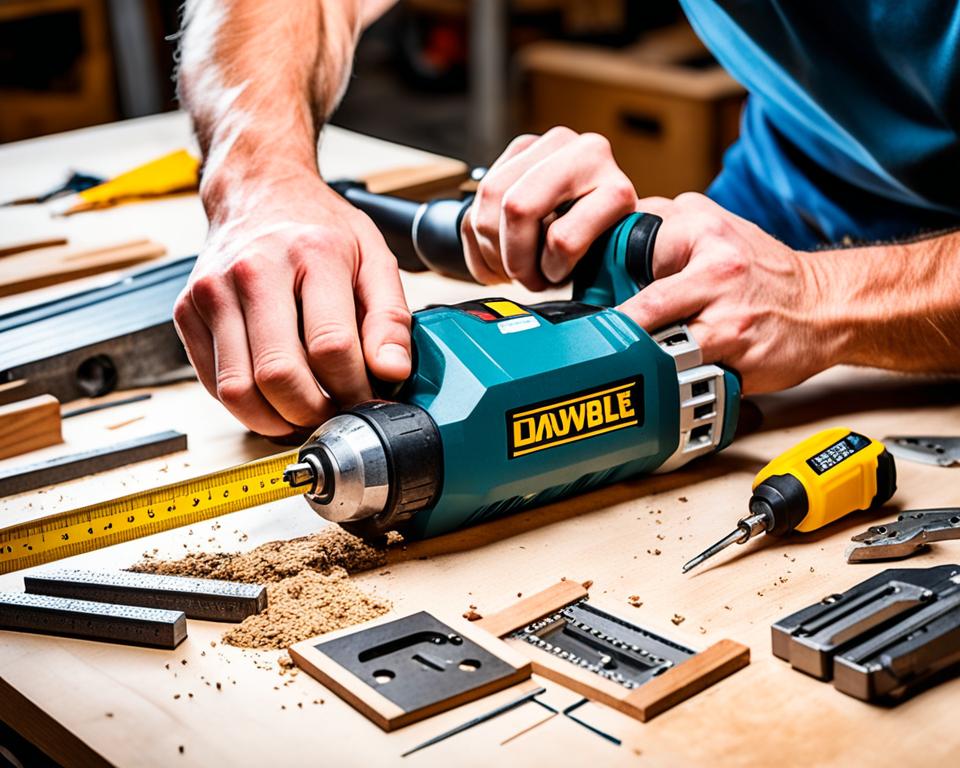
In addition to supplies, you will also need a range of woodworking tools to complete the project:
– Miter saw: Essential for accurate cuts on the lumber.
– Power drill: Needed for creating screw holes and attaching components.
– Screwdriver: For tightening screws and securing brackets.
– Power sander: Used to achieve a smooth and even finish on the wood surfaces.
– Electrical equipment: Necessary for wiring outlets for convenient power access.
With these gaming table supplies and woodworking tools on hand, you’ll be well-equipped to create your custom gaming table.


