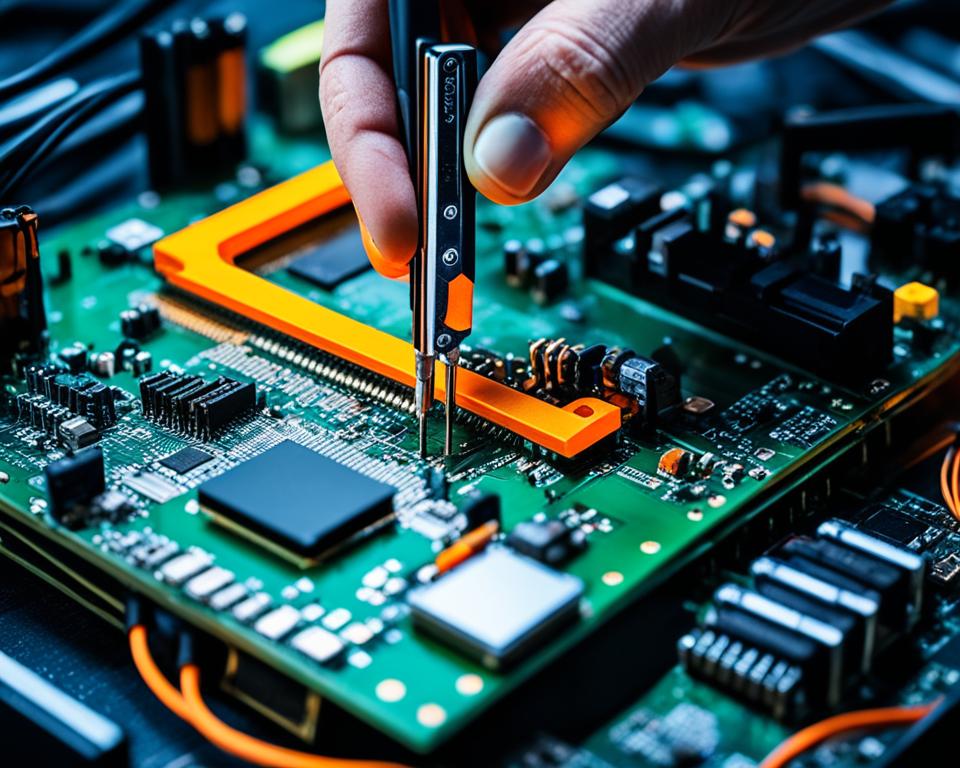
Imagine this: You’re in the middle of an important project on your computer when suddenly, your screen goes black, and you notice a mysterious orange light glowing on your motherboard. Panic sets in as you wonder what could be causing this unsettling sight. Is it a hardware malfunction? Power supply issue? Overheating? The possibilities seem endless, but don’t worry – we’re here to help you understand and fix the orange light problem on your computer motherboard.
Before diving into the troubleshooting steps, it’s important to understand that the orange light on the motherboard can indicate various issues, ranging from hardware malfunctions to insufficient power supply, computer overheating, BIOS/UEFI issues, or even a damaged motherboard. It’s crucial to address the orange light issue promptly to prevent further complications and ensure the smooth operation of your computer system.
Key Takeaways:
- Understanding the common causes of the orange light is essential for effective troubleshooting.
- Taking a systematic approach and following the appropriate steps can help fix the orange light issue.
- Check power supply connections, inspect motherboard connections, address RAM and CPU issues, update the BIOS, and consider other hardware failures if necessary.
- Resolving the orange light issue ensures the stability and optimal performance of your computer system.
- Proper troubleshooting of the orange light problem prevents system instability, data loss, and hardware damage.
Importance of a Functioning Motherboard
The motherboard plays a crucial role in the overall performance and stability of a computer system. Acting as the central hub, it connects and coordinates all the hardware components, ensuring smooth communication and efficient functionality. A functioning motherboard is therefore essential for the optimal performance of your computer.
One of the key functions of a motherboard is to provide the necessary slots and connectors for various components such as the CPU, RAM, graphics card, and storage devices. These connectors allow seamless integration and compatibility between different hardware components, enabling them to work together harmoniously.
The motherboard also houses the BIOS (Basic Input/Output System) or UEFI (Unified Extensible Firmware Interface), depending on the system, which acts as the firmware responsible for initializing the hardware during system startup. It ensures that all the components are properly recognized and configured for use. Additionally, the BIOS/UEFI offers advanced features like overclocking capabilities, allowing users to optimize their hardware for enhanced performance.
Furthermore, a functioning motherboard provides a wide range of features and functionalities that are essential for a smooth computing experience. These features can include built-in audio and networking capabilities, USB and other peripheral support, and expansion slots for adding additional hardware components as needed.
“A functioning motherboard is the backbone of a robust computer system, allowing all the components to work together seamlessly.”
Without a functioning motherboard, the entire computer system would be rendered useless, as it serves as the foundation upon which all other components rely. Any issues or malfunctions with the motherboard can result in system instability, frequent crashes, and poor overall performance.
Ensuring motherboard compatibility with other components is also crucial, as using incompatible hardware can lead to compatibility issues, system failures, and potentially damage the components themselves. Modern motherboards often feature a variety of connectors and slots that are specifically designed to support different computer hardware standards, ensuring compatibility and efficient performance.
Motherboard Components
A typical motherboard consists of various components that collectively enable the operation of a computer system. Some of the main components on a motherboard include:
- Socket or slot for CPU installation
- Slots for RAM modules
- Expansion slots for additional hardware (e.g., graphics cards, sound cards, networking cards)
- SATA or M.2 connectors for storage devices
- Power connectors (e.g., ATX power connector)
- USB headers
- BIOS/UEFI chip
Each of these components plays a critical role in supporting the functionality and compatibility of the overall system.
Motherboard Compatibility
When building or upgrading a computer system, ensuring compatibility between the motherboard and other components is essential. This includes compatibility between the motherboard and the CPU, RAM, graphics card, storage devices, and power supply unit.
Compatibility issues can arise due to differences in form factors, socket types, generations, and various other specifications. It is important to research and carefully select components that are known to be compatible with the chosen motherboard to avoid any issues during installation or system operation.
Motherboard Features
Modern motherboards often come with a wide range of features that enhance the overall functionality and performance of the computer system. These features can include:
- Integrated audio and networking capabilities
- USB 3.0/3.1 and USB-C ports for fast data transfer
- High-speed PCIe x16 slots for graphics card installation
- Multiple RAM slots for increased memory capacity
- SATA and M.2 connectors for high-speed storage devices
- Overclocking capabilities for fine-tuning the system performance
These features allow users to customize and optimize their computer systems according to their specific needs and requirements.
| Component | Function |
|---|---|
| CPU Socket/Slot | Allows the installation and connection of the central processing unit (CPU). |
| RAM Slots | Provides slots for installing random access memory (RAM) modules. |
| Expansion Slots | Enables the installation of additional hardware components like graphics cards, sound cards, or networking cards. |
| SATA/M.2 Connectors | Allows the connection of storage devices like hard drives or solid-state drives. |
| Power Connectors | Provides power supply to the motherboard and connected components. |
| USB Headers | Connects USB ports to the motherboard for data transfer and peripheral connectivity. |
| BIOS/UEFI Chip | Stores the firmware responsible for initializing the hardware and providing configuration options. |
Significance of an Orange Light on Motherboard
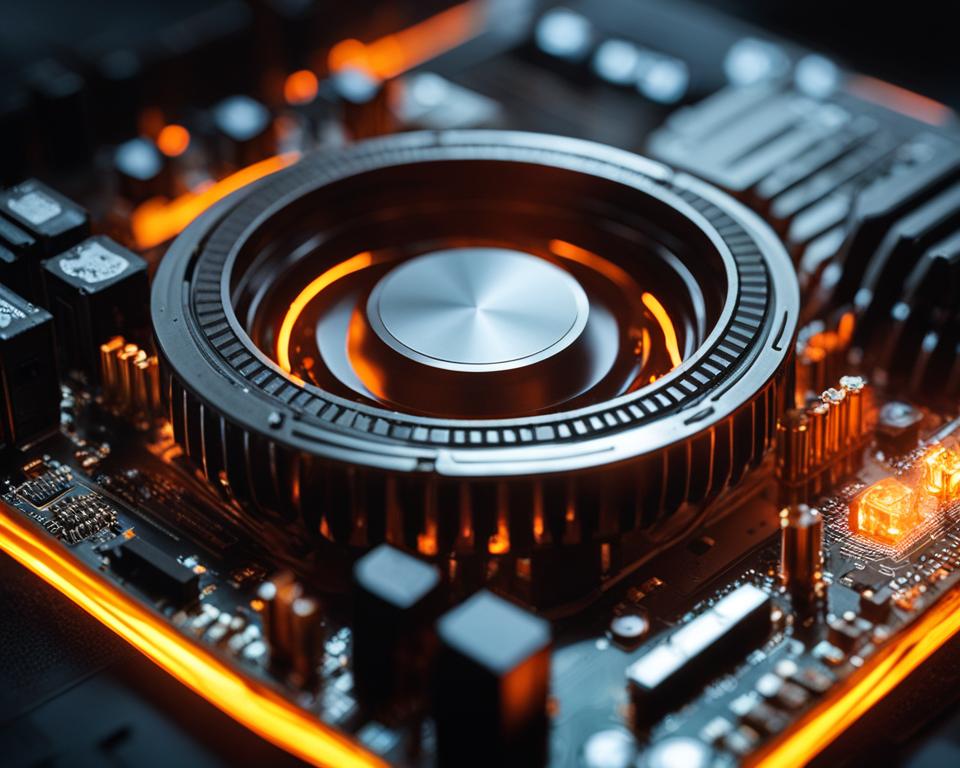
An orange light on the motherboard serves as a visual indicator of a potential problem within the system. It acts as a motherboard issue indicator, providing a visual cue of a potential motherboard problem. Recognizing the significance of the orange light is crucial, as it can help prevent system instability, data loss, and hardware damage.
When the orange light on the motherboard is illuminated, it signifies issues related to hardware or power supply. These problems must not be ignored or neglected, as they can have severe consequences for your computer system. System instability can lead to crashes, freezes, and unexpected shutdowns, disrupting your workflow and productivity. Additionally, data loss can occur if the issue persists, potentially resulting in the loss of important files, documents, or media.
Furthermore, hardware damage is another potential consequence of disregarding the orange light. Ignoring the visual cue provided by the motherboard can lead to prolonged exposure of components to unfavorable conditions, such as overheating or insufficient power supply. Over time, this can cause irreversible damage to hardware components, requiring costly repairs or replacements.
Understanding the significance of the orange light is crucial for prompt troubleshooting and resolving the underlying issue. By identifying and addressing the problem early on, you can mitigate the risk of system instability, data loss, and hardware damage.
Table: Potential Consequences of Ignoring Orange Light on Motherboard
| Consequences | Description |
|---|---|
| System Instability | Crashes, freezes, and unexpected shutdowns, hindering productivity. |
| Data Loss | Potential loss of important files, documents, or media. |
| Hardware Damage | Prolonged exposure to unfavorable conditions leading to component damage. |
It is essential to prioritize the resolution of the motherboard issue indicated by the orange light to ensure the stability and longevity of your computer system. By addressing the root cause, whether it be hardware malfunction or power supply issues, you can safeguard against system instability, data loss, and hardware damage.
Troubleshooting an Orange Light on Motherboard
Troubleshooting an orange light on the motherboard requires a systematic approach to identify and resolve the underlying cause. By following a structured troubleshooting process, you can effectively diagnose and fix the orange light issue.
- Check Power Supply: Begin by inspecting the power supply for loose connections or a faulty unit. Ensure all power cables are securely plugged into the motherboard and power source.
- Inspect Motherboard Connections: Verify the connections of essential motherboard components such as the ATX power connector and RAM placement. Loose or incorrect connections can contribute to the orange light problem.
- Clear CMOS: Resetting the motherboard’s CMOS (Complementary Metal-Oxide-Semiconductor) can help resolve firmware-related issues. Refer to the motherboard’s manual for instructions on clearing the CMOS.
- Listen for Error Beep Codes: If your motherboard has a built-in speaker or utilizes an external one, listen for any error beep codes during startup. These codes can provide valuable insights into the specific hardware or firmware issue causing the orange light.
- Check for Overheating: Overheating can trigger the orange light on the motherboard. Make sure all cooling fans are functional, the CPU heatsink is properly installed, and there is adequate airflow within the computer case.
- Update BIOS and Drivers: Outdated BIOS (Basic Input/Output System) and drivers can lead to compatibility issues and trigger the orange light. Visit the manufacturer’s website to download and install the latest BIOS and driver updates for your motherboard.
- Inspect Other Hardware: Hardware failures in components such as storage devices (hard drives, SSDs), network cards, or audio cards can also cause the orange light issue. Inspect these components for signs of damage or malfunction.
By systematically troubleshooting each potential cause, you can identify the specific issue triggering the orange light on your motherboard and take the appropriate steps to resolve it. Remember to follow proper safety precautions, such as grounding yourself and disconnecting the power supply before working on your computer’s internal components.
Example Troubleshooting Process:
Let’s consider an example of troubleshooting an orange light on the motherboard:
- Verify Power Supply: Check if the orange light is caused by insufficient power supply. Ensure that all power cables are firmly connected to the motherboard and the power supply unit. Test the power supply unit if necessary.
- Inspect Motherboard Connections: Confirm that all cables and connectors are properly seated. Pay close attention to the ATX power connector, CPU power connector, and RAM modules. Reseat them if required.
- Clear CMOS: If the issue persists, clear the CMOS by following the motherboard manufacturer’s instructions. This step helps in resetting the motherboard’s firmware settings.
- Listen for Beep Codes: Power on the system and listen for any error beep codes. These audible signals can provide valuable information about the underlying hardware issue.
- Check for Overheating: Monitor the CPU temperature using software or check for excessive heat dissipation. Clean the CPU heatsink and ensure the cooling fans are functioning correctly.
- Update BIOS and Drivers: Visit the motherboard manufacturer’s website to download and install the latest BIOS and driver updates. Follow the provided instructions carefully during the update process.
- Inspect Other Hardware: If the problem persists, inspect other components such as storage devices, network cards, and audio cards. Replace or repair any malfunctioning components as necessary.
Remember that the troubleshooting process may vary depending on your specific motherboard model and the symptoms you encounter. Always refer to the manufacturer’s documentation or seek professional assistance if needed.
Common Causes of Orange Light on Motherboard
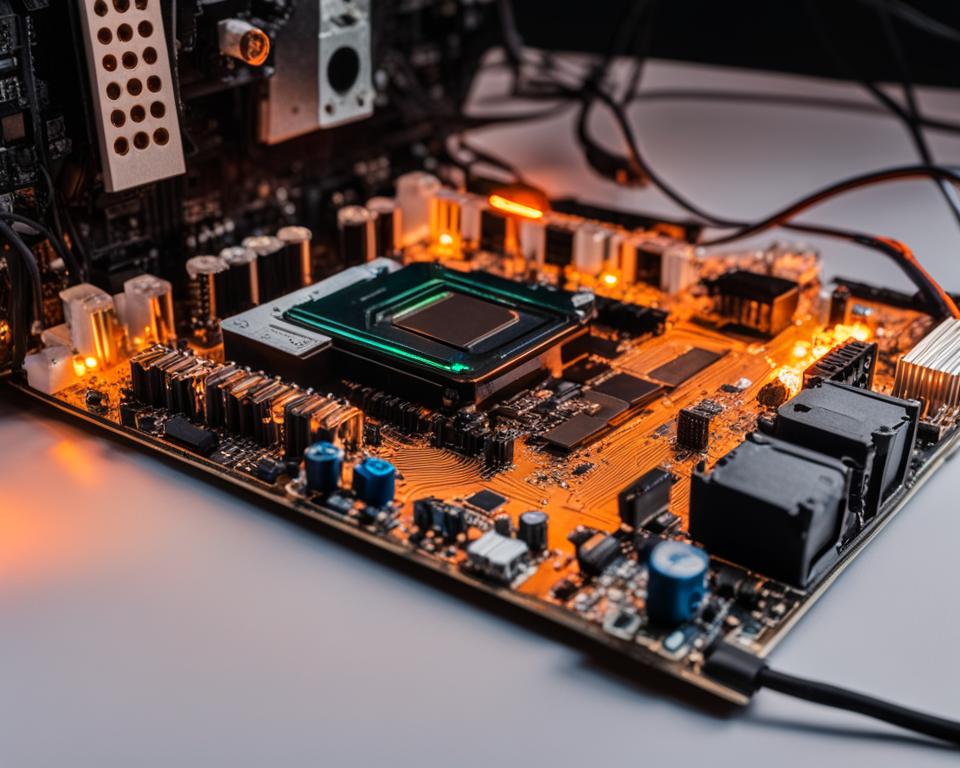
When encountering an orange light on your motherboard, it’s important to understand the common causes behind this issue. By identifying the root cause, you can take the necessary steps to resolve the problem effectively. Here are the most common causes of the orange light:
- Insufficient Power Supply: A weak or inadequate power supply can trigger the orange light on the motherboard.
- Unstable Power: Fluctuations or inconsistent power supply can also result in the activation of the orange light.
- Incompatible RAM: Using RAM that is incompatible with your motherboard can contribute to the orange light issue.
- Wrong RAM Installation: Incorrectly installing the RAM modules can activate the orange light.
- Improper Hardware Placement: Improperly placing hardware components such as GPUs or expansion cards can trigger the orange light.
- Tightly Placed CPU Heatsink: A CPU heatsink that is tightly secured or misaligned can cause the orange light to turn on.
- Hardware Damage: Damaged hardware components, such as a faulty motherboard or graphics card, can activate the orange light.
- Short Circuit During Assembly: If there was a short circuit during the computer assembly process, it could result in the orange light issue.
- Damaged CPU: A faulty or damaged CPU can contribute to the activation of the orange light.
To effectively resolve the orange light problem, it is essential to address the specific cause. Troubleshooting steps tailored to each of these common causes will help in resolving the issue and restoring the normal functionality of your computer system.
Fixing a Blinking Orange Light on Motherboard
If you notice that the orange light on the motherboard is blinking, it is a clear indication of a power supply issue. To resolve this problem, follow these troubleshooting steps:
- Check for loose power cable connections: Ensure that the power cables are securely plugged into both the power supply unit (PSU) and the motherboard. Loose connections can cause intermittent power supply, resulting in the blinking orange light.
- Test the power supply functionality: Use a power supply tester or a multimeter to check if the PSU is providing the correct voltage to the motherboard. Faulty power supply units can cause various issues, including the blinking orange light.
- Clean the PSU: Over time, dust and debris can accumulate inside the PSU, leading to overheating and power supply problems. Use compressed air or a soft brush to carefully clean the PSU, ensuring optimal airflow and preventing overheating.
- Replace the PSU if necessary: If the power supply is faulty and cleaning does not resolve the issue, it may be time to replace the PSU. Ensure that you choose a compatible and reliable power supply unit to provide a stable power source for your motherboard.
By following these steps, you can effectively fix the blinking orange light on your motherboard and restore proper functionality to your computer system.
Note: It is important to take precautions and ensure that the computer is unplugged from the power source before performing any cleaning or replacement procedures.
Fixing a Static Orange Light on Motherboard
A static orange light on the motherboard is indicative of a system issue rather than a mere power supply problem. Resolving this requires a systematic approach to identify and fix the underlying cause. Here are some steps and troubleshooting techniques to help you get rid of the static orange light:
1. Check secondary storage:
Begin by removing and reattaching the cables connected to your secondary storage devices, such as hard drives or SSDs. Ensure that the connections are secure and properly seated. This can help eliminate any potential malfunctions related to secondary storage.
2. Clean and reinstall RAM:
RAM-related issues can also trigger the static orange light on the motherboard. Try cleaning the contacts of your RAM modules using a soft, lint-free cloth. Then, reinsert them firmly into the memory slots, making sure they are properly aligned. This simple step can often resolve RAM-related problems.
3. Check GPU placement:
If you have a dedicated graphics card (GPU), carefully remove and reinsert it into the PCIe slot on the motherboard. Ensure that it is correctly seated and firmly secured. Sometimes, improper GPU placement can cause system issues, including a static orange light.
4. Update the BIOS:
The motherboard’s Basic Input/Output System (BIOS) is responsible for initializing the hardware components during system startup. Outdated or incompatible BIOS versions can result in system issues, including the static orange light. Check the manufacturer’s website for the latest BIOS update for your motherboard model, and follow their instructions to install it correctly.
Following these troubleshooting steps should help you resolve the static orange light issue on your motherboard. By addressing potential system issues, secondary storage malfunctions, ensuring proper RAM installation, checking GPU placement, and updating the BIOS, you can eliminate the orange light and restore optimal functionality to your computer system.
Additional Troubleshooting Tips for Orange Light on Motherboard
In addition to the specific troubleshooting steps mentioned before, there are some additional tips that can help resolve the orange light issue on the motherboard.
- Proper RAM Placement: Ensure that the RAM modules are correctly seated in their respective slots. If necessary, consult the motherboard manual for the recommended configurations.
- Alternate RAM Configuration: Try different arrangements of the RAM modules in case there are compatibility issues. Experiment with different combinations and placements to see if the orange light issue is resolved.
- Alternative GPU Slot: If you have multiple PCIe slots on your motherboard, consider trying a different slot for your graphics card. Sometimes, using an alternate slot can resolve compatibility or connectivity issues that may trigger the orange light.
- BIOS Update: Check the motherboard manufacturer’s website for any available BIOS updates. Updating the BIOS can often address compatibility issues and provide additional stability for your system.
- Hardware Compatibility Check: Ensure that all your hardware components are compatible with each other and meet the specifications recommended by the motherboard manufacturer. Incompatible hardware can often lead to various issues, including the activation of the orange light.
By following these additional troubleshooting tips, you can increase the chances of identifying and resolving the underlying cause of the orange light on your motherboard.
Conclusion
Resolving the orange light issue on the motherboard requires a systematic approach and careful troubleshooting. By understanding the common causes and following the appropriate steps, you can effectively fix the issue and ensure the smooth operation of your computer system.
To begin, make sure to check the power supply connections. Loose or faulty connections can contribute to the activation of the orange light. Additionally, inspect the motherboard connections, such as the ATX power connector and RAM placement, to ensure everything is properly connected and seated.
Next, address any RAM and CPU issues that may be causing the orange light problem. Verify that the RAM is compatible with your motherboard and try reseating it if necessary. In some cases, updating the BIOS may also resolve compatibility or configuration issues.
Lastly, consider other hardware failures if necessary. It’s important to check for overheating, as well as inspect other components like storage devices, network cards, or audio cards that could be contributing to the orange light issue.
By taking these troubleshooting steps, you can effectively resolve the orange light issue on your motherboard and ensure the optimal performance and stability of your computer system.

