Imagine sitting down at your computer, ready to start your day. You press the power button, but nothing happens. Panic sets in as you try to troubleshoot the issue. After some investigation, you discover that dust has accumulated on your motherboard, causing a short circuit and rendering your PC useless.
Unfortunately, this is a common scenario for many computer users. The motherboard, often referred to as the “heart” of the computer, is responsible for connecting all the components and ensuring they communicate effectively. Over time, dust can build up on the motherboard, impacting its performance and risking system damage.
That’s why it’s crucial to know how to clean your motherboard properly, ensuring its longevity and optimal functionality. In this article, we will guide you through essential motherboard cleaning techniques, best practices, and maintenance tips to keep your PC running smoothly.
Key Takeaways:
– Regular cleaning of your motherboard is vital to prevent dust buildup and potential short circuits.
– Avoid pouring liquids or using vacuums directly on the motherboard; use distilled water, isopropyl alcohol, or contact cleaner instead.
– Remove the motherboard from the case and use compressed air or a soft brush to remove dust.
– Reapply thermal paste when cleaning the CPU cooler to maintain optimal heat transfer.
– Take precautions, such as wearing an anti-static wrist strap and working in a static-free environment, to ensure the safety of your components.
When Should You Clean Your Motherboard?
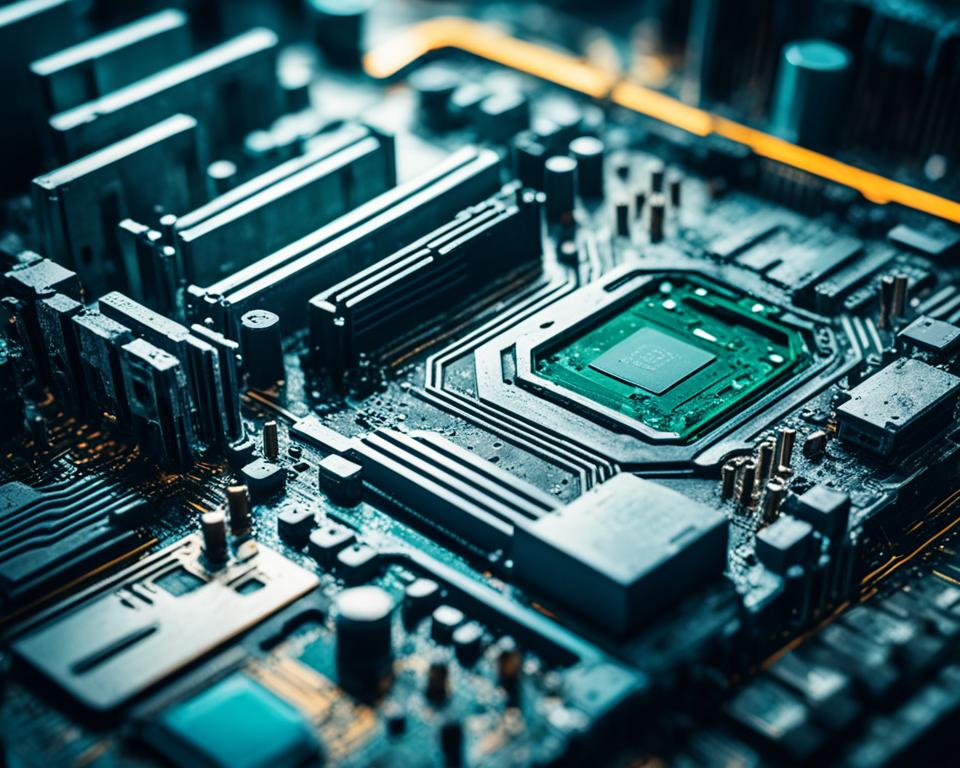
Regularly cleaning your motherboard is crucial for maintaining the performance and longevity of your PC. By preventing dust buildup and minimizing the risk of short circuits, you can optimize your system’s performance and avoid potential damage to your components.
Dust buildup is a common problem that can occur inside your computer case, including on your motherboard. Over time, the accumulation of dust can obstruct airflow and lead to overheating, causing your components to underperform or even fail.
It is recommended to clean your motherboard at least once a year or whenever you notice a significant amount of dust on the surfaces. Taking proactive measures to clean your motherboard will not only enhance its lifespan but also increase overall PC performance.
Dust and debris can particularly impact crucial areas of your motherboard, such as voltage regulator modules (VRMs) and the CPU. When these components become clogged with dust, they generate more heat, leading to thermal throttling and decreased performance. By cleaning your motherboard regularly, you can prevent the buildup of dust and keep your PC running smoothly.
Risk of Dust Buildup
Dust buildup on your motherboard can lead to various issues, including:
- Short circuits: Dust acts as a conductor and can bridge connections on your motherboard, leading to short circuits that can cause irreversible damage to your system.
- Overheating: Dust insulates heat, making it difficult for components like VRMs and the CPU to dissipate heat properly. This can result in increased temperatures, reduced performance, and even component failure.
- Decreased performance: When dust obstructs airflow and accumulates on crucial components, it can impede their functionality, causing your PC to run slower and experience performance bottlenecks.
Given the risks associated with dust buildup on your motherboard, regular cleaning is vital to prevent these issues and ensure optimal PC performance.
Continue reading to learn how to clean your motherboard effectively and safely in the next section.
How to Clean Your Motherboard
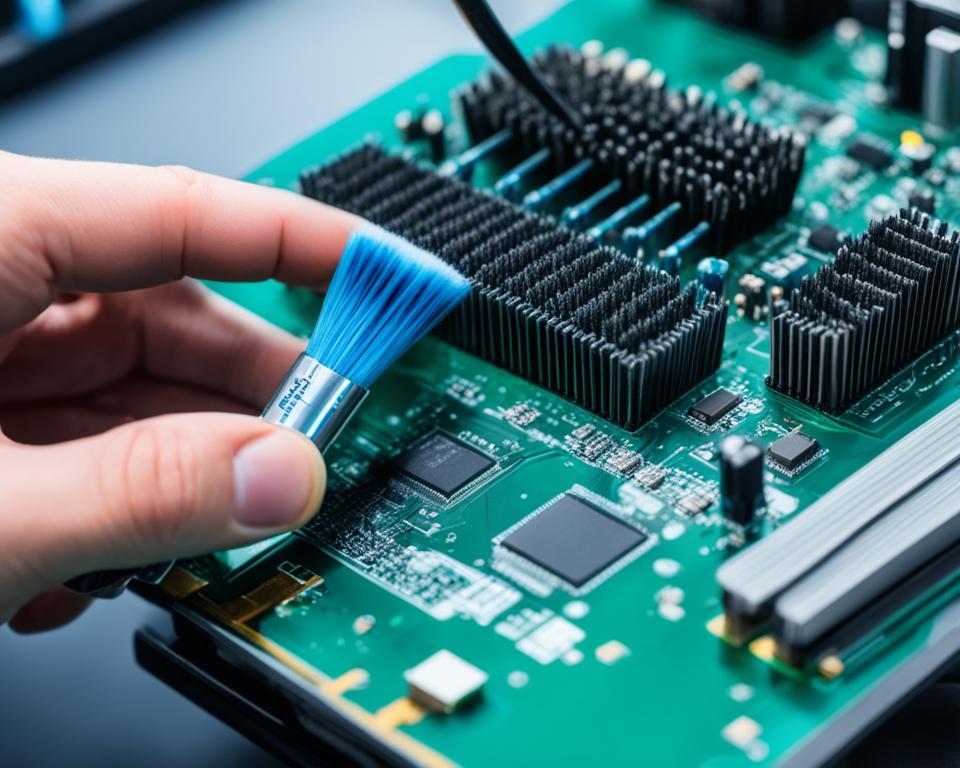
Cleaning your motherboard may seem daunting, but it can be relatively straightforward. You don’t need any special equipment to clean it, but having a few supplies can make the process easier. It’s important to avoid pouring liquids directly onto the motherboard and using vacuums, as they can cause damage.
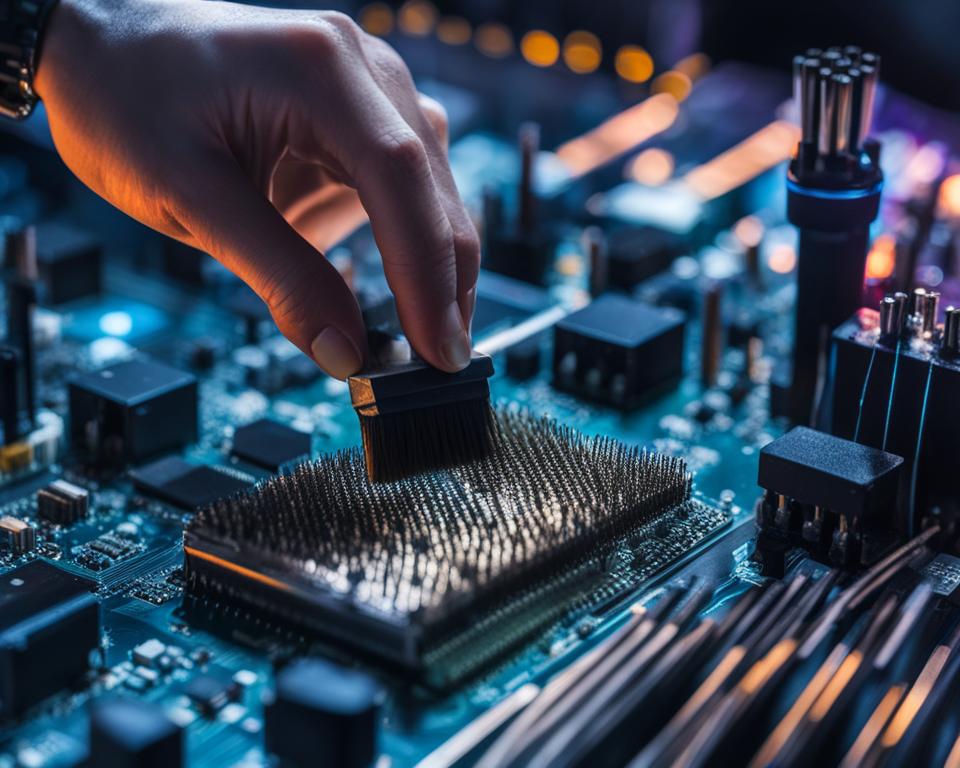
Start by removing the motherboard from the case and use compressed air or a soft brush to loosen dust. You can also use cotton swabs with isopropyl alcohol or contact cleaner for stubborn dust particles. Take caution not to apply excessive force or use abrasive materials that can damage delicate components.
When cleaning the motherboard, pay close attention to connectors, slots, and heat sinks, as dust tends to accumulate in these areas. Use compressed air or blowers to remove loose dust particles, ensuring to hold the canister or blower at a safe distance to prevent damage from excessive pressure.
“Cleaning the motherboard regularly helps prevent dust buildup, ensuring optimal performance and reducing the risk of short circuits. Always exercise caution and follow safe cleaning techniques to maintain the longevity of your motherboard and other PC components.”
If you encounter stubborn dirt or residue, dip a cotton swab in isopropyl alcohol or contact cleaner and gently clean the affected areas. Take care not to leave any liquid residue on the motherboard and ensure it is completely dry before reassembling your PC.
It’s also important to note that if you need to clean the CPU cooler or replace the thermal paste, follow the manufacturer’s instructions and exercise caution while handling and cleaning these components.
After cleaning the motherboard, it’s crucial to carefully reassemble your PC. Ensure that all connectors are securely plugged in and that the motherboard is correctly positioned in the case. Double-check all connections and cables to avoid any issues upon powering up your PC again.
| Cleaning Supplies | Safe Cleaning Techniques |
|---|---|
| Compressed air | Use compressed air to blow away loose dust from the motherboard and components. |
| Soft brush | Gently brush off dust particles from hard-to-reach areas on the motherboard. |
| Cotton swabs | Dip cotton swabs in isopropyl alcohol or contact cleaner to target stubborn dust or residue. |
| Isopropyl alcohol | Use isopropyl alcohol to clean connectors and remove residue. |
| Contact cleaner | Contact cleaner can effectively remove dirt and grime from electrical components. |
Remember, regular motherboard cleaning is essential to prevent dust buildup, maintain optimal performance, and prolong the lifespan of your PC components. Following safe cleaning techniques and using appropriate supplies will help ensure a successful cleaning process.
Cleaning the Motherboard vs. Cleaning Other Components
When it comes to cleaning your PC, giving attention to the motherboard is of utmost importance. As the central hub connecting all the components, the motherboard can accumulate dust in hidden areas, posing a significant risk of short circuits and performance degradation. However, it is not just the motherboard that requires regular cleaning; other components like the CPU cooler, graphics card, and power supply unit (PSU) also demand attention for optimal performance.
To ensure your PC functions at its best, follow these component-specific cleaning techniques:
Cleaning the Motherboard
Dust and debris on the motherboard can hinder its functionality and lead to potential damage. Therefore, it is essential to clean the motherboard with utmost care. Here’s how:
- 1. Start by removing the motherboard from the PC case to access all areas effectively.
- 2. Use compressed air or a soft brush to gently remove dust from the motherboard’s surface, slots, and connectors. Take extra care with the delicate pins.
- 3. For stubborn dust particles, dampen a cotton swab with isopropyl alcohol or contact cleaner, and gently wipe the affected areas.
- 4. Inspect all components for dust accumulation, including the voltage regulator modules (VRMs). Use compressed air or a brush to remove dust from VRM heat sinks.
- 5. Before reassembling, ensure everything is completely dry and free of residue.
Cleaning Other Components
While the motherboard is crucial, other components also require regular cleaning to maintain optimal performance. Here are some cleaning techniques for specific hardware:
| Component | Cleaning Technique |
|---|---|
| CPU Cooler | Remove the cooler, clean the fan and heat sink with compressed air, remove dust with a brush, and reapply thermal paste if necessary. |
| Graphics Card | Use compressed air to remove dust from the fans, heatsink, and PCB. Clean the contacts with isopropyl alcohol and a lint-free cloth. |
| Power Supply Unit (PSU) | Use compressed air to remove dust from the fans and vents. Pay attention to the PSU’s intake and exhaust areas. |
Regular cleaning of these components will help improve cooling efficiency, reduce thermal throttling, and extend their lifespan.
By prioritizing motherboard cleaning and following component-specific cleaning techniques, you can enhance the longevity and performance of your PC. Remember, cleaning should be done with caution and at regular intervals to keep your system running smoothly.
Best Practices for Cleaning Your Motherboard
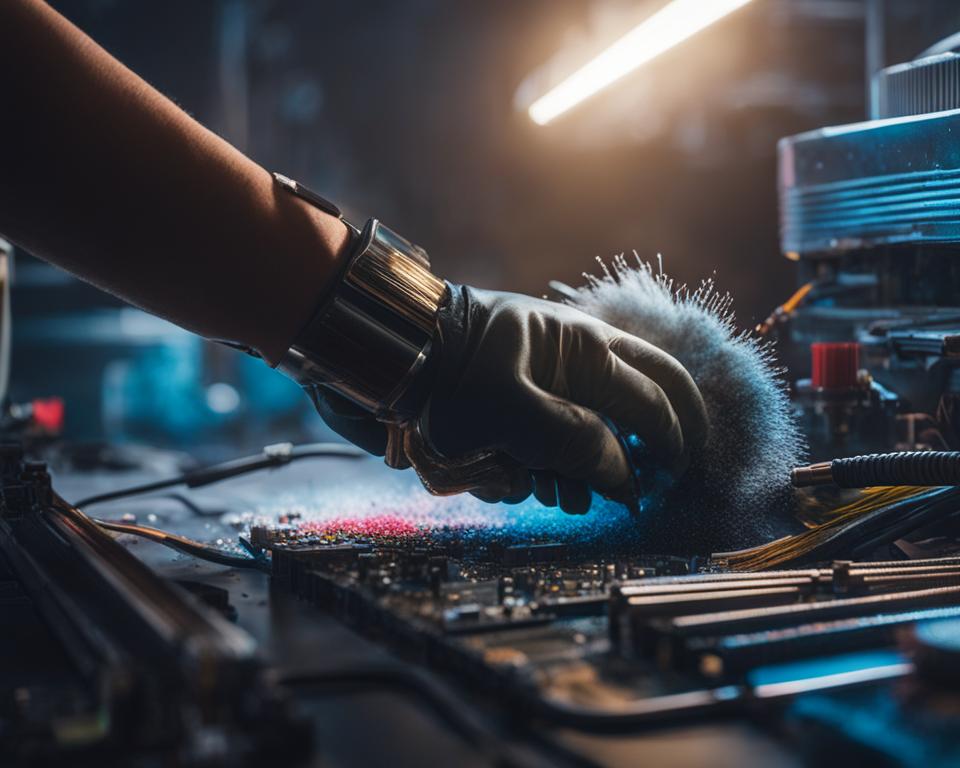
When it comes to cleaning your motherboard, it’s crucial to follow best practices to ensure its safety and avoid causing damage to any components. Taking the necessary precautions can help you maintain the longevity and optimal performance of your PC.
1. Avoid pouring liquids directly onto the motherboard: It’s important to never pour any liquid directly onto the motherboard during the cleaning process. Liquids can seep into sensitive electronic components and cause irreversible damage. Instead, opt for safer cleaning methods.
2. Use blowers instead of vacuums: When removing dust and debris from your motherboard, using blowers or compressed air is preferable to using vacuums. Vacuums can generate static charge, which can potentially damage delicate circuitry. Blow away the dust gently and avoid using excessive force.
3. Stick to safe cleaning solutions: To clean your motherboard effectively, use safe cleaning solutions such as distilled water, isopropyl alcohol, or contact cleaner. These options are less likely to cause damage and can effectively remove dirt and grime without leaving residue.
4. Take precautions: When cleaning your motherboard, it’s essential to take precautions to protect both yourself and the components. Wear an anti-static wrist strap to prevent static electricity from damaging the motherboard. Additionally, work in a well-lit and static-free environment to minimize any potential risks.
5. Be gentle when removing and reattaching components: When removing or reattaching components to your motherboard, handle them with care to avoid causing any damage. Gentle and precise movements can prevent accidental breakage or misalignment.
6. Double-check all connectors before reassembling: Before reassembling your PC, double-check all connectors to ensure they are properly seated and secured. Loose or misaligned connections can lead to malfunctioning components and potential damage.
By following these best practices for cleaning your motherboard, you can safely maintain its functionality and prevent any unnecessary damage to your PC’s components.
Remember, the motherboard is the backbone of your computer, and taking care of it through regular cleaning and maintenance can contribute to a longer lifespan and optimal performance.
| Best Practices for Cleaning Your Motherboard |
|---|
| Avoid pouring liquids directly onto the motherboard |
| Use blowers instead of vacuums |
| Stick to safe cleaning solutions |
| Take precautions |
| Be gentle when removing and reattaching components |
| Double-check all connectors before reassembling |
Removing Your Motherboard
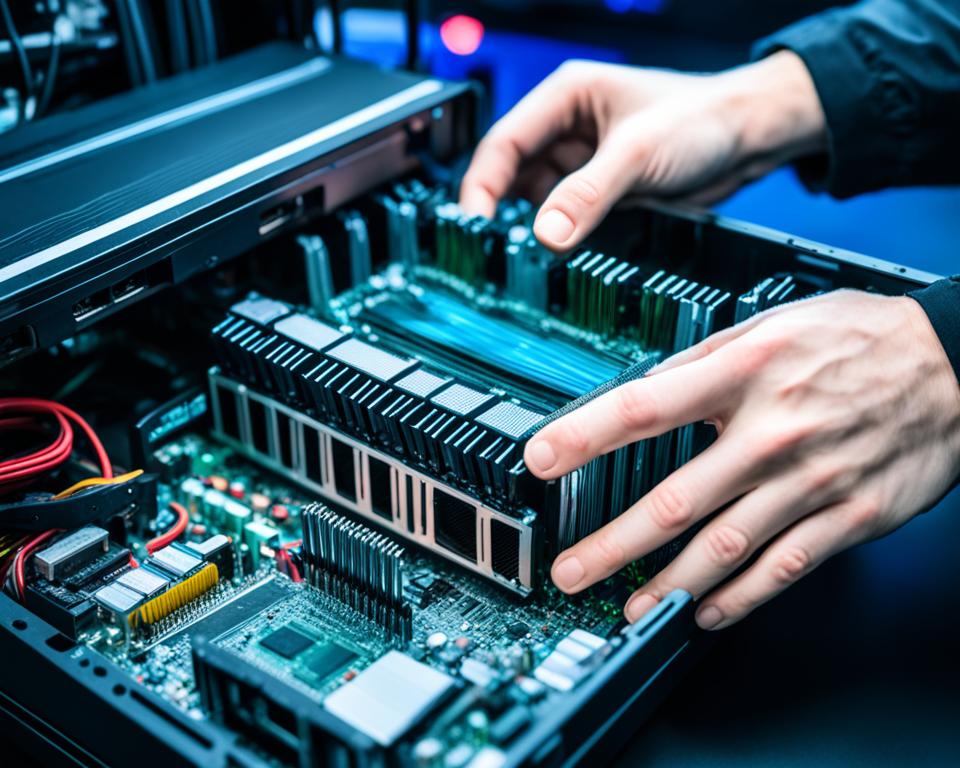
Before you can proceed with cleaning your motherboard, it’s essential to remove it from the PC case. Follow these steps to safely remove the motherboard and prepare it for cleaning:
- Precautions: To protect your motherboard from static electricity, wear an anti-static wrist strap throughout the process. Also, make sure to unplug all cables and devices connected to your PC before starting.
- Open the PC Case: Remove the side panel of your PC case to gain access to the internal components.
- Disconnect the Graphics Card: Locate the power connectors attached to your graphics card and detach them carefully. Then, unscrew the graphics card from the motherboard and gently lift it out.
- Remove the RAM: Unlatch the RAM sticks from their slots, and carefully slide them out of the motherboard.
- Unplug Connectors: To aid in reassembling later, take a picture of all the connectors attached to the motherboard. Then, one by one, unplug each connector from the motherboard, ensuring that you remember their positions.
- CPU Cooler (if necessary): If you need to remove the CPU cooler for thorough cleaning, do so carefully. However, make sure you have thermal paste available for reapplication when reassembling.
Removing the motherboard from the PC case allows you to clean it more effectively and ensures that no components hinder the cleaning process. By following these precautions and steps, you can proceed to clean your motherboard and maintain its optimal performance.
Dusting Your Motherboard
Properly dusting your motherboard is a crucial step in the cleaning process to ensure its optimal performance and longevity. Dust accumulation can lead to heat buildup and potential damage to sensitive components. In this section, we will discuss the best techniques for dusting motherboard surfaces and removing dust from VRM (Voltage Regulator Module) heat sinks. We will also explore the use of compressed air or blowers for effective dust removal.
“Dust is the silent enemy that can compromise the performance and lifespan of your computer’s motherboard. Regular dusting is the key to maintaining your PC’s overall health.”
Loosening Dust with a Brush
Before using any cleaning tools, it’s important to loosen the dust on the motherboard’s surfaces. Gently brush the motherboard using a soft-bristle brush, ensuring not to apply excessive force or pressure. This will help dislodge the loose dust particles, making it easier to remove them.
Using Compressed Air or Blowers
After loosening the dust, it’s time to remove it from the motherboard. Compressed air or blowers are highly effective tools for this task. Hold the can of compressed air or blower at a safe distance and direct the airflow towards the motherboard, paying extra attention to areas where dust tends to accumulate, such as VRM heat sinks. The force of the air or blower will dislodge and blow away the remaining dust particles.
Removing Stubborn Dust with Cotton Swabs and Cleaners
If there are stubborn dust particles clinging to the motherboard surfaces, you can use cotton swabs lightly dipped in isopropyl alcohol or contact cleaner to gently wipe them away. Make sure to use minimal pressure and avoid excessive moisture. This technique can help eliminate any remaining dust and ensure a thorough cleaning.
“Dust can insulate heat sinks, reduce cooling efficiency, and even cause electrical shorts, affecting the overall stability and performance of your PC. So, don’t underestimate the importance of dusting your motherboard.”
Note: When using any cleaning solutions or liquids, make sure to apply them sparingly and avoid contact with sensitive components, such as connectors and circuits. Always refer to the manufacturer’s instructions and recommendations for cleaning specific motherboard models.
By regularly dusting your motherboard using these techniques, you can prevent dust accumulation, maintain optimal cooling efficiency, and extend the lifespan of your PC. Now that you have learned how to properly dust your motherboard, let’s move on to the next section to explore the importance of reapplying thermal paste.
Reapplying Thermal Paste
Thermal paste plays a crucial role in maintaining optimal heat transfer between the CPU and the heatsink. Over time, thermal paste can dry out or become less effective, leading to potential overheating issues. As part of the process of cleaning your CPU cooler, it is important to remove the old thermal paste and apply a fresh layer.
To begin, gather the necessary supplies, including isopropyl alcohol, a microfiber cloth, and a high-quality thermal paste. Before applying the new thermal paste, it is essential to clean the surfaces of the CPU, GPU, and heatsink. Use isopropyl alcohol and a microfiber cloth to remove any residue or old thermal paste.
Once the surfaces are clean, it’s time to apply the new thermal paste. Remember, the goal is to achieve a thin and even layer for optimal heat transfer. Apply a small amount of thermal paste on the center of the CPU, about the size of a small pea. Using a plastic card or a spatula, carefully spread the thermal paste in a thin layer, making sure to cover the entire surface of the CPU. Be cautious not to use too much or too little thermal paste, as it can negatively impact heat dissipation.
Pro Tip: Remember to check the CPU manufacturer’s guidelines for any specific recommendations on thermal paste application techniques.
After applying the thermal paste, carefully reattach the heatsink to the CPU, ensuring that it is correctly aligned and fastened. This step is crucial to guarantee proper heat transfer and cooling efficiency.
Applying thermal paste correctly is essential for maintaining optimal heat dissipation and preventing overheating. By following the proper technique and using high-quality thermal paste, you can ensure that your CPU operates at its best performance without the risk of damage due to excessive heat.
| Benefits of Reapplying Thermal Paste: |
|---|
| – Improves heat transfer between the CPU and heatsink |
| – Prevents overheating and potential CPU damage |
| – Enhances cooling performance |
| – Ensures optimal CPU functionality and longevity |
Putting Everything Back Together
After cleaning the motherboard and other components, it’s time to put everything back together. Properly reassembling your PC is crucial for ensuring its optimal performance and longevity. Follow these steps to reconnect the components and maintain the integrity of your system.
1. Use Your Reference Pictures:
Refer to the pictures you took before disassembling your PC to ensure that you reconnect all the connectors correctly. This will help you avoid any confusion and ensure that everything is plugged in the right place.
2. Start with the Larger Components:
Begin by reattaching the larger components, such as the RAM sticks, graphics card, and CPU cooler (if it was removed during cleaning). Make sure they are properly seated and securely fastened to the motherboard or their respective slots.
3. Connect the Power Cables:
Next, plug in the power connectors to the motherboard and graphics card. Double-check that they are firmly connected and provide a stable power supply to the components.
4. Reconnect the Smaller Connectors:
Proceed to connect the smaller connectors, including fan connectors, USB headers, and audio connections. Take your time to ensure that you don’t miss any vital connections that might affect the functionality of your PC.
Remember to be gentle when reconnecting the components, as excessive force can cause damage. Take particular care with delicate connectors and cables.
5. Proper Cable and Connector Maintenance:
While putting everything back together, pay attention to the condition of the cables and connectors. Inspect them for any signs of wear and tear, such as cuts, cracks, or burns. Replace any faulty cables to maintain a reliable power and data transmission throughout your PC.
Additionally, organize the cables to promote better airflow within the case. Use cable ties or clips to bundle and secure the cables, preventing them from obstructing the components or causing unnecessary strain on the connectors.
By reassembling your PC carefully and maintaining the cables and connectors properly, you can optimize the performance of your system and ensure its longevity.
Checking Cables and Connectors
The cables and connectors in your PC play a crucial role in ensuring smooth power and data transmission. To maintain optimal performance, it is essential to regularly inspect and maintain them. Here are some key steps to follow when checking your cables and connectors:
1. Inspect for Wear and Tear
Examine each cable for any visible signs of wear and tear, such as cuts, cracks, or burns. These can indicate compromised integrity and affect the overall functionality of your PC. If you identify any faulty cables during the inspection, it’s important to replace them promptly to avoid any potential issues.
2. Secure Connections
Make sure that all cables and connectors are securely plugged into the correct ports and slots. Loose connections can lead to power disruptions and data transmission errors. Take the time to check each connection, ensuring they are snug and properly seated.
3. Avoid Excessive Bending or Stretching
Avoid bending or stretching cables excessively as it can cause damage and affect their performance. Improper cable placement can also obstruct airflow and contribute to increased temperatures inside your PC. Organize and route the cables in a way that promotes better airflow, ensuring optimal cooling for your components.
4. Cable Management
Cable management is not only aesthetically pleasing but also crucial for maintaining proper airflow and preventing cables from blocking critical components. Consider using cable ties, clips, or cable management accessories to organize and secure your cables. This will not only improve the overall tidiness of your PC but also enhance cooling performance.
5. Performing Regular Inspections
Regularly scheduled cable inspections should be part of your PC maintenance routine. Aim to perform these inspections every few months or whenever you make changes to your system’s configuration. By staying proactive and addressing potential cable issues promptly, you can mitigate the risk of system instability and improve the longevity of your PC.
Remember, proper cable and connector maintenance is a fundamental aspect of PC care and can contribute to better overall performance and longevity of your system.
| Benefits of Cable and Connector Inspection | How to Perform Cable and Connector Inspection |
|---|---|
| 1. Enhanced system stability | 1. Visually inspect each cable for wear and tear |
| 2. Improved data transfer reliability | 2. Ensure secure connections |
| 3. Prevention of power disruptions | 3. Avoid excessive bending or stretching |
| 4. Optimal cooling and airflow | 4. Organize cables for better airflow |
| 5. Prolonged lifespan of PC components | 5. Perform regular inspections |
By following these steps, you can ensure that your cables and connectors are in optimal condition, promoting efficient power delivery, data transfer, and overall PC performance. Now, let’s move on to reassembling and testing your PC to complete the cleaning process.
Reassembling and Testing Your PC
Once you have successfully cleaned and reassembled your PC, the next crucial step is to test it for any potential issues. Follow the steps below to ensure a smooth reassembly process and verify the functionality of your PC.
1. Secure the Motherboard and PSU
Start by carefully placing the motherboard and power supply unit (PSU) back into the case. Ensure that they are properly aligned with the mounting holes and securely fastened using the appropriate screws.
2. Reconnect Cables and Connectors
Next, reconnect all cables and connectors to their respective ports on the motherboard, GPU, storage devices, and other components. Take your time to ensure that each connector is firmly plugged in and properly seated.
3. Alignment and Fastening
Make sure that all components, including RAM modules, graphics card, and CPU cooler (if removed), are aligned correctly and securely fastened. Double-check the mounting screws and brackets to prevent any potential issues.
4. Secure the Case Cover
Place the case cover back on and secure it with the necessary screws or latches. This step ensures the protection of your PC components, and it’s important to align the cover properly to avoid any interference or potential damage.
5. Power Up Your PC
Once your PC is fully reassembled, plug it into a power source. Press the power button and observe if the PC boots up normally. Pay attention to any unusual sounds, error messages, or unexpected behavior during the booting process.
6. Run Diagnostic Tools and Benchmarks
To thoroughly test the functionality of your PC, run diagnostic tools and benchmarks. These tools can help identify any potential hardware or software issues that may have occurred during the reassembly process. Monitor the system’s performance, temperature, and stability to ensure everything is functioning optimally.
7. Troubleshooting
If you encounter any problems or errors during the testing phase, refer to the diagnostic tools for specific error codes or messages. Troubleshoot any issues by checking cable connections, reseating components, updating drivers, or seeking assistance from manufacturer support forums or professionals.
Testing your PC after cleaning and reassembly is critical to confirm that all components are functioning correctly. Following these steps and using diagnostic tools and benchmarks will help ensure a smooth and successful reassembly process, giving you peace of mind in the reliability and performance of your PC.
Increasing the Lifespan of Your Motherboard by Cleaning It
Cleaning your motherboard regularly is of utmost importance to ensure its longevity and prevent potential system damage. By keeping your motherboard clean, you significantly reduce the risk of short circuits that can harm valuable PC components, including high-end graphics cards. Although the motherboard may not directly impact performance, it serves as the vital foundation for effective communication among all your computer’s hardware.
Maintaining your motherboard’s cleanliness through regular cleaning routines guarantees optimal system performance and minimizes the likelihood of component failure. This is particularly crucial if you intend to use your PC for an extended period without frequent upgrades. Neglecting to clean your motherboard can lead to dust accumulation, impaired connectivity, and compromised system stability.
Preventing system damage and maintaining system longevity can be achieved by following a simple cleaning process. Remember to carefully remove the motherboard from the PC case and utilize compressed air or a soft brush to eliminate dust. It is vital to exercise caution by avoiding liquid spills or using vacuums, which can potentially cause irreparable damage to delicate components. By incorporating regular motherboard cleaning into your maintenance routine, you can safeguard your PC’s overall performance and prolong the lifespan of your essential hardware.

