Buying a new SSD for your PC can be an exciting upgrade, but it’s crucial to ensure compatibility with your motherboard. With the wide variety of SSDs available, each with different connectors and interface types, it can be challenging to determine if a particular SSD will work with your motherboard.
Let me introduce you to Mike, an ambitious PC enthusiast who decided to upgrade his system with a lightning-fast SSD. He had done his research, read countless reviews, and finally settled on a sleek M.2 SSD. However, when he excitedly opened up his PC case, he quickly realized that his motherboard did not have the necessary slot to connect the M.2 SSD.
Mike’s disappointment soon turned into determination as he delved into the world of SSD and motherboard compatibility. He spent hours researching the technical jargon, interface types, connector shapes, and M.2 SSD sizes. Armed with knowledge, he was ready to figure out how to check if his SSD was compatible with his motherboard.
Key Takeaways:
- Understanding the technical terms like M.2, SATA, PCIe, and NVMe is essential for determining SSD and motherboard compatibility.
- M.2 SSDs come in different connector shapes, including B-key and M-key, which must match the slot on the motherboard for proper compatibility.
- Knowing the different sizes of M.2 SSDs and the maximum length supported by your motherboard will help you choose the right one.
- Checking the motherboard’s specifications and comparing them with the SSD’s requirements is a reliable way to determine compatibility.
- Upgrading to an SSD can significantly enhance your system’s performance, but it is important to ensure compatibility for a seamless installation.
What are M.2, SATA, PCIe, and NVMe?
In order to understand the compatibility of SSDs, it is important to familiarize yourself with the technical terms associated with them. Let’s take a closer look at M.2, SATA, PCIe, and NVMe.
SATA: SATA, or Serial ATA, is the interface used by both HDDs and SSDs. It is the older, slower interface when compared to PCIe but is widely supported by motherboards.
PCIe: PCIe, or Peripheral Component Interconnect Express, is a faster interface that offers higher data transfer speeds. It is commonly used for high-performance devices like graphics cards and, more recently, SSDs.
M.2: M.2 is an expansion slot that supports various components, including SSDs. M.2 slots can be found on modern motherboards and come in different versions, with different key configurations.
NVMe: NVMe, or Non-Volatile Memory Express, is a communication protocol specifically designed for SSDs that use PCIe M.2 slots. NVMe allows for faster data transfer speeds and reduced latency, resulting in improved SSD performance.
By understanding these terms, you can determine the compatibility of an SSD with your motherboard. Let’s dive deeper into each of these interfaces and their compatibility with M.2 SSDs.
M.2 Connector Shapes
M.2 SSDs come in various connector shapes, also known as keys, which determine their compatibility with M.2 slots on motherboards. Understanding these connector shapes is essential in ensuring the proper fit and functionality of your M.2 SSD.
There are two types of connector keys commonly found in M.2 SSDs: B-key and M-key. When looking at an M.2 slot from the front, you can identify the key shape by the position of the corresponding protrusion. A B-key slot has a protrusion on the left side, while an M-key slot has a protrusion on the right side.
- B-key: M.2 slots with a B-key connector can support both SATA and PCIe M.2 SSDs. These slots are compatible with SSDs that have indents or notches at both the B and M positions. B-key M.2 SSDs can be used with both SATA and PCIe M.2 slots on your motherboard.
- M-key: M.2 slots with an M-key connector are typically used for NVMe SSDs. These slots are compatible with SSDs that have an indent or notch only at the M position. NVMe SSDs can only be used with PCIe M.2 slots on your motherboard.
Checking the compatibility of the key shape of your M.2 SSD with the M.2 slot on your motherboard is crucial to ensure a proper fit and functionality. Placing an incompatible SSD into a slot with the wrong key shape can result in the SSD not being recognized or functioning properly.
M.2 Connector Key Shapes and Compatibility
| Key Shape | Compatibility |
|---|---|
| B-key | Compatible with SATA and PCIe M.2 slots |
| M-key | Compatible with PCIe M.2 slots for NVMe SSDs |
A Breakdown of All the M.2 SSD Sizes
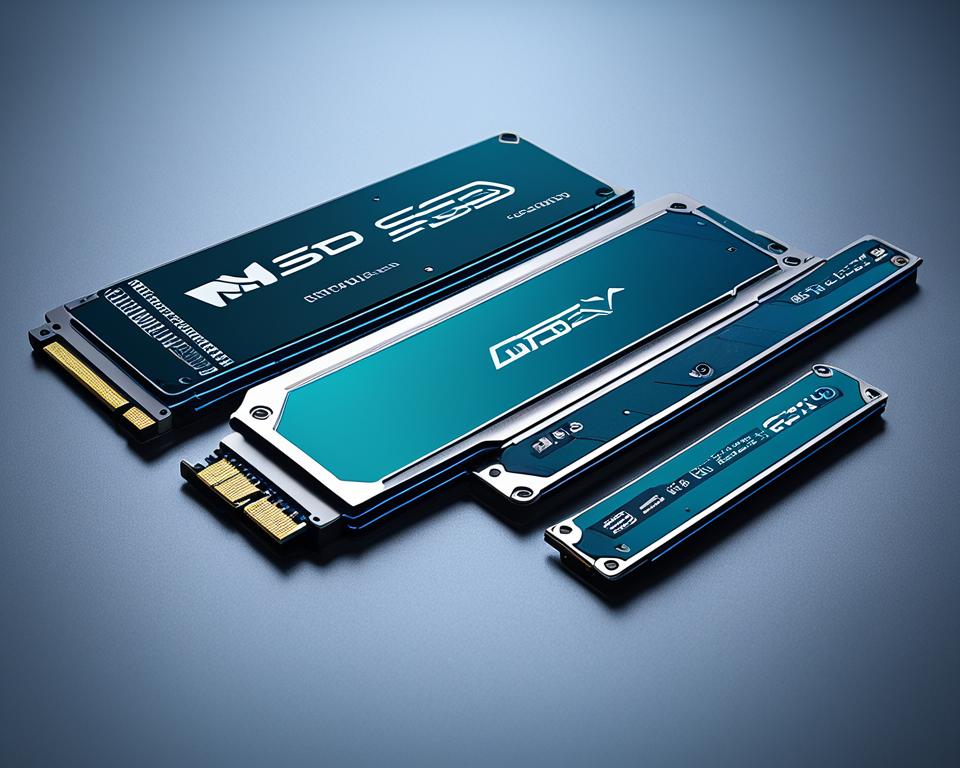
M.2 SSDs come in different lengths, providing various options to choose from based on your PC’s requirements. It is crucial to select the right M.2 SSD size that fits your motherboard for optimal performance and storage capacity.
The most common M.2 SSD sizes include:
- 22110
- 2280
- 2260
- 2242
- 2230
These sizes are identified by the first two digits representing the width and the last two or three digits indicating the length. A longer M.2 SSD provides more physical space, allowing for higher maximum storage capacities.
When choosing an M.2 SSD size, it is recommended to consider the largest size that your motherboard can support to ensure optimal storage capacity and performance.
| M.2 SSD Size | Dimensions (Width x Length) | Maximum Storage Capacity | Approximate Price Range |
|---|---|---|---|
| 22110 | 22mm x 110mm | Up to 4TB | $500 – $1000 |
| 2280 | 22mm x 80mm | Up to 2TB | $150 – $500 |
| 2260 | 22mm x 60mm | Up to 1TB | $100 – $300 |
| 2242 | 22mm x 42mm | Up to 512GB | $50 – $150 |
| 2230 | 22mm x 30mm | Up to 256GB | $30 – $100 |
Prices may vary depending on the brand, model, and storage capacity of the M.2 SSD.
“Choosing the right M.2 SSD size is essential for maximizing storage capacity and performance in your PC.” – PC Building Expert
How to Check M.2 SSD Compatibility Using the Motherboard’s Specifications
Checking M.2 SSD compatibility with your motherboard is a crucial step in ensuring a seamless PC build. By examining the specifications of your motherboard, you can determine if the M.2 SSD you have chosen is compatible. Here’s a step-by-step guide:
- Identify your motherboard: Start by finding out the exact name of your motherboard. You can do this by using tools like Dxdiag or searching for it in the System tab of the Control Panel.
- Access manufacturer’s website: Once you have the name of your motherboard, visit the manufacturer’s website.
- Navigate to the specifications section: Look for the specifications section on the manufacturer’s website. This section contains detailed information about your motherboard, including the M.2 slot specifications.
- Check the M.2 interface: In the specifications, locate the information about the M.2 slot. It will mention the interface type supported, such as SATA or PCIe.
- Determine maximum length: Look for the maximum length of an M.2 SSD that the slot can accommodate. It is usually mentioned in millimeters (mm), such as 80mm.
- Compare with SSD specifications: Compare the M.2 interface and maximum length mentioned in your motherboard’s specifications with the specifications of the M.2 SSD you intend to purchase.
By following these steps, you can ensure that your chosen M.2 SSD is compatible with your motherboard, providing you with a reliable and efficient storage solution for your PC build.
Quote:
“Checking M.2 SSD compatibility with your motherboard is crucial to avoid any issues during the installation process. By reviewing the motherboard’s specifications, you can ensure that the M.2 SSD you choose will work seamlessly with your system.” – PC Building Experts
Remember, verifying compatibility through the motherboard’s specifications is essential to avoid any compatibility issues. By undertaking this simple compatibility test, you can confidently complete your PC build knowing that your M.2 SSD will work perfectly with your motherboard.
SSDs and the Future of Gaming

In today’s gaming world, SSDs (Solid State Drives) are playing a crucial role in enhancing the gaming experience. With the introduction of consoles like the PS5 and Xbox Series X, the importance of faster loading times and quick resume features has become more apparent than ever.
Both the PS5 and Xbox Series X are equipped with high-performance SSDs that significantly reduce loading times, allowing gamers to jump into the action faster and enjoy seamless gameplay. This not only enhances the overall gaming experience but also improves the immersion and enjoyment factor.
The benefits of SSDs are not limited to consoles. PC games are also starting to require SSDs to deliver optimal performance. Many modern games, such as Cyberpunk 2077 and upcoming titles like Starfield, have specific SSD requirements to run smoothly. These games are designed to take advantage of the fast loading speeds and data transfer rates that SSDs provide, enhancing the graphics, gameplay, and overall performance.
As gaming technology continues to advance, the demand for SSDs in gaming is expected to grow even further. The enhanced speed and performance of SSDs allow for quicker asset loading, reduced input lag, and improved overall responsiveness, providing a competitive edge to gamers.
Furthermore, SSDs are becoming increasingly affordable, making them a viable option for gamers looking to upgrade their storage solutions. The prices of SSDs have significantly decreased over the years, offering gamers the opportunity to experience the benefits of SSD technology without breaking the bank.
Overall, the future of gaming is undoubtedly tied to the advancements in SSD technology. As game developers continue to push the boundaries of graphics and performance, the importance of SSDs in providing a smooth, immersive, and enjoyable gaming experience will only continue to grow.
SSD Compatibility with Laptops
Determining SSD compatibility with a laptop is crucial for enhancing storage performance and capacity. To ensure a successful upgrade, it’s important to check the hard drive interface type specified in the laptop’s manual or online specifications.
Laptop manuals typically provide detailed information about the supported hard drive types and interfaces, including whether the laptop is compatible with SSDs. If the manual is missing or inaccessible, another method for finding the necessary information is to search for the laptop model online.
You can search for the laptop model on the manufacturer’s website or other reliable sources to find its specifications. These specifications should include details about the laptop’s hard drive interface type, such as SATA or PCIe, which can help determine SSD compatibility.
Checking Laptop Specifications for SSD Compatibility
Step 1: Find the Laptop Model
Before searching for the laptop’s specifications, you need to identify the specific model of your laptop. This information can usually be found on the bottom of the laptop or on the manufacturer’s packaging.
Step 2: Search for the Laptop Model Online
After identifying the laptop model, search for it online using a search engine or visit the manufacturer’s website directly. Look for the official specifications or product page for your specific laptop model.
Step 3: Locate the Hard Drive Specifications
Once you have accessed the laptop’s specifications, navigate to the section that provides information about the hard drive. Here, you should find details about the hard drive interface type, which may be listed as SATA, PCIe, or another compatible interface.
Step 4: Ensure Compatibility
Compare the hard drive interface type specified in the laptop’s specifications with the recommended SSD interface types. This will help ensure compatibility between the laptop and the SSD you plan to install.
By following these steps and checking the laptop’s specifications for the hard drive interface type, you can confidently choose an SSD that is compatible with your laptop. Upgrading to an SSD can significantly improve your laptop’s performance, speed, and overall user experience.
| Laptop Model | Hard Drive Interface | Compatible SSD Types |
|---|---|---|
| Dell XPS 13 | M.2 PCIe | M.2 NVMe SSD |
| HP Spectre x360 | M.2 SATA | M.2 SATA SSD |
| Lenovo ThinkPad X1 Carbon | M.2 PCIe | M.2 NVMe SSD |
SSD Compatibility with Desktop Motherboards
Determining SSD compatibility with your desktop motherboard is essential to ensure a smooth and hassle-free upgrade. There are two ways to check compatibility: by directly inspecting the motherboard’s interface or by searching for the motherboard model online to access its specifications.
Option 1: Direct Inspection
If you’re comfortable disassembling your desktop, you can physically examine the motherboard’s hard drive interface. Most desktop motherboards support either M.2 or SATA interfaces for SSDs.
To check for an M.2 interface, look for a slot on the motherboard labeled “M.2.” It’s important to note that M.2 SSDs come in different lengths, so you’ll also need to determine the maximum length that your motherboard supports.
If your motherboard doesn’t have an M.2 slot, it likely supports SSDs through a SATA interface. In this case, you’ll need to identify the SATA connectors on the motherboard and ensure they are compatible with your desired SSD.
Option 2: Online Search
If you prefer not to disassemble your desktop, you can search for your motherboard model online to access its specifications. Visit the manufacturer’s website or other reliable sources and locate the specifications section for your specific motherboard model.
In the specifications, look for information about the supported hard drive interfaces, such as M.2 or SATA. The specifications will also indicate the maximum length of M.2 SSDs that the motherboard can accommodate.
By referring to your motherboard’s printed instructions or online specifications, you’ll be able to identify the type of hard drive interface supported by your desktop motherboard and choose an SSD that is compatible in terms of interface and size.
Remember, SSD compatibility is crucial for the successful installation and optimal performance of your desktop system. Take the time to explore your motherboard’s specifications and select an SSD that meets the requirements of your desktop motherboard.
| Desktop Motherboard Model | Hard Drive Interface | Maximum M.2 SSD Length |
|---|---|---|
| ASUS ROG Strix B450-F Gaming | M.2, SATA | 80mm |
| Gigabyte Aorus X570 Elite | M.2, SATA | 110mm |
| MSI B450 Tomahawk Max | M.2, SATA | 80mm |
How to Upgrade to an SSD
Upgrading your computer’s storage to a solid-state drive (SSD) is a smart move that can greatly enhance your overall system performance. There are two methods you can choose from to upgrade to an SSD: installing a new Windows system on the SSD or migrating the existing Windows operating system (OS) to the SSD.
If you decide to install a new Windows system on the SSD, you’ll need to start by backing up important files and creating a Windows installation media. Once you have these prepared, physically install the SSD into your computer and follow the prompts to reinstall the Windows system. This method ensures a fresh start with the new SSD and eliminates any potential compatibility issues with the old system.
Alternatively, you can choose to migrate your existing Windows OS to the SSD. To do this, you’ll need disk management software like MiniTool Partition Wizard. This software allows you to transfer the OS from the old drive to the SSD while preserving your existing settings and data. It’s crucial to ensure SSD compatibility with your PC before proceeding with this method.
Both methods require careful consideration and planning. Upgrading to an SSD can significantly improve your computer’s speed, responsiveness, and overall performance, making it a worthwhile investment for any user.

