One of the crucial steps in building a computer is testing the motherboard’s functionality before proceeding with the assembly. While it may seem counterintuitive to test a motherboard without a CPU, it is considered good practice to ensure that all components are working correctly before installing them in the case. This preliminary testing can help identify any faulty parts or compatibility issues, saving you time and potential frustration down the line.
Let’s dive into the world of motherboard troubleshooting without a CPU and explore how to test the motherboard’s functionality without actually having a CPU in place. But before we do, let me share with you a relatable story that emphasizes the importance of this pre-build testing.
Meet Dave, an avid computer enthusiast who spent weeks researching and carefully selecting each component for his new gaming rig. Excitedly, he started assembling all the parts, meticulously adhering to the instructions. However, when it came time to power up the system, nothing happened. Dave’s heart sank as he wondered what went wrong. Was it a faulty motherboard? Or perhaps a compatibility issue between the motherboard and CPU?
Frustrated but determined, Dave decided to take a step back and troubleshoot the problem systematically. He recalled reading about testing a motherboard without a CPU and quickly realized that this could help him pinpoint the issue. Dave carefully connected the power supply, peripherals, and jumped-started the motherboard to enter the BIOS. To his relief, the motherboard sprang to life, indicating that it was functioning correctly. This led Dave to investigate other components, eventually identifying a faulty graphics card as the culprit.
Dave’s story highlights the importance of testing a motherboard without a CPU. It not only allows you to diagnose potential issues but also helps verify the compatibility of components, ensuring a smooth and efficient build process. Now, let’s explore in detail how you can test a motherboard without a CPU and reap the benefits it offers.
Key Takeaways:
- Testing the functionality of a motherboard without a CPU is essential for pre-build testing.
- Testing without a CPU helps identify faulty parts and compatibility issues before assembly.
- It allows you to troubleshoot computer issues and ensure compatibility with a planned CPU.
- Precautions such as unplugging the power cord and wearing an anti-static wrist strap should be taken during testing.
- Professional assistance is recommended if you are unsure or uncomfortable with testing a motherboard without a CPU.
Why Test a Motherboard Without a CPU?
There are several reasons why testing a motherboard without a CPU is an essential step in the pre-build process. By conducting this test, you can:
- Identify troubleshooting issues: Testing the motherboard without a CPU can help diagnose computer problems. If you are experiencing issues, this test can help you determine whether the problem lies with the motherboard or the CPU.
- Check for compatibility: Testing the motherboard without a CPU allows you to ensure that the socket and other specifications align with the CPU you plan to install. This compatibility check can help you avoid compatibility issues.
- Verify component functionality: Testing the motherboard without a CPU enables you to verify the functionality of other components, such as RAM, storage drives, and expansion cards. It ensures that these components are working correctly before installing the CPU.
- Save time and prevent issues: For computer enthusiasts or technicians, testing the motherboard without a CPU can help ensure that all components are functioning correctly before the CPU is installed. This approach saves time and mitigates potential issues during the build process.
Testing a motherboard without a CPU is a crucial step in ensuring that your computer components are functioning correctly before installation. It allows you to troubleshoot, check compatibility, and verify the functionality of other components. This testing process can help identify and prevent potential problems, saving you time and efforts during the build process.
Precautions for Testing a Motherboard Without a CPU
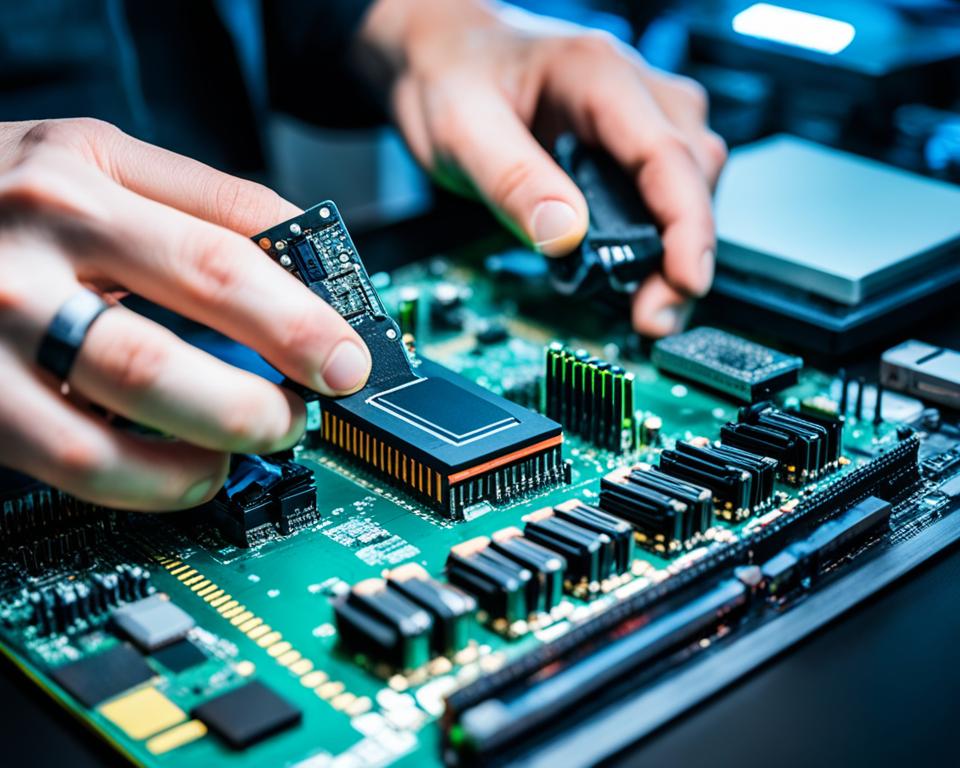
When testing a motherboard without a CPU, it is crucial to follow certain safety measures and precautions to ensure the integrity of the components and prevent any potential damage. Taking these precautions will help protect against static electricity, compatibility issues, and mishandling of the motherboard or other components.
- Unplug the power cord and discharge stored power: Before proceeding with any work on the motherboard, it is essential to disconnect the power cord and ensure that any residual power is discharged. This step helps minimize the risk of electric shock and potential damage to sensitive components.
- Wear an anti-static wrist strap or ground yourself: Static electricity can cause damage to electronic components, so it is recommended to wear an anti-static wrist strap or touch a grounded metal surface. This grounding process helps dissipate static charges, keeping the motherboard safe from potential harm.
- Check compatibility with other components: Verify compatibility between the motherboard and other components such as RAM, storage drives, and expansion cards. Ensuring compatibility is crucial to avoid any issues during the testing process or when installing the CPU later on.
- Handle components gently: When working with the motherboard and other components, be careful not to apply excessive force or pressure. Rough handling can damage sensitive electronic parts, leading to potential malfunctions later on.
Always refer to the manufacturer’s guidelines and documentation for specific instructions on installation and testing procedures. The guidelines provide valuable information regarding safety measures and precautions unique to the motherboard model.
It is important to note that testing a motherboard without a CPU is primarily for diagnostic purposes and should not be considered a substitute for proper installation of a compatible CPU. The testing process allows you to assess the functionality of the motherboard and other components, but it is not a complete substitute for a comprehensive system test with a CPU installed.
By following these precautions, you can ensure a safe and reliable testing process for your motherboard without a CPU, helping to identify any potential issues or compatibility concerns before proceeding with the build.
Continue reading to learn about the necessary tools and equipment for testing a motherboard without a CPU.
Tools and Equipment for Testing a Motherboard Without a CPU
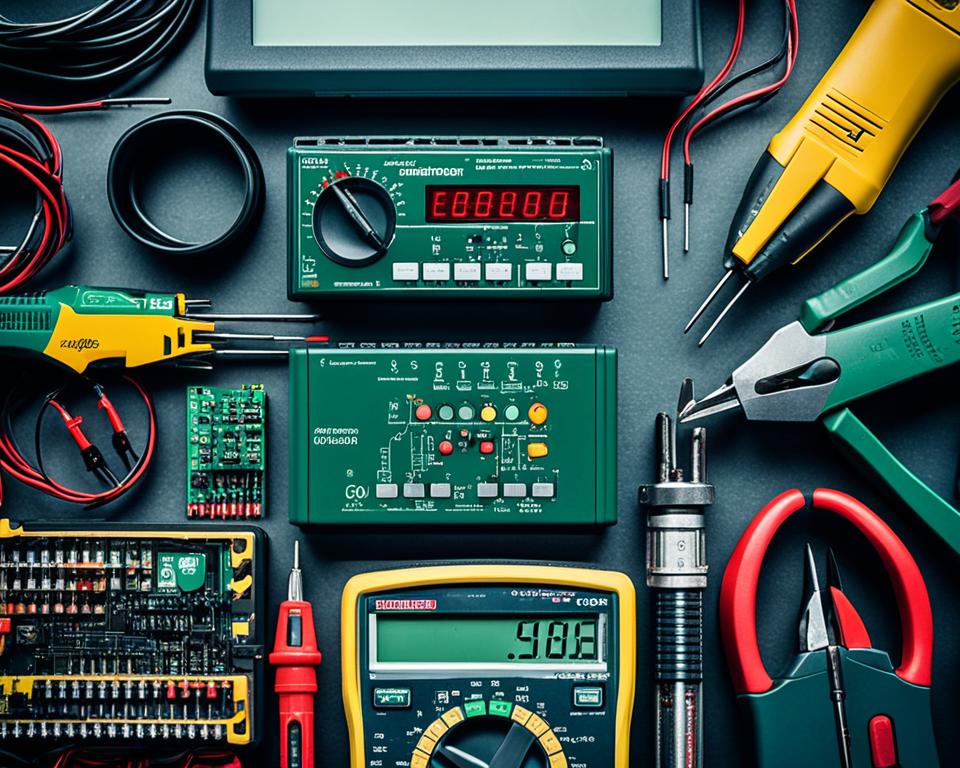
When it comes to testing a motherboard without a CPU, having the right tools and equipment is essential. Here are the necessary tools and equipment you will need for a smooth testing process:
- Screwdriver set: A screwdriver set will allow you to remove screws and access components on the motherboard.
- Anti-static wrist strap: An anti-static wrist strap is crucial to prevent static electricity damage to the sensitive electronic components.
- Thermal paste (optional): Thermal paste is optional but recommended for reinstallation of the CPU to ensure proper heat transfer.
- Diagnostic card (optional): A diagnostic card provides additional information during testing and can be helpful for troubleshooting.
- External display monitor: An external display monitor is necessary to check for display signals and ensure proper functionality.
- Power supply unit (PSU): A compatible power supply unit is required to provide power to the motherboard during testing.
- RAM modules: RAM modules are necessary for testing the memory slots and ensuring their functionality.
- Storage drive (optional): A storage drive is optional but can be used to test the storage drive connectors.
It is important to consult the motherboard’s user manual for specific details on the required tools and equipment. Following the manufacturer’s guidelines will ensure a smooth testing process and prevent any potential damage to the components.
By having the necessary tools and equipment at hand, you can confidently test a motherboard without a CPU and ensure its functionality before proceeding with the assembly process.
Step-by-Step Guide: Testing a Motherboard Without a CPU
Testing a motherboard without a CPU is a crucial step in the pre-build process. By following a step-by-step guide, you can verify the functionality of the motherboard and ensure that it is in good working condition. Here’s a detailed procedure to test a motherboard without a CPU:
- Unbox the motherboard: Begin by carefully unboxing the motherboard and placing it on a non-conductive surface. This will prevent any accidental damage to the delicate components.
- Connect the power supply: Locate the power connectors on the motherboard and connect the power supply unit (PSU). Ensure that the connections are secure.
- Optional: Install other components: If desired, you can install other components such as RAM and a graphics card. This step allows you to test the functionality of these components as well.
- Connect the PSU to a wall socket: Plug the power supply unit into a wall socket to provide power to the motherboard.
- Jump-start the motherboard: To turn on the motherboard without a CPU, you will need to jump-start it using the power switch pins or a screwdriver. Carefully follow the motherboard manual or manufacturer guidelines to identify the correct pins or terminals.
- Observe for indicators: Once the motherboard is powered on, observe for any indicator lights, fan activity, and display signals. These signs indicate that the motherboard is functioning properly.
If all the components and indicators appear to be working correctly, it indicates that the motherboard is in good condition. However, it is important to note that testing a motherboard without a CPU is primarily for diagnostic purposes and should not replace the proper installation of a compatible CPU for optimal performance.
Example Scenario:
John is building a new computer and wants to ensure that all the components are in working order before starting the assembly. He follows the step-by-step guide to test his motherboard without a CPU. John carefully unboxes the motherboard and connects the power supply. He decides to install RAM and a graphics card for additional testing. After connecting the PSU to a wall socket, John successfully jump-starts the motherboard and observes the indicator lights and fan activity. He is relieved to see that everything is functioning properly, confirming that his motherboard is ready for the build.
By following the step-by-step guide, you can confidently test your motherboard without a CPU and identify any potential issues before continuing with the build process.
| Steps | Description |
|---|---|
| 1 | Unbox the motherboard |
| 2 | Connect the power supply |
| 3 | Optional: Install other components |
| 4 | Connect the PSU to a wall socket |
| 5 | Jump-start the motherboard |
| 6 | Observe for indicators |
Summary and Importance of Testing a Motherboard Without a CPU
Testing a motherboard without a CPU is a critical step in the pre-build process and carries significant importance. By conducting this test, you can ensure that the motherboard and other components are functioning correctly before proceeding with the assembly. Identifying potential issues or compatibility problems at an early stage can save you time and prevent headaches during the build process, ultimately leading to a smoother and more efficient build.
Testing a motherboard without a CPU primarily serves diagnostic purposes. It allows you to assess the functionality and compatibility of the motherboard and other components without the presence of a CPU. However, it is crucial to understand that this test is not a permanent solution. A compatible CPU must be properly installed, and the system as a whole should be tested for optimum performance.
Conducting a motherboard test without a CPU can provide several benefits. Firstly, it allows you to identify any faulty parts or compatibility issues that may arise during the testing process. This enables you to rectify these problems before advancing with the build, minimizing the risk of encountering complications later on. Additionally, testing a motherboard without a CPU allows you to verify the functionality of other components, such as RAM, storage drives, and expansion cards.
Overall, testing a motherboard without a CPU is an essential step that should not be overlooked. It empowers you to ensure the proper functioning of the motherboard and other components, mitigating potential issues and ensuring a successful and efficient build process.
How to Troubleshoot a Motherboard Without a CPU
Troubleshooting a motherboard without a CPU can be a daunting task, but it is essential for identifying and resolving common issues that may arise during testing. By following a few tips and guidelines, you can effectively troubleshoot a motherboard without a CPU and narrow down the source of the problem.
Common issues encountered when testing a motherboard without a CPU may include:
– No power or lights on the motherboard
– No fan activity
– No display signal
To troubleshoot these issues, start by double-checking all connections to ensure they are secure and properly seated. It is important to verify that the power supply is functioning correctly by testing it with other components or using a power supply tester.
One effective troubleshooting method is to test different components separately to identify any faulty or incompatible parts. By installing known-working components, such as RAM modules or a graphics card, you can determine if the issue lies with the motherboard itself.
It is also crucial to refer to the motherboard’s user manual for specific troubleshooting guidelines. Manufacturers often provide valuable information and troubleshooting steps that can help identify and resolve common issues.
Remember:
Troubleshooting a motherboard without a CPU is primarily for diagnostic purposes and may not provide a comprehensive diagnosis. It is important to consider seeking professional assistance or contacting the manufacturer’s support team if you encounter difficulties or are uncertain about the troubleshooting process.
Troubleshooting Tips
| Issue | Troubleshooting Tips |
|---|---|
| No power or lights on the motherboard | – Check power connections – Test the power supply – Verify power button functionality |
| No fan activity | – Ensure fan connections are secure – Check fan settings in the BIOS – Test with a known-working fan |
| No display signal | – Double-check video connections – Test with a different display – Verify graphics card compatibility and seating |
Safety Measures and Precautions for Testing a Motherboard Without a CPU
When testing a motherboard without a CPU, it is crucial to prioritize safety measures and take necessary precautions to avoid any damage to the components. By following these tips, you can ensure a safe testing process:
- Unplug the power cord before working with the motherboard to prevent electrical accidents.
- Discharge any stored power by pressing and holding the power button for a few seconds.
- Wear an anti-static wrist strap or ground yourself by touching a grounded metal surface to prevent static electricity from damaging sensitive electronic components.
- Handle the motherboard and other components gently, avoiding the application of excessive force.
- Follow the manufacturer’s guidelines and instructions for proper installation and testing to avoid compatibility issues.
It is important to note that testing a motherboard without a CPU is only for diagnostic purposes and should not replace the proper installation of a compatible CPU. If you feel unsure or uncomfortable with the testing process, it is recommended to seek professional assistance.
Remember, prioritizing safety and following precautions is key to a successful and risk-free motherboard testing experience.
| Safety Measures | Precautions | Tips for Safe Testing |
|---|---|---|
| Unplug the power cord | Discharge stored power | Wear an anti-static wrist strap or ground yourself |
| Handle components gently | Follow manufacturer’s guidelines | Seek professional assistance if unsure or uncomfortable |
Risks and Limitations of Testing a Motherboard Without a CPU
When testing a motherboard without a CPU, there are inherent risks and limitations that must be considered. These factors can impact the effectiveness and accuracy of the testing process. It is important to be aware of these challenges to make informed decisions and mitigate potential issues.
Risks of Testing Motherboard Without CPU
One of the primary risks of testing a motherboard without a CPU is the inability to utilize the full capacity of the motherboard. Without a CPU, certain features and functionalities may not be available for testing, limiting the scope of the assessment. This can lead to incomplete results, as potential issues related to the CPU itself cannot be identified.
Additionally, there is a risk of damaging components if proper precautions are not followed. When handling the motherboard without a CPU, static electricity can pose a threat to the sensitive electronic parts. Failing to discharge static electricity or using improper handling techniques may result in irreparable damage to the components, rendering them unusable.
Limitations of Testing Motherboard Without CPU
Testing a motherboard without a CPU has inherent limitations that must be acknowledged. While the process can help identify certain compatibility issues and evaluate the functionality of other components, it cannot provide a comprehensive diagnosis of all potential issues that may arise when the CPU is installed. This means that some problems might go unnoticed until the CPU is installed and the system is fully operational.
Furthermore, testing a motherboard without a CPU is a preliminary step that should be followed by proper installation and testing with a compatible CPU for optimal performance. This means that the testing process alone cannot guarantee the complete functionality of the motherboard and its ability to support the intended CPU.
| Risks of Testing Motherboard Without CPU | Limitations of Testing Motherboard Without CPU |
|---|---|
| Unable to utilize the full capacity of the motherboard | Incomplete diagnosis of potential issues |
| Risk of damaging components due to static electricity | Cannot guarantee compatibility with the intended CPU |
When to Seek Professional Assistance for Testing a Motherboard Without a CPU
If you are unsure or uncomfortable with testing a motherboard without a CPU, it is recommended to seek professional assistance. Professional technicians have the expertise and experience to properly handle and test computer components. They can also provide guidance and ensure that the testing process is done safely and accurately. Seeking professional assistance can help prevent potential damage to the components and ensure that the motherboard and other components are tested thoroughly.
Conclusion
Testing a motherboard without a CPU is an important step in the pre-build process. It allows you to verify the functionality and compatibility of the motherboard and other components, ensuring a smooth and problem-free build. By following the necessary precautions and guidelines, you can ensure a safe and accurate testing process.
If you are unsure or uncomfortable with the process, it is highly recommended to seek professional assistance. Professional technicians have the expertise and experience to handle and test computer components properly, ensuring that the testing process is done safely and accurately.
However, it is important to note that testing without a CPU is primarily for diagnostic purposes and should not replace proper installation and testing with a compatible CPU for optimal performance. While testing without a CPU can help identify compatibility issues and verify the functionality of other components, it is crucial to install a compatible CPU and test the system as a whole for optimal performance.

