When it comes to building or upgrading a computer, one of the key considerations is the storage configuration. Whether you’re planning on using traditional hard disk drives (HDDs) or lightning-fast solid-state drives (SSDs), it’s important to understand the number of available SATA ports on your motherboard. These Serial ATA ports serve as the vital link between your motherboard and storage devices, ensuring seamless communication and optimal performance. But how do you go about checking the SATA ports on your motherboard? Let’s explore some methods to help you identify and verify the SATA ports, empowering you to make informed decisions about your storage setup.
Imagine this: you’ve spent hours carefully selecting the perfect components for your new gaming rig. As you eagerly unbox the motherboard and prepare to assemble your masterpiece, a thought crosses your mind.
You pause, realizing that you overlooked an important detail. How many SATA ports does this motherboard have? You know that SATA ports are crucial for connecting your hard drives and SSDs, but you can’t remember if this motherboard has enough to accommodate all your storage needs.
Feeling a sense of urgency, you quickly consult the motherboard’s manual. As you flip through the pages, you find a detailed diagram showcasing the layout of the motherboard. Your eyes scan the image, searching for the coveted SATA ports. Just as you begin to feel a hint of panic, your finger lands on the section indicating the SATA ports. Relief washes over you as you count five ports, more than enough for your storage requirements.
This moment of realization emphasizes the importance of checking the SATA ports on your motherboard. Knowing the number of available ports allows you to plan your storage configuration effectively and ensure compatibility with your desired storage devices. Plus, exploring the motherboard’s SATA ports enables you to troubleshoot any issues that may arise and make the most of your storage options.
Key Takeaways:
- Understanding the number of SATA ports on your motherboard is crucial for planning your storage configuration.
- Checking the motherboard manual provides accurate and reliable information about the number and location of SATA ports.
- If you prefer a hands-on approach, you can open your PC case and physically inspect the motherboard to identify the SATA ports.
- Accessing the BIOS/UEFI settings during system startup allows you to find information about the SATA ports on your motherboard.
- System information software like HWiNFO provides detailed hardware information, including the number of SATA ports on your motherboard.
A Brief Note on SATA
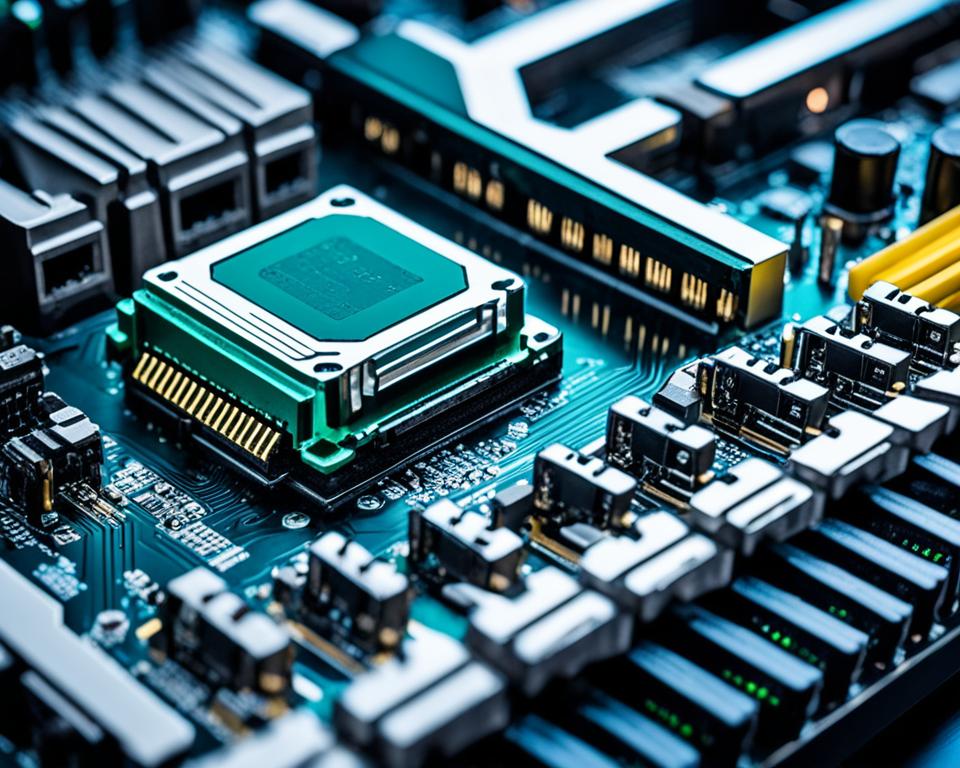
SATA (Serial ATA) is a computer bus interface designed for high-speed data transfer between a computer’s motherboard and storage devices. It replaced the older Parallel ATA (PATA) technology, offering faster transfer rates and improved performance. SATA uses a serial communication method, where data is transmitted in a single stream of bits, simplifying cable design and reducing interface complexity. SATA has undergone several iterations, with each version offering faster data transfer rates.
Serial ATA vs Parallel ATA
Serial ATA (SATA) and Parallel ATA (PATA) are two different technologies used for connecting storage devices to a computer’s motherboard. SATA replaced PATA due to its superior performance and increased efficiency. Unlike PATA, which used parallel communication, SATA uses a serial communication method, enabling faster data transfer rates and improved overall system performance.
SATA Interface
The SATA interface is the physical connection between a motherboard and a storage device. It consists of a small, flat cable with two connectors, one for the motherboard and one for the storage device. SATA cables are flexible and easy to route inside a computer case, allowing for cleaner cable management. The SATA interface also supports hot-swapping, which means that storage devices can be connected or disconnected without having to power off the computer.
SATA Speed Improvements
Over the years, SATA technology has undergone several improvements to increase data transfer speeds. The initial version of SATA, known as SATA 1.0, offered a maximum data transfer rate of 1.5 Gbps (gigabits per second). Subsequent versions, including SATA 2.0 and SATA 3.0, increased the transfer rate to 3 Gbps and 6 Gbps, respectively. The latest version, SATA 3.2, introduced in 2013, offers even faster speeds of up to 16 Gbps.
| SATA Version | Maximum Data Transfer Rate |
|---|---|
| SATA 1.0 | 1.5 Gbps |
| SATA 2.0 | 3 Gbps |
| SATA 3.0 | 6 Gbps |
| SATA 3.2 | 16 Gbps |
Note: The maximum data transfer rates mentioned above are theoretical and may vary in real-world scenarios due to various factors.
Importance of SATA Ports in Modern Computing
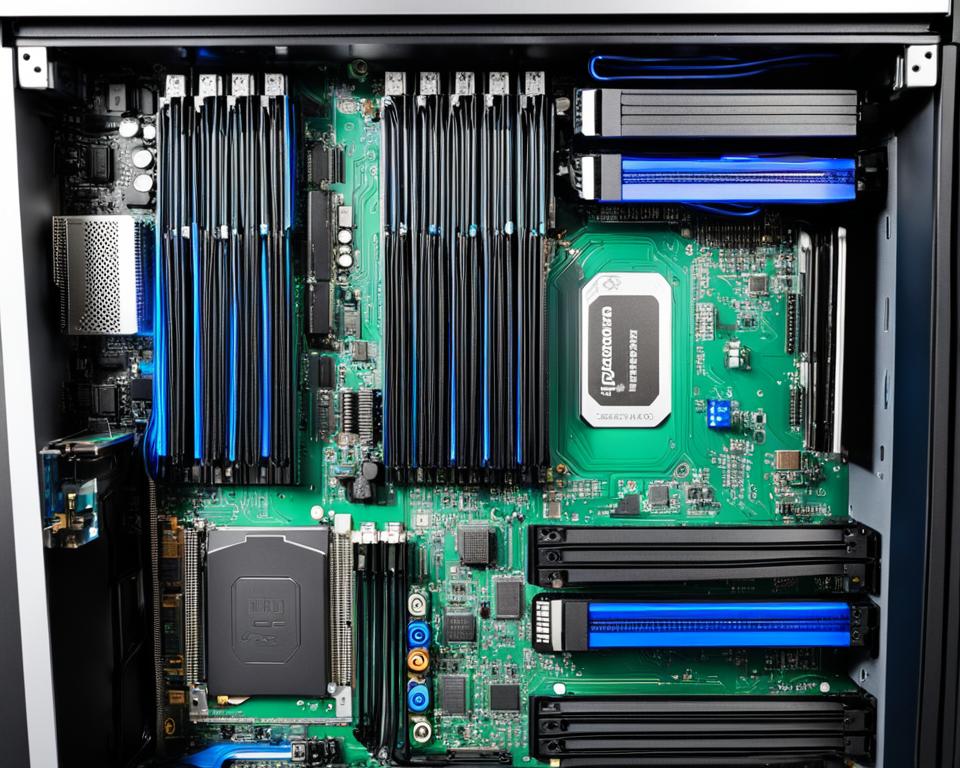
SATA ports are essential components in modern computing systems for seamless communication between the motherboard and storage devices. With their versatile storage solutions, SATA ports support a wide range of storage devices, including hard disk drives (HDDs) and solid-state drives (SSDs).
One of the key advantages of SATA ports is their speed and performance. They offer faster data transfer rates compared to older storage interfaces, enabling quicker access to files and reducing loading times for applications and games. This enhanced speed is especially beneficial for tasks that require heavy data usage, such as video editing, gaming, and large file transfers.
Compatibility is another important aspect of SATA ports. They adhere to industry standards, ensuring that storage devices from different manufacturers can be easily connected to the motherboard. This level of compatibility simplifies the process of upgrading storage or building a new system, as users have a wider range of storage options to choose from without worrying about compatibility issues.
Moreover, SATA ports provide data security and reliability features. They support native command queuing, which optimizes data retrieval and improves overall system performance. Additionally, SATA ports enable hot-swapping, allowing users to connect or disconnect storage devices while the system is running, enhancing data security and device flexibility.
To summarize, SATA ports play a vital role in modern computing by providing versatile storage solutions, ensuring speed and performance, maintaining compatibility with industry standards, and offering data security and reliability. These features make SATA ports an essential component in optimizing storage configurations and enhancing overall computing experiences.
How Many SATA Ports Do I Have?
The number of SATA ports on a motherboard can vary based on several factors that influence the design and functionality of the motherboard. These factors include:
- Motherboard form factor
- Target market and features
- Chipset and features
- Storage trends
Larger form factor motherboards typically have a higher number of SATA ports compared to smaller form factor options. This is because larger motherboards provide more physical space for additional ports and expansion slots to support various storage configurations.
Furthermore, motherboards designed for specific markets or with specialized features may have different port configurations. For example, gaming-oriented motherboards often prioritize high-speed storage options and can include additional SATA ports or dedicated M.2 slots for NVMe SSDs to accommodate gamers’ storage needs.
The chipset also plays a role in determining the number of SATA ports on a motherboard. Different chipsets offer varying levels of functionality and support for storage devices. High-end chipsets tend to provide more SATA ports to meet the demands of advanced users who require multiple storage devices for their work or gaming setups.
Lastly, storage trends also influence the number of SATA ports on newer motherboards. The emergence of new storage solutions like M.2 NVMe SSDs, which offer faster data transfer rates and compact form factors, has led motherboard manufacturers to prioritize these interfaces over traditional SATA ports. As a result, some modern motherboards may have fewer SATA ports or a combination of SATA and M.2 slots to cater to the evolving storage landscape.
By understanding these factors, you can determine the number of SATA ports available on a motherboard and make informed decisions regarding your storage configuration.
How to Check the Number of SATA Ports on a Motherboard?
When it comes to determining the number of SATA ports on your motherboard, there are several methods you can use. Whether you prefer a hands-on approach or utilizing software tools, each option offers its own advantages.
1. Check the Motherboard Manual
If you have the motherboard manual or documentation, this is the easiest and most reliable way to find the number of SATA ports. The manual typically includes a detailed layout of the motherboard, indicating the location and number of SATA ports, along with other connectors and interfaces.
2. Access BIOS/UEFI Settings
An alternative method is to access the BIOS/UEFI settings during system startup. By entering the BIOS/UEFI settings, navigating through the menus, and looking for options related to integrated peripherals or SATA configuration, you can find information about the number of SATA ports available on your motherboard.
3. Use System Information Software
If you prefer a software-based approach, you can use system information software to retrieve detailed hardware information. Tools like HWiNFO provide information about the number of SATA ports on your motherboard. Simply download and install the software, and you can find the SATA port information under the motherboard section.
4. Communicate with an Expert
If you’re unsure or don’t have access to the aforementioned resources, seeking guidance from an expert can be incredibly helpful. Whether it’s a knowledgeable friend, a tech-savvy community, or a professional, they can provide assistance in determining the number and location of SATA ports on your motherboard.
By utilizing any of these methods, you can easily check the number of SATA ports on your motherboard. Whether you prefer referencing the manual, accessing the BIOS/UEFI settings, using system information software, or seeking expert advice, you can ensure compatibility and optimize your storage setup.
Check the Motherboard Manual
The easiest and most reliable way to find the number of SATA ports on your motherboard is to refer to the motherboard’s user manual or documentation. The manual typically includes a detailed layout of the motherboard, indicating the location and number of SATA ports, along with other connectors and interfaces.
By following the instructions provided in the motherboard manual, you can easily identify the SATA ports on your motherboard without the need for technical expertise or additional tools.
By referring to the motherboard manual, you will have a clear understanding of the layout and design of your motherboard, allowing you to identify the SATA ports and their locations accurately.
Access BIOS/UEFI Settings
In order to check the number of SATA ports on your motherboard, you can access the BIOS/UEFI settings during system startup. By entering the BIOS/UEFI interface, you can navigate through the menus and locate options related to integrated peripherals or SATA configuration. These settings will provide you with the necessary information about the number of SATA ports available on your motherboard.
“Accessing the BIOS/UEFI settings is a crucial step in determining the capabilities of your motherboard. By exploring the integrated peripherals and SATA configuration options, you can gain valuable insights into the storage possibilities and configurations available.”
To access the BIOS/UEFI settings, follow these steps:
- Start your computer and press the designated key (such as F2 or Del) to enter the BIOS/UEFI interface. The specific key may vary depending on your motherboard manufacturer, so refer to the documentation or search online for the correct key.
- Once inside the BIOS/UEFI interface, use the arrow keys on your keyboard to navigate through the menus.
- Look for options related to integrated peripherals or SATA configuration. These options may be located in different sections depending on your motherboard’s firmware.
- Within the integrated peripherals or SATA configuration menu, you will find information about the number of SATA ports available on your motherboard.
By following these steps, you can easily access the BIOS/UEFI settings and retrieve the information you need about the SATA ports on your motherboard.
Use System Information Software
When it comes to gathering detailed information about your motherboard, including the number of SATA ports, third-party system information software can be incredibly useful. One popular tool is HWiNFO. By downloading and installing this software, you gain quick access to valuable hardware details without the need to open up your computer or access the BIOS/UEFI settings.
HWiNFO provides comprehensive information about your motherboard, such as the manufacturer, model, chipset, and various other specifications. To identify the number of SATA ports on your motherboard using HWiNFO:
- Download and install HWiNFO from the official website.
- Launch the software and navigate to the “Motherboard” section.
- Look for the information related to SATA ports, which may be labeled as “SATA” or “SATA/RAID.”
- Note the number of SATA ports listed, as this indicates how many connections are available on your motherboard.
Example:
Using third-party system information software, like HWiNFO, provides a hassle-free method to explore your motherboard’s specifics. With just a few clicks, you can uncover crucial details about the number of SATA ports, allowing you to plan your storage setup effectively.
System information software such as HWiNFO offers a convenient alternative to manual inspection or accessing BIOS settings. It presents the information in a clear and organized manner, making it easier for both enthusiasts and beginners to understand their motherboard’s capabilities.
Manual Counting
If you prefer a hands-on approach, you can manually count the SATA ports on your motherboard. By powering down your computer, opening the PC case, and physically inspecting the motherboard, you can identify and count the SATA ports. This method provides accurate information but may not be suitable for all users, especially those with limited technical expertise or laptops.
For those comfortable with hardware, manual counting is a reliable method of determining the number of SATA ports on your motherboard. Follow these steps for a successful physical inspection:
- Shut down your computer and disconnect the power supply to ensure safety.
- Open the PC case by removing the side panel. Refer to your computer’s manual or manufacturer’s website for specific instructions on accessing the internals.
- Locate the motherboard, which is the main circuit board inside your computer.
- Identify the SATA ports on the motherboard. They are usually rectangular and have a small plastic connector fitted with metal pins.
- Manually count the number of SATA ports present. It is common for motherboards to have multiple SATA ports, often labeled with numbers for easy identification.
Once you have determined the number of SATA ports, you can plan your storage configuration accordingly. It’s worth noting that while manual counting is a reliable method, it requires some technical knowledge and physical access to the motherboard. If you’re uncertain or uncomfortable performing the inspection yourself, consider alternative methods such as checking the motherboard manual or accessing the BIOS settings.
Using Computer BIOS
Computer BIOS provides a convenient way to access vital information about your motherboard’s SATA ports. By accessing the BIOS settings during system startup, you can determine the number and configuration of SATA ports on your computer.
Entering the BIOS screen can be done by pressing a specific key combination, which may vary depending on the manufacturer of your computer. Typically, it is either the Delete, F2, or F10 key. Keep an eye on the screen during boot-up for any prompts or instructions on how to access the BIOS settings.
Once inside the BIOS settings, navigate to the drives section, where you will find detailed information about your SATA ports. This includes the number of ports available and, in some cases, additional configuration options for optimizing the performance or functionality of your storage devices.
Accessing the BIOS settings might seem daunting at first, but it is a valuable tool for gaining insights into your computer’s hardware configuration and making necessary adjustments. Take advantage of this feature to ensure you have accurate information about the SATA ports on your motherboard.
“The BIOS settings provide a gateway to understanding the hardware intricacies of your computer. Don’t shy away from exploring this powerful tool!”
Adding More SATA Ports with Expansion Cards
If you find yourself in need of additional SATA ports beyond what is available on your motherboard, there is a solution: SATA expansion cards. These expansion cards can be inserted into the PCIe slots of your motherboard, providing you with the ability to connect even more storage drives. With this option, you can greatly expand your storage drive capacity, surpassing the limitations of your motherboard’s built-in SATA ports.
A SATA expansion card acts as an interface between your motherboard and the storage drives, offering a seamless connection and data transfer. By adding this card to your system, you can easily accommodate the growing demand for storage space, whether you’re expanding your gaming library, storing large media files, or running multiple virtual machines. The additional SATA ports provided by the expansion card open up new possibilities for expanding your storage and enhancing your computer’s performance.
The process of installing a SATA expansion card is relatively straightforward. Make sure to choose a compatible expansion card that matches your motherboard’s PCIe slot requirements. Once you have the expansion card, power down your computer, insert the card into an available PCIe slot, and then boot up your system. After installation, you can connect your storage drives to the newly added SATA ports on the expansion card and start taking advantage of the increased storage capacity.

